|
Modelers like to
open a lot of detail on a modelaircraft to show engines, rattling guns and
avionics. Even the moderate modeler at least wants to put his model in a static
position on its landing gear. But, there are people, mostly pilots, that like to
have their models in a 'flying mode'. You know: 'wheels-up', pilot on his
seat and holding the flightstick. Then this kind of guys start to dream...
The oldest
under us remember the plastic stands that used to come with the models in the 60´s
and 70´s. Transparent plastic things that sometimes were so shaky that the
model would tumble and lose at least its ordnance or break an antenna. In
the next photos I want to show an easy well working way of putting our models
'flying' on standards again.
|
Click on
images below to see larger images
|
|
|
|
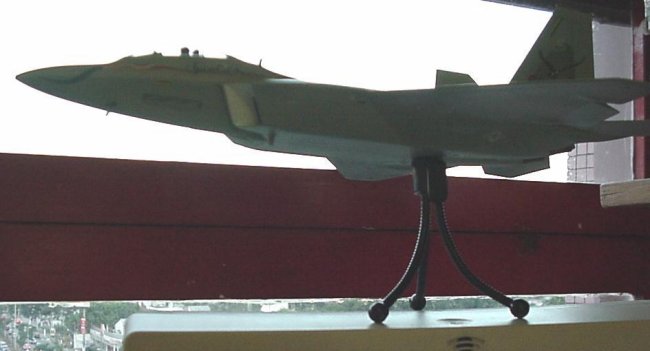
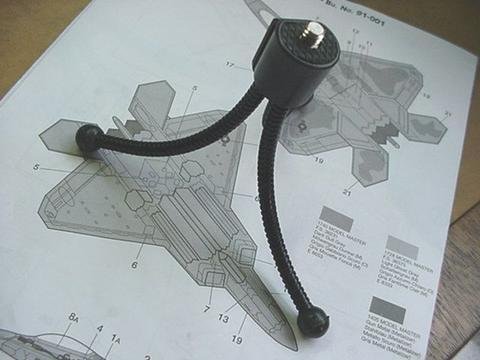
The first step is to determine
where you could fix the standard on your model. I use webcam tripods that are
cheap, flexible and having some weight of themselves quite stable too to put
your model on.
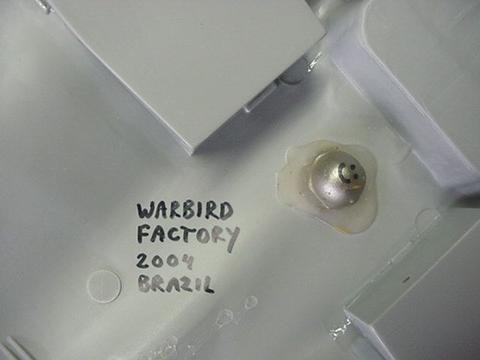
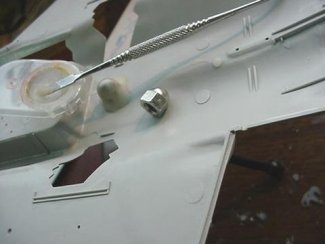
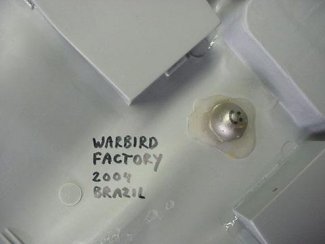
You buy a nut of the right size at
your local hardware store for a couple of pennies. With your drill or dremel
tool you drill a hole of the right size and glue the nut on the right place. On
this model I used dentist acrylic resin for the job.
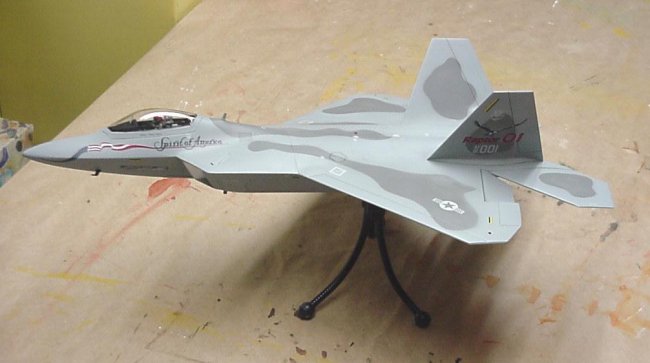
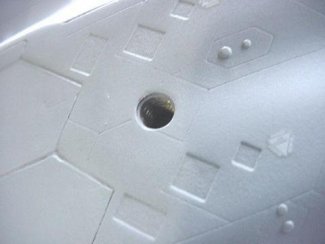
Test your new configuration and
continue building and painting your model normally. I used this method on
various models including a 1/48 Hornet with a center tank. In that case you put
the tripod just behind the tank. It looks great and the tripod also gives you a
save grip so that other people can admire your model just holding it on the
tripod. For more references and model galleries: http://www.tayoko.net/wbf
(The Warbird Factory).
Robert Lenior
|
Click on
images below to see larger images
|
|
|

|
|