|
Step
1: Type the subject
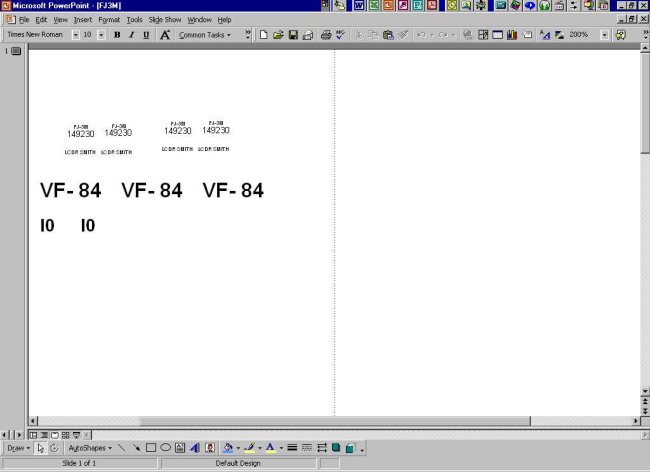
decals in your favorite graphics or word processing computer program. This
example was done in Microsoft PowerPoint. At
the time I did this, the Arial Font
was the closest to the block
lettering found on USN/USMC
aircraft. Now you can download fonts
for aircraft from the internet (see below).
From your references, pick off the dimensions
of the lettering you wish to produce and chose the closest font size. (Font size
refers to the characters per inch of text)
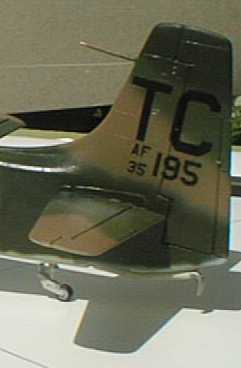
For the 1/72 scale Fury model, I used the following font sizes:
A/C
type: “FJ-3M” font size 3 SCALE
CONVERSION
BUAIR
number: “149230” font size 5
*For 1/48 scale, multiply
font size by 1.5 (round down
Pilot
name: “LCDR Smith” font size 3
to whole number)
Squadron
number: “VF-84” font size 12
*For 1/32 scale, multiply
font size by 2.25 (round up)
A/C
side numbers: “10” font size 10
* For 1/24 scale, multiply font size by 3.
After
typing the decal subjects, group them as closely together as possible to save
decal paper. (But space them far enough apart to cut them out.) Then use the
“copy and paste” function to make several copies for the right and left
sides of the model as well as for allowing you some mistakes when applying the
decals.
Step
2:
Open the print function and set the printer to highest possible
resolution. Print the sheet and
proof it. Once you’re satisfied with the size, layout and text arrangement,
save your work. Now you’re ready to make the sheet.
Step
3:
Now you have to decide if you’re going to reproduce the decals on a
copier or a printer. A word of caution, I have had no luck what so ever with ink
jet type printers working on decal paper (some have through). I haven’t used a
dot matrix printer, but that would seem to be non-starter too. A laser printer for the decal sheet resulted in great
resolution. Run a paper copy in a copier or printer; I found that any letters
smaller than 10 font was blurred by the copier.
A copier should be no problem for 1/48, 1/32, and 1/24 scales. Machines
are different, so run a paper trial first. Regardless of what you use, the
following steps apply:
|
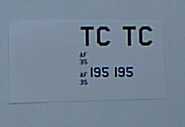
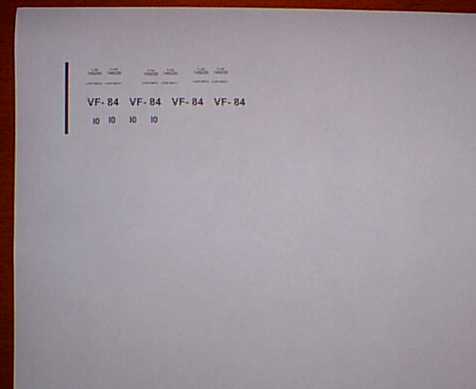
a)
Open the paper tray and mark sheet so you can run the sheet through a
second time exactly like the first printing; print or copy the decal
subject. Here are two examples. |
|
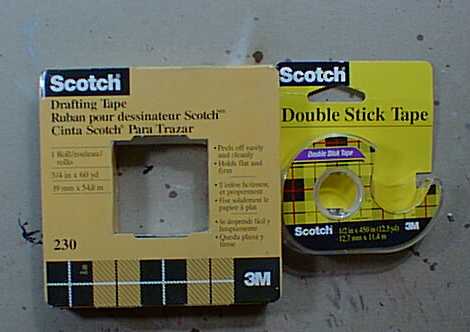
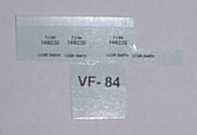
b)
Cut out a section of clear decal paper big enough to cover the decal subject on
the marked sheet; back the decal paper with masking tape. Using double-sided
tape, attach the decal paper over decal subject
on the marked paper sheet. (Caution: double sided tape is very strong! If
you don’t back the decal paper with masking tape, you can tear the decal paper
down to the decal film when removing the tape.)
c)
Put the marked sheet with the decal paper on it back in the paper tray exactly
as the first time (this is why you mark the paper).
Print or copy the subject again. If the paper was aligned correctly, the
print will now come out on the decal paper.
PRESTO!!!
Your own custom decals.
WARNING:
DO NOT TOUCH THE PRINTING AFTER IT LEAVES THE COPIER/ PRINTER! The lettering is
warm and not yet set. If you touch it, it will smear.
(Sure go ahead; ask me how I know this.)
|
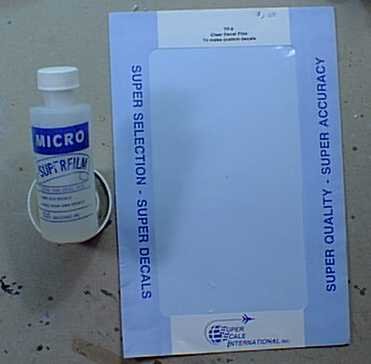
When
the decal is cool, coated it with Superfilm
or your favorite brand clear coat.
(Caution: I have only used the Superfilm brand. I have no idea if
lacquers or enamels will dissolve the decal printing.)
|
|
Step
4:
Since the printing is on one piece of film, you have to cut out each
subject. Apply just like any decal. Setting solution works fine.
You can buy and download aircraft fonts from TLai Enterprises at
http://www.tlai.com; I got mine from
Freethemes.com. They recently
dropped their font file down loads. Too bad! You can certainly do this with
color copier or printer and get very elaborate. Just remember: computer color
computations assume WHITE paper. You would have to use white decal paper or
paint the clear paper white. If you try this, let us know how it worked out!
Richard J Tucker
|