|
While working on Tamiya's 1/48
F4U-1A, I learned this new technique for creating a "chipped paint"
finish that I feel looks extremely realistic. While painting a base coat
and applying the scratches afterwards with a silver pen or drybrushing
certainly works, I wanted to take things a step further to get a super
realistic look. This technique is a tad more laborious, but is
really easy and takes some patience, but the results are definitely worth it!
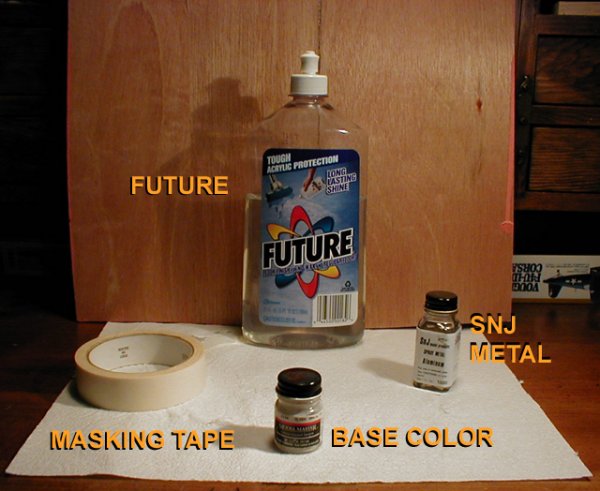
For this technique, you will
need a roll of masking tape, some Future Floor polish or Clear Coat, SNJ
metal powder or some other equivalent like Testor's Metalizer, color paint for
your base coat (I use Model Master Enamels, but any Acrylic or Enamel will
do), and lastly an airbrush.
Start by washing your parts in
soap & water to remove any residue or oil left from the molds and allow
them to air dry. Next, begin airbrushing your parts with the metal
color. There is no need to use a primer, but you can if you want to.
Then let the parts dry for at least a few hours.
Next, spray a coat of Future Floor
Polish (available at most grocery or department stores), or substitute
your favorite Clear Coat. This coat is applied to protect the
metal finish when you will do your paint chipping later on. Let the
Future or Clear Coat dry for about 24 hours to set.
Finally, after your sure the clear
coat has dried completely, begin airbrushing your base color over the top of
the metal color, covering the surfaces completely with your base coat.
IMPORTANT: Allow to dry for 1 hour only. It
is important not to let the paint dry too long and cure too hard. You
want the paint to be dry to the touch, but not so hard that masking tape won't
lift it off. The amount of time you wait is proportional to what
type of paint you use. Acrylics tend to dry faster than enamels.
For Testor's enamels, I usually wait 1-2 hours.
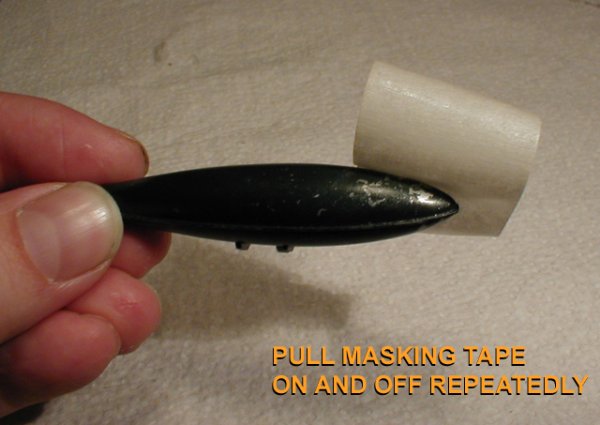
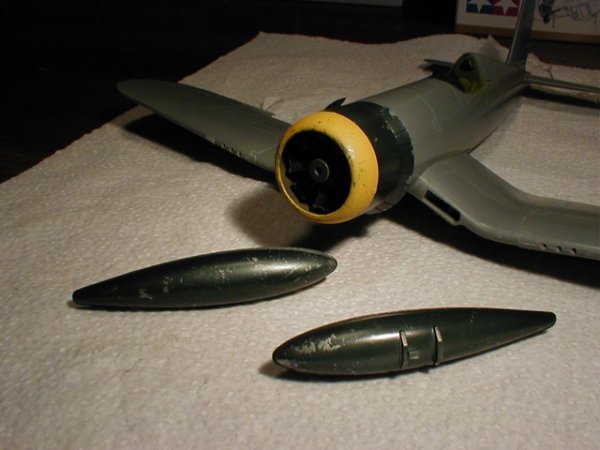
Now for the FUN part! Tear
off a piece of masking tape and with a dabbing type motion, press it against
the part and pull off rapidly. You will see the masking tape pull off
"chips" of the base coat to reveal the metal underneath!
Continue pressing the tape and pulling it off to add more and more wear to
your model. Pretty fun, eh? Careful not to get too carried away, a
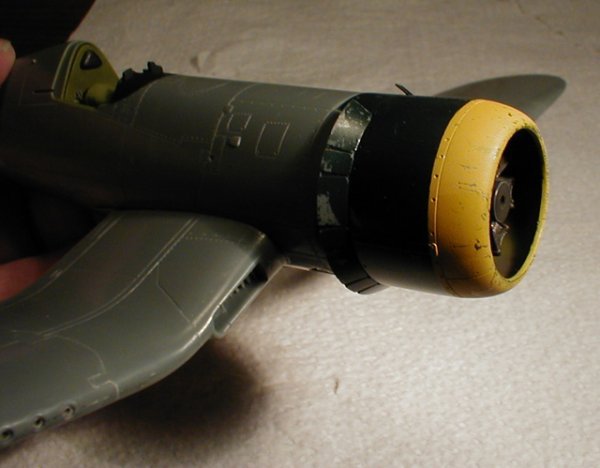
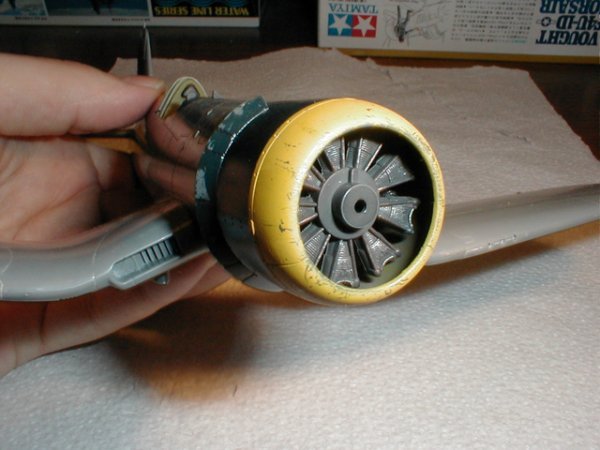
little of this goes a long way. Pull off more paint at leading edges and
places where maintenance has been done. I think you'll find this
technique will greatly enhance the realism of your models.
Happy modeling!
Aaron Pfau
|