|
The Low-down On Caz's
In-Flight models
As the three
Steves queried me on an article about how I do my in-flight model photographs, I
decided to work up a small article with more pictures than text. My in-flight
models are not as exquisitely worked up as those are from the fellows with Adobe
PhotoShop, but I work with what I have and I can't afford PhotoShop. Therefore I
will show you folks all the necessities required and the steps up to the final
photograph.
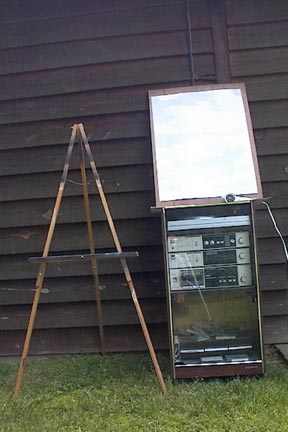
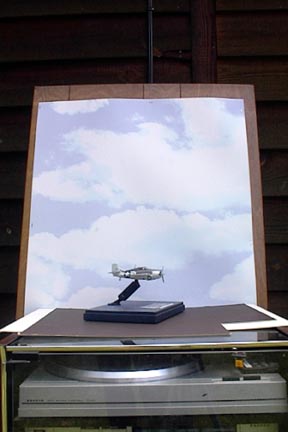
Step One:
Here are the items
I use when photographing my in-flight Model. The easel supports the poster board
backdrop, which is stapled to a section of wall paneling. The stereo cabinet is
used as the prop for model to sit at the proper height to photograph. The glass
top is covered with either light or dark matte board, depending on which gives
the reflective lighting or lack thereof. The hair dryer has the heating element
remove and is used to spin the propeller/s.
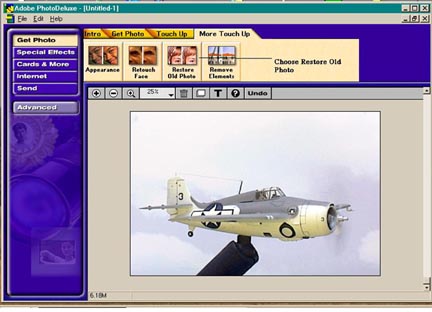
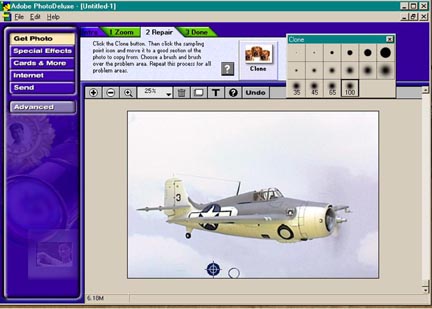
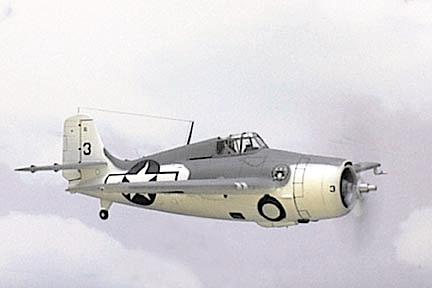
Step Two:
This shows the
model after the photo scan or digital image has been carried into Adobe
PhotoDeluxe 2.0 for adjusting color, lightening, and most importantly, the
cloning out of the model mount. In this case I shall be using the Hasegawa FM-1
"Wildcat" in 1/72 scale.
This is where I go in PhotoDeluxe
for cloning out the mount.
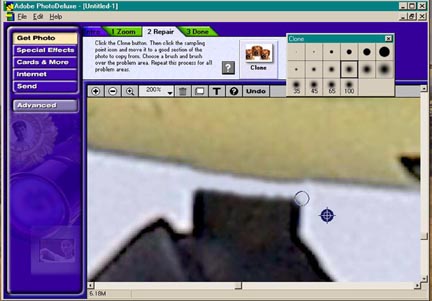
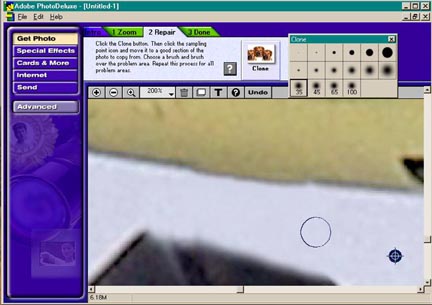
Step Three:
In step three I do
the cloning out of the model's mount. The following three photographs will lead
you through the process.
In initial cloning
I enlarged the image to 200% and cloned out the mount where it connects with the
model. A little more touch up was done from what you see here.
In cloning step
two, I enlarged my cloning airbrush and further cloned out the mount far enough
from the model so that the image could be reduced to 100% and finish cloning
could be done with the larger airbrush cloning tools.
And here you see
the finished cloned photograph, in which I have used the largest airbrush clone
tool. The image is ready for initial saving and filing. But, it is not ready for
the web or you as yet.
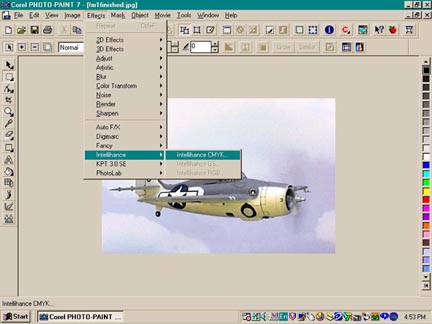
Step Four:
I have several
photo editing software programs and among them is Corel PhotoPaint 7.0. I find
this does a better job at sharpening the image and giving it correct color
balance than PhotoDeluxe, so I open PhotoPaint and open the saved image.
This shows the
image after I have opened it in PhotoPaint and also shows the effects option
window where I enhance the image.
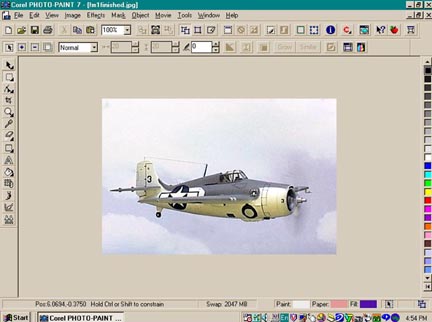
And here is the
finished image I save and file for your perusal here.
I hope these four
easy steps will help fellow modelers to spin their props on mounts and use these
programs to produce simple in-flight images.
Caz Dalton
|