|
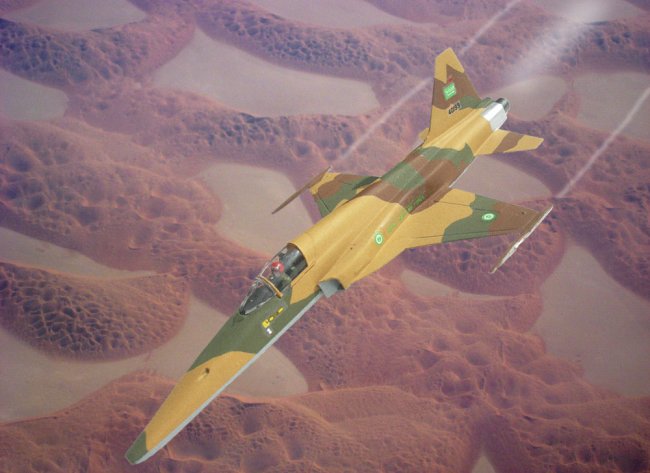
This is my Airfix
RF-5E "Tigereye" ripping across the "Empty Quarter"
bordering Saudi Arabia and Yemen . I started the kit way back in 1993 but
finally finished it last year! It's pretty basic but finished up nicely in Royal
Saudi Air Force markings. The kit also has Malaysian Air Force markings.
Thankfully it comes with a pilot which makes it easy to put it where it belongs
- up in the air!
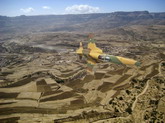
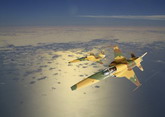
The other two photos
show the jet screaming in at low level over some mountains out in the desert,
and breaking formation high up over the Red Sea.
I did these in
Photoshop 7 (old school, I know!). The background shots come from my recent
holiday to Yemen and Oman, although the high-altitude ocean scene is actually
off Costa Rica!
Making the images is
quite easy - simply use the various tools to cut out the image of the model,
paste it into the background scene, and use "Transform>Scale" and
"Transform>Rotate" to place the jet where you want it. When you
paste it in, it goes in as a separate layer, and you can then adjust the levels
or modify the curves only for the jet, so it matches its background better. For
example, in the third image, I wanted it to glow as if the late afternoon light
was nice and yellow. In the other two images, I aimed for a duller glow.
Select a small brush
with low opacity (about ten per cent) and low flow, and paint in some blur for
the jet exhaust. I wanted it to look like "heat blur", not smoke (not
sure I really succeeded). And then select an even smaller brush, but with higher
opacity, and trace in some wingtip contrails. Try not to overdo it here. A trace
is enough unless your plane is in a high-g turn or the viewer is right up close
(as in Picture 1). Choose a light grey rather than pure white.
Shadows on your
model can be a problem - try to photograph them in even light or, if you didn't
(like me) try to pose them with the shadow in the right place. For example,
there is a shadow on the right wing of the plane in Photos 2 and 3 - so I aimed
to get it facing down in Photo 2 (because the sun would be high in that scene).
In Photo 3, my theory is that at sunset, the sun is quite low, so the shadow is
roughly appropriate. Next time I will try for a better photo in the first place!
Finally,
"flatten" the image so you can save it as a jpeg, and there you have
it - your jet in flight!
Bianfuxia
Click on
images below to see larger images
|