|
Gene Devlin flew the F-105B
Thunderchief with the Thunderbirds early 1964. For details on the team and his
fatal crash go here:
http://www.check-six.com/Crash_Sites/Thunderbirds_F-105_crash_site.htm
The F-105 went on to serve in Viet Nam as the Wild Weasle, baiting the SAM's to
expose them. For more on that history go here:
http://www.vectorsite.net/avf105.html
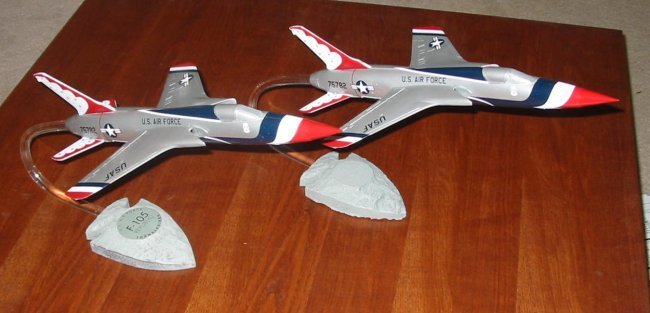
The kit - the
Monogram/Revell kit was used, molded in dark green, detail was nebulous.
Which is ok because the goal was to duplicate the memorial piece received
from the Air Force in 1964, very smooth surface and no detail. As I
am used to extensive research and adding detail this was a real change of
pace and somewhat challenging. How do you take detail away and still display the
character of the craft? I continually referred to photos of the original
display model as my guide. |
Click on
image below to see larger image
|
|
|
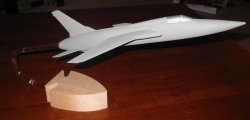
I realized early on that I'd need
to do some reinforcing for the rod the plane would be displayed on in flying
formation. I took a mold of the inside shape of the fuselage just at the point
where the vertical stablilizer joins the body. From this I cut a frame from
sheet plastic, and cut a hole in its center. This way the acrylic rod would have
two points of support on the plane, the exhaust and this central frame. I
cemented the frame in the fuselage and closed it up.
| I started
removing detail from the planes surface with my dremel, and moved from
coarse to fine sand paper. I used Surfacer in some areas, then more
sanding until I had a smooth surface.
I used the same process on
the wings, with the gear up, and the gear doors. Finally a coat of primer
to highlight any glitches, more sanding and more primer. |
Click on
image below to see larger image
|
 |
|
I still had to produce two
arrowhead bases to which I'd adhere the acrylic rod. I got a rough measurement
of the original and set to carving a master from balsa. One challenge was to
make sure I had enough mass in the base to support the plane. I purchased some
1/2" acrylic rod and curved a test piece to see if everything would
balance. Fortunately, I had eyeballed everything accurately and it stood up just
fine. I added a few lead musket balls to the base just to make sure.
From the balsa master I made a plaster mold and made two resin bases. I
gave them a quick coat of primer to really see how they would appear and
proceeded to sand
away some rough spots, add some gouges, smooth out the sides. Then I had
to drill the 1/2" hole in the foot of the arrowhead. In case you haven't
done it, resin is odd stuff to drill. the 1/2" hole went fine, but when I
inserted the rod and proceeded to drill the
1/8" hole for the locking pin, I snapped two bits. I guess resin
should be drilled at low speed. But it turned out the drill bit worked
fine as the locking pin anyway.
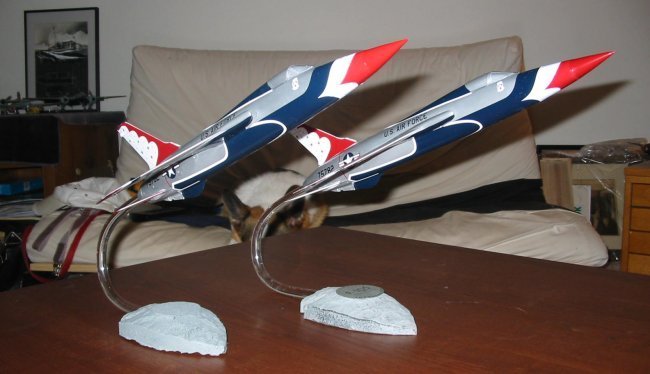
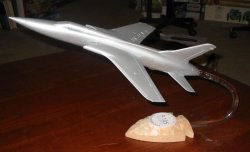
| Back to the
planes and finishing the paint. As the original had a simple silver
finish, I chose to follow that rather than the high sheen of Natural Metal
finish. I was tempted, but kept my focus on the goal, Match the Original.
I used real fine stuff to sand down the primer, and gave them a coat of
simple Tamiya Silver. I let that dry for a couple days, thinking about how
I could polish that surface - I did not have the fancy Tamiya polishing
creams. As it turned out, plaster-of-paris and a cotton rag works real
well! the damp rag with a touch of the plaster, and adding a bit of water kept
it from setting up. |
Click on
image below to see larger image
|
 |
|
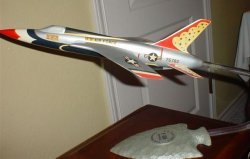
I let them dry for another day,
gave a second coat of the silver. then a couple coats of future and a week of
drying. They were ready for the decals.
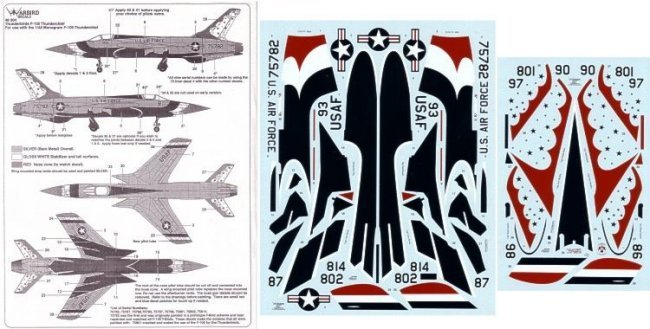
| This was the
most extensive set of decals I had ever applied. As you know, the
thunderbirds display lots of coverage, a dark blue, some white control
surfaces, lots of stars, basically the Native American Thunderbird pattern
on a jet plane. Due to the many reverse curves, gear doors, etc, the
broad surface areas were broken up to absorb all the bulges. Add to that
the extreme thin nature of the decals (a good thing) and we had some
challenges. Planning, Patience, Persistence. And lots of solvset. |
Click on
image below to see larger image
|
 |
|
Glenn
|
|