|
This is the first
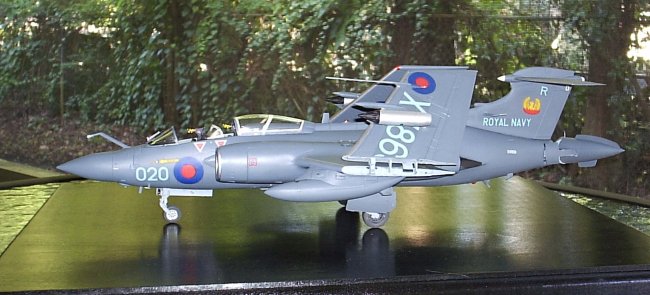
article I have submitted to ARC. I will not go into the history of this famous machine, other than to note it
entered service with the Royal Navy in the late 1950's and was finally retired
from RAF service the early 1990's after sterling service in the First Gulf War.
|
Click on
images below to see larger images
|
|

|
 |
|
I found the Airfix kit, long out of production, and the only 1/48 scale kit
of the Bucc. on eBay for about $20.00 (U.S.). After receiving the kit I went
on-line and sought out some reviews of the kit. I was shocked to find that they
universally condemned the kit as virtually unbuildable! All the reviews site
badly warped fuselage halves, numerous sink marks and an unholy amount of
ejector pin marks as well as warped wings. After building this kit I can tell
you, with all due respect to the professional model builders who have reviewed
this kit over the past decade or so. They missed the boat!
From front to back, I want to tell you that this kit is a gem considering the
age of the kit. The first problem, and I admit it takes some research, is to
convert the Humbrol paint call outs to their equivalent FS numbers. This is
really no big deal since there are numerous sites on the web that do just that.
From there you can match them up to your favorite paints.
Looking at the kit right out of the box, the pieces are virtually flash free,
and what flash there is can be cleaned up in about five minutes, less if you
want to risk cutting too deep in the soft European plastic. Sink marks there
are, as well as ejector pin marks. 99% of both will never see the light of day
because they are on the inside spaces of the model. I filled in 2 sink marks in
the cockpit, and 2 more on the air brake doors. Total fix time, about 2
minutes...17 minutes if you include the putty drying time. The only ejector pin
marks that needed attention are the wing fold hinges.
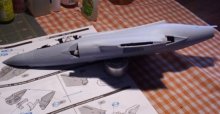
The one thing I would mention is; don't dryfit the fuselage halves together
because it will scare you half to death! Out of the box it looks horribly
warped...it's not! Glue the bombay door into the lower half, put at least 20
grams of weight in the nose and then glue the top half on, but! Here is the
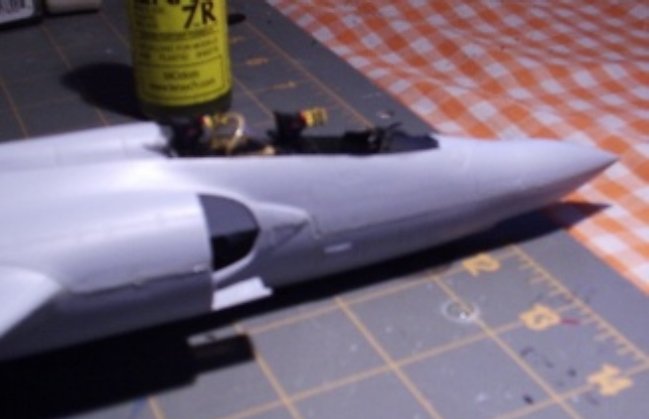
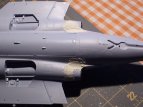
trick. Start at the radome starboard side. (At the pointy end, right hand side)
and glue about 3 inches of the seam (I use TENAX 7R WELD). Hold the seam closed
with your fingers for about 10 to 15 seconds and release. Then do the next 2 or
3 inches and repeat again until finished. You will see where the seam was and at
the jog by the air intake you will need to putty it, but it's not anything near
as bad as the seam line on Monograms 1/48 B-17/B-24 wing seams. (See Photo )
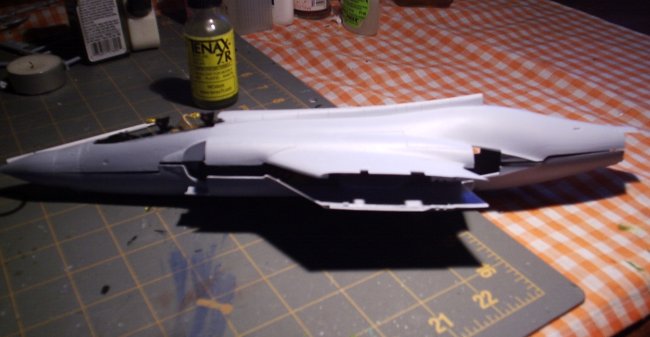
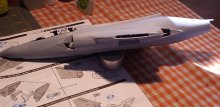
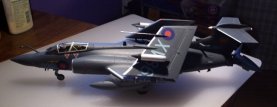
Then, start at the tail of the port side (See Photo ) and work your way forward,
as you do you will see the port side halves magically aline for a near perfect
fit! Done with the seams? Put the fuselage aside for awhile and let the glue
cure. Go on to the wings. The wings in my kit, after assembly, where straight as
a die. Not even a hint of warp. However, I cut too close with my sprue cutter
and had to putty up the diviets I put into the leading edge. Let me reiterate,
this plastic is SOFT! On the other hand sanding is a breeze. Just remember where
the panel lines and access hatches are, you are going to have to rescribe some.
|
Click on
images below to see larger images
|
|
|
|
|
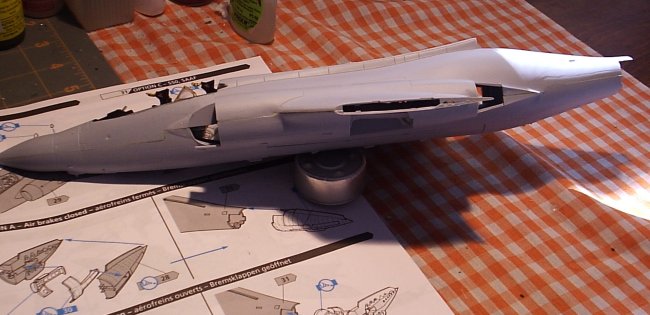
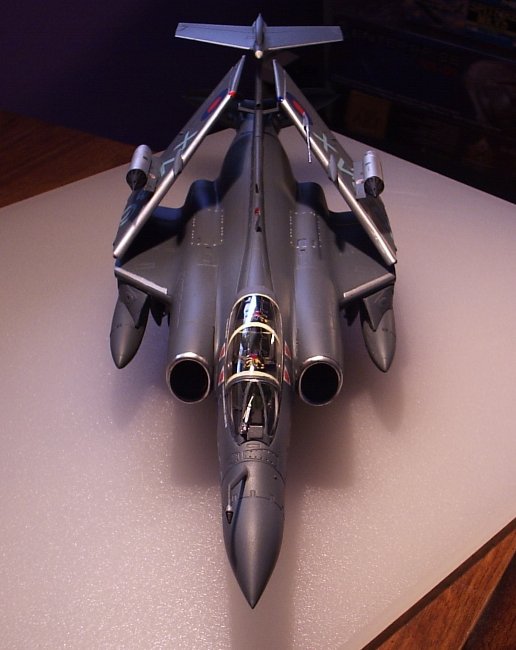
Another major complaint has been the fit of the air intakes and the exhaust
nozzles. I think if I had used the TENAX instead of liquid glue on the intakes I
could have avoided the jog where they meet the fusalage. As it is, it's not
really all that noticeable. Which brings one to the exhausts. What can I say?
These things live up to their reputation. I glued them in place and then got out
a fresh tube of Squadron White Putty and went to town. After 3 putty-dry-sand
sessions the seams and gaps where almost gone. Between the EXTRA DARK SEA GREY
paint and MODEL MASTERS BURNT IRON METALIZER paint you can't see it at all,
unless you specifically look for it.
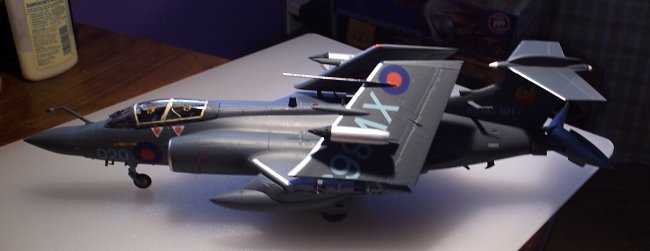
The rest of the build went fine. I left off the fiddly bits and wings until
after paint. I sprayed my Bucc with Floquils EXTRA DARK SEA GREY thinned with
MODEL MASTERS thinner. After that had dried completely, I sprayed the model with
TESTORS GLOSSCOTE laquer. When that was dry I decaled the plane using the kit
decals for the S2D of the 804th Squadron in 1976. The decals responded well to
MICRO-SOL and snuggled down perfectly. Except for 2 of the very smallest decals
that fell apart. I think that was due to the fact that my decal sheet had been
badly creased in the box at some time, rather than the age of the kit.
After putting on the marker lights, antenna, angle of attack probes and
rocket pods I painted the leading edges of the flying surfaces aluminium and the
air intakes where painted silver. All in all, this kit is really very good. I am
already looking for my second Buccaneer, which I plan to do in its Operation
Gandy colours.
|
Click on
images below to see larger images
|
|

|

|
Of course after writing this, Airfix re-released the
Buccaneer and it is now available at your local hobby store. Cheerio!
Bruce
|
|