|
The Indian Air Force
is probably one of the few in the world which is still depending on the reliable
Mig-21 in service. A large number of squadrons still use this old warhorse, and
it has served the country admirably in all its major conflicts, especially in
the ones with Pakistan.
Sadly, this plane
has gained a reputation as a pilot killer, since most of the rookies are forced
to learn on this plane, and it is an unforgiving one. Still it trundles on,
giving the best it can in the difficult circumstances.
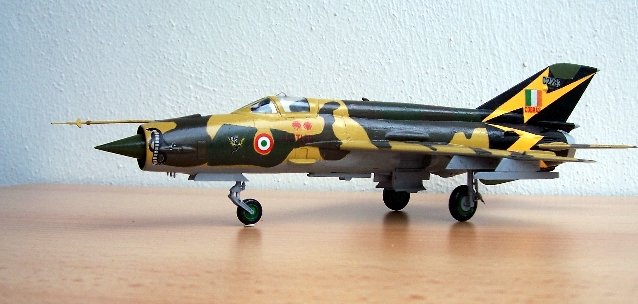
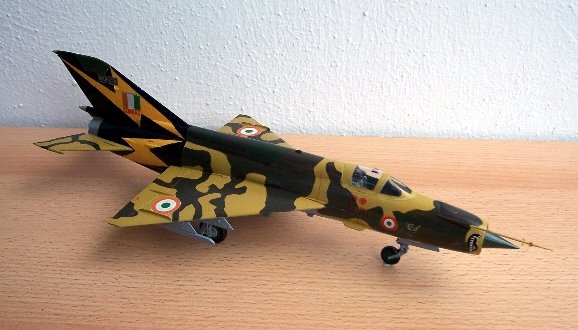
As a result, quite a
large selection of paint schemes is available in the different squadrons of the
Indian AF, and this one is special. It is from the No. 3 'Cobras' Squadron, and
is the plane used by the squadron commander. I have always wanted to make a
special effort to salute the spirit of the brave Indian pilot, and this is my
contribution to those heroes.
This is actually the
third time I am making this kit; I broke the first in a fit of rage ;), the
second remained incomplete when I came overseas to Germany last year, and this
is the last and final effort. I have made my own decals in MS Powerpoint, and
these were printed on laser printer paper.
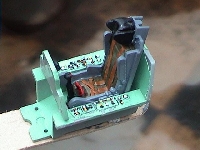
| As usual, it all
starts off with a cockpit. I used MM enamels for the interior, and added
smaller details with Revell paints and a toothpick. A coat of Future and a
wash brought out the details to some extent. |
Click on
image below to see larger image
|
|
|
This was then followed by some
detailing on the hydraulic cabling for the undercarriages, done using stretched
sprue. I also created side panels in the cockpit out of scrap plastic, and added
details using more stretched sprue and paints.
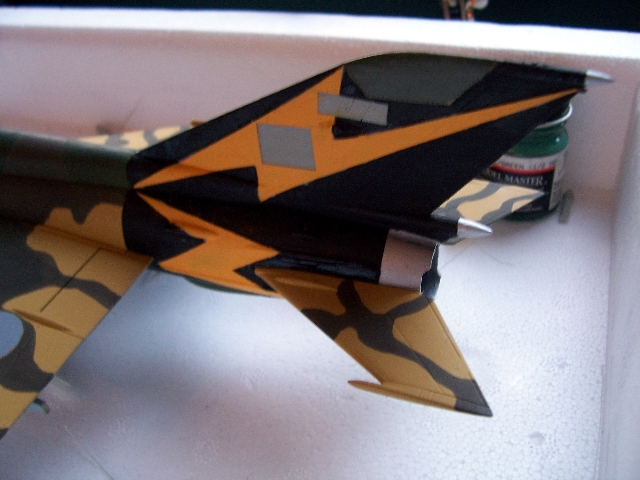
I then started work on masking
off the rear areas of the plane for painting the yellow lightning areas and the
black areas. This took a lot of time, since it had to be same on both the sides,
and I had to eyeball it every now and then. However, it turned out quite well in
the end, and you can see the results below.
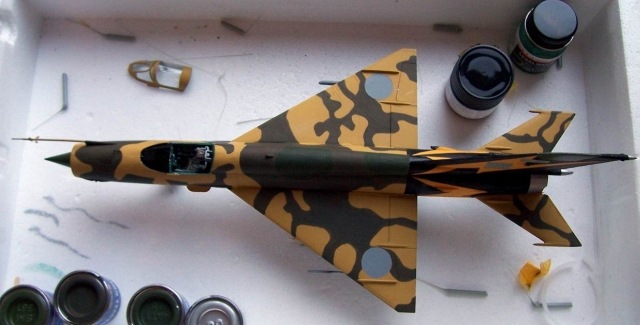
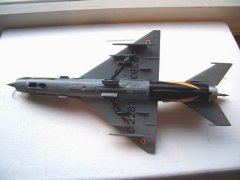
The paint job started next. I was
able to get the top Sand and bottom Grey equivalents in Revell Airbrush paints,
which were really convenient. I sprayed the overall plane grey first, and then
followed it up with the Sand on upper surface. The remaining parts of the camo
were shades of green, and they were also from Revell, but painted by hand.
|
Click on
images below to see larger images
|
 |
 |
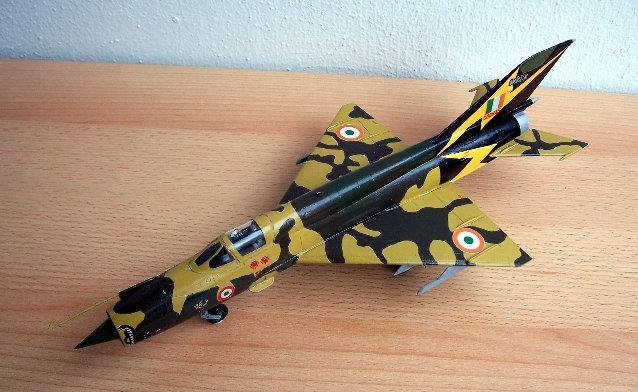
Finally, it was time
for the decaling. I sprayed the model with a coat of Glanzer(Future equivalent
here in Germany ;) ), and applied the decals carefully. I did have a problem
when I used Microsol for the decals (it literally stripped the colors from the
printed decals!), so I stopped using it after messing up on the first two.
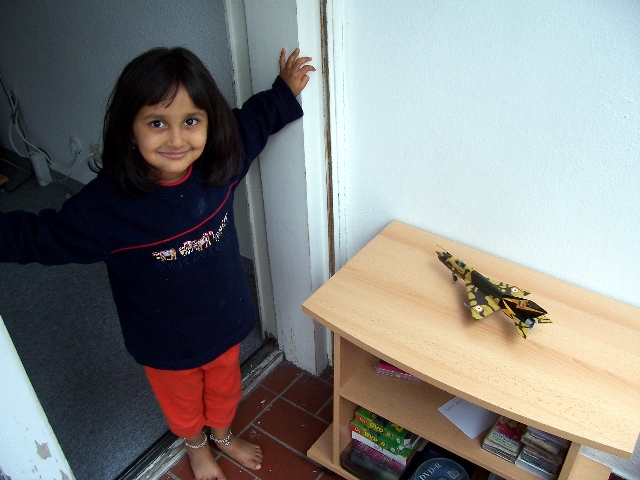
This was a great
model, and I loved every bit of the effort that I put into it. I am also putting
in the picture below, since my daughter insisted on helping me set up the photo
table, and she wouldn't allow me to continue unless I took her photo as well.
Thanks, Rachana from your loving Dad :)!!
Happy Modelling, and
Jai Hind!!!
Shekar
15 Aug 2005.
|