|
Painting
Once the whole model had been primed, and checked for flaws, it was rubbed with
an old t-shirt to knock of the high spots on the primer. In hindsight, the model
should have been rubbed down with something a bit coarser, as the paint is a
little rough in spots. The whole aircraft was then preshaded with thinned Gunze
flat black.
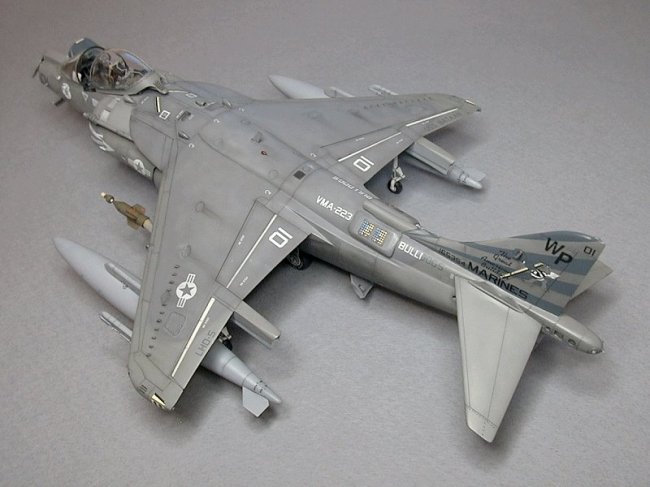
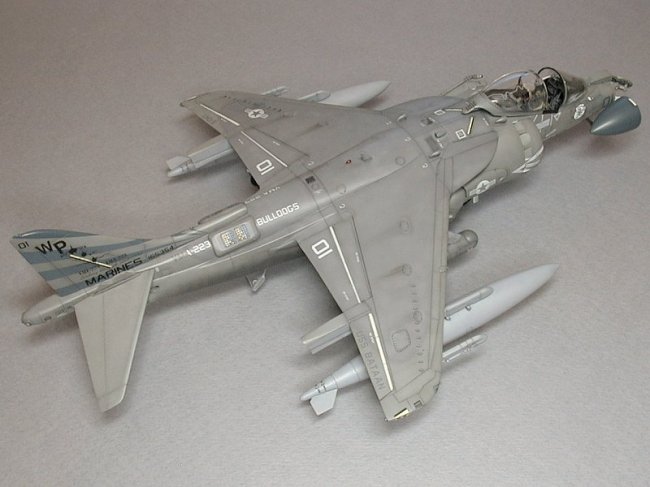
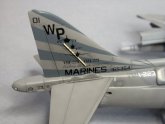
The lower areas of the kit were painted in Gunze H307 (FS36320), the sides in
H317 (FS36231) and the uppers in H305 (FS36118) – the correct colours for the
three tone grey Harrier scheme (Hasegawa has it wrong on their instructions).
Each area was outlined first though with some black added to the main colour.
This created a semblance of the demarcation often seen in photos. Lightened and
darkened colours were over sprayed to give some tonal variation, and then areas
of touch up replicated using different colours, outlined in black, on some panel
lines and panels.
Note that on this scheme, the interior of the LIDS bay and speedbrake bay, and
both the LIDS door and speedbrake were painted the colour of the underside.
|
Click on
images below to see larger images
|
|
|
 |
|
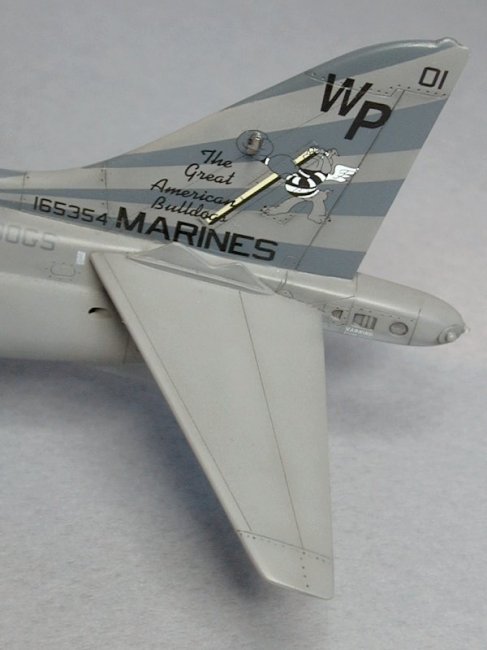
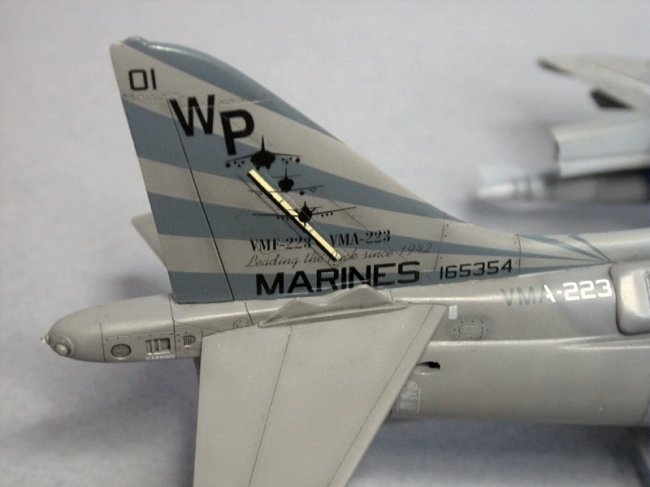
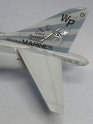
The grey on the
radome was mixed to match the dark grey on the TwoBobs decals, as the shark
mouth was painted in the same colour. This grey was also used to touch up the
tail stripe decals and paint the very upper tail stripe, which wraps around the
fin leading edge. All decals were applied after a gloss coat. My one gripe with
these decals is that the light grey is too light. It should be more of a pale
blue grey – there is too much contrast.
Once the decals were applied, the whole model was given another gloss and then a
thinned oil paint wash applied, before a matt varnish.
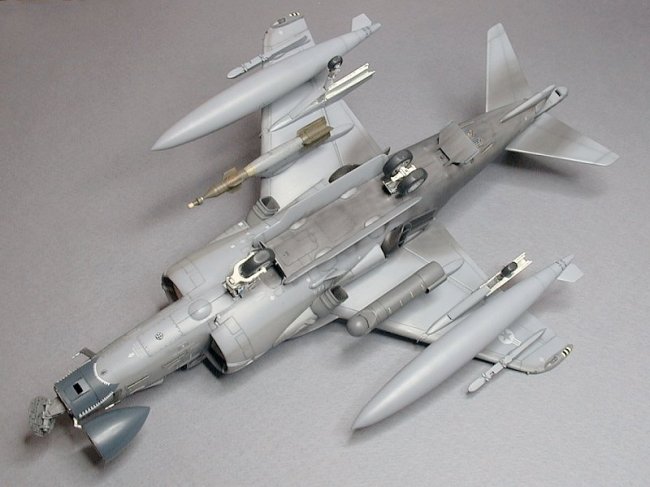
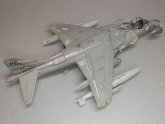
Stores
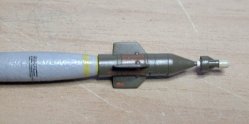
The drop tanks and LITENING pod come from the Hasegawa kit. The Paveway is from
a Hasegawa weapons set, with added detail. I replicated the ablative coating by
masking the front and back and then using a stiff brush to stipple Mr Surfacer
onto the bomb’s body, repeating until it looked convincing enough. By late in
OIF, there was no air-to-air threat, so the AIM-9s were no longer carried. The
outboard pylons were left empty.
One of the drop tanks had the
glue bottle knocked over on top of it, so had to be sanded and rescribed. The
fins on both drop tanks were also sanded to a more airfoil cross section. The
Paveway had a scratchbuilt seeker cover added, and after discussion with a more
knowledgeable person than I (thanks MickeyFickey), the disposable retaining
collar added behind the seeker head.
The laser warning decal on the LITENING came from the Hasegawa LANTIRN decals,
and the markings on the Paveway cobbled from the spares box.
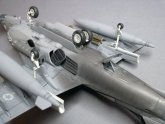
Final Construction
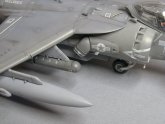
The finished stores were added. After the gear bays were painted white, all four
sets of landing gear were painted and attached. I glued the nose gear and
outrigger gears in place first. That gave me the height needed for the main gear
– one shortcoming of the Monogram Harrier is no positive attachment point for
the main gear. The previously inserted Aires gear bay helped out here. I shimmed
the Monogram gear leg until it was the correct height for the weighted tires to
touch the ground.
|
Click on
images below to see larger images
|
|
|
 |
|
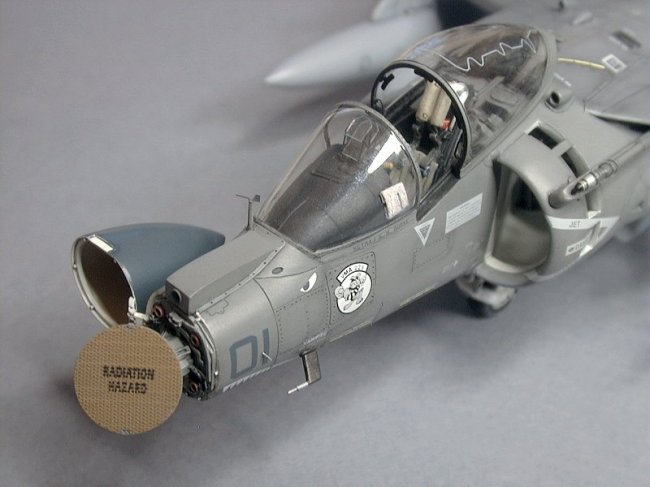
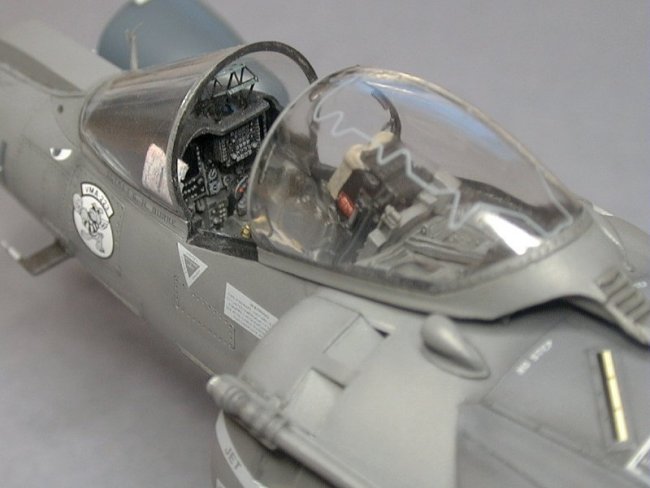
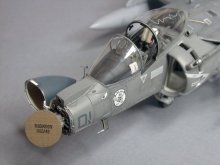
The canopy and frame were painted
and attached. I ended up using the Hasegawa MDC decal on the canopy as I managed
to destroy the very nice TwoBobs one is a masking accident. One point that is
often overlooked on the Harrier – when the canopy is open, the pilot’s step
is automatically extended. The step port was opened before attaching the
intakes, and an extended step from rod and scrap resin built and attached.
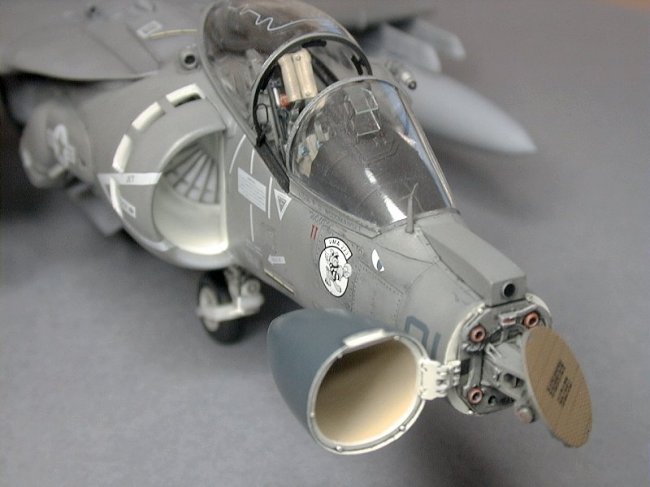
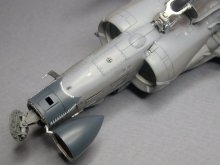
The painted nozzles were glued on and then the underside hit with thinned oil
paint and then thinned Gunze black, tinted various shades, airbrushed to finish
the weathering. Clear and red lights from Cutting Edge were added. The final
step was the chaff/flare dispensers. I found a photo on the Navy web site
showing a Harrier heading out for a sortie over Iraq, and it had multi-coloured
cartridges visible in the dispenser. This layout was replicated in a drawing
program and then 6 sets printed on the ALPS (all with different patterns) and
applied to the dispensers.
Lastly, a map of downtown Baghdad was printed, folded up and inserted under the
windscreen to add something a little different – you can still make out the
city name on it too.
In the end, a very satisfying result, but one that took a lot of effort. It will
be interesting to compare this to my two Hasegawa kits (another radar-nose AV-8B
and a TAV-8B conversion), when I eventually get around to doing them.
References
- Windrow & Greene Wings 5 -
Marine Muscle: Hornet And Harrier (ISBN 1-872004-47-4)
- ARC Walkarounds
- Hasegawa kit instructions
- Various articles by Lance
Braman
- Steve Belanger's MCAS
Cherry Point website
Inspiration
- Cyrus "The Virus"
Tan's Monogram AV-8B conversion
- Piero de Santis' Monogram
AV-8B conversion
Craig
|
Click on
images below to see larger images
|
|

|
|
 |
 |
|
|