|
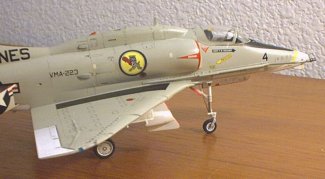
Here is my 1/48
Hasegawa A-4M of the VMA-223 "Bulldogs." My dad concluded
his Marine Corps career flying A-4Ms with the Bulldogs out of Yuma,
Arizona. I built this as a birthday present for him this year.
I custom made decals
for the squadron emblem and his name.
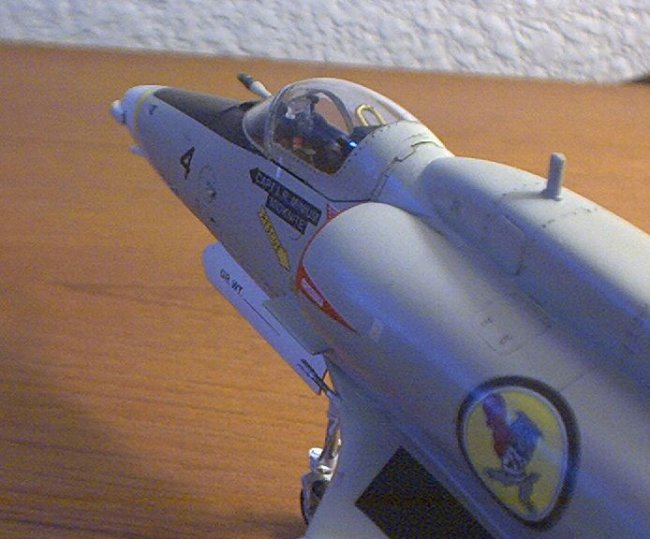
This decal reflects the emblem then in use. The name bar on the port side
reads " CAPT L.R. MINIUM
'MIDKNITE' ". By the way, if
you like Bulldog emblems I have enough for 12 more models--just email me.
They are really sharp--and free if you want
them.
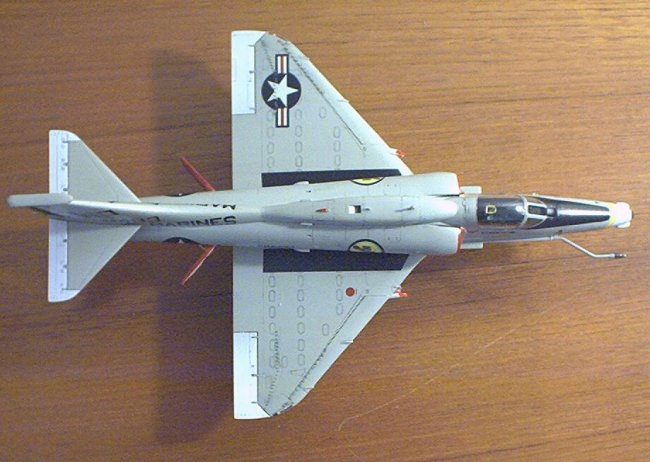
This was, by far,
the best kit I have ever had the pleasure of working with. If you are
interested in building an A-4M, this is THE kit. Overall fit was
excellent, with only minor (really minor) filling and sanding needed for intake
joins, wingroots and the avionics pod. However,
the slats were only meant to
go in the down position, so if you want them up--be prepared to fight.
|
Click on
images below to see larger images
|
|

|

|
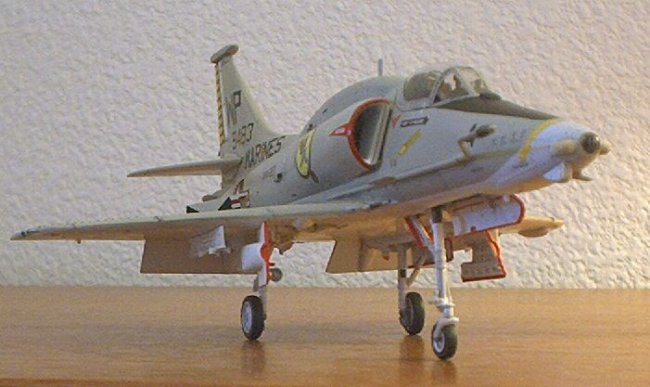
Since the instructions for the
model never include how to paint it, I'll tell you how I went about it.
The area under the intakes was painted with one coat of gray before attaching
them. The insides of the intakes were
painted before assembly and touched up after getting the 'seamless sucker' look.
The intakes were then
protected with cotton balls and liquid latex. The flaps, speed
brakes, landing gear (and doors), pylons, tailcone, guns, stabilizers
and clear pieces (nose and red lights) were painted separately and put on after
just before final overcoats were applied. Clear parts needing color (blue
and red) were done with Sharpie markers. Final overcoat was gloss on the
bottom and semi-gloss on top. Weathering was done with pastels. Any
unnecessary 'glossy' spots were hand painted
with acrylic flat clear (the tailcone and tires).
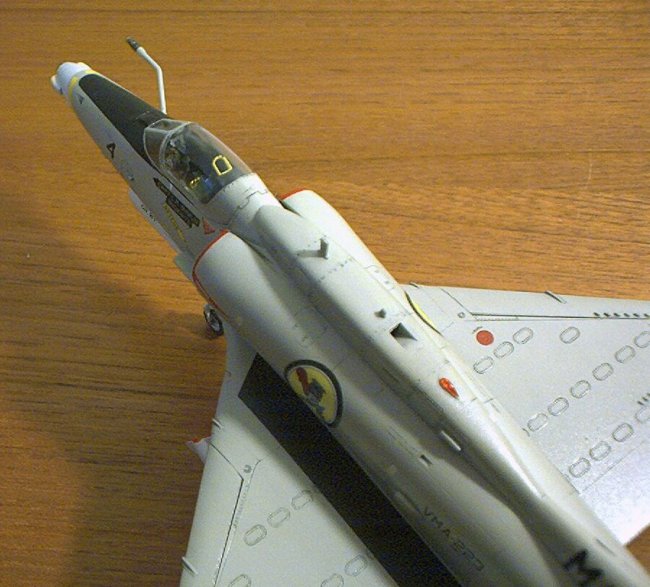
As for clear pieces, the wingtip
lights were put in place during the build since they had to be faired in with a
tiny bit of putty. I used liquid latex to mask them during painting. The
canopy was dipped in Future,
masked with clear tape then attached with a dab of modeling clay.
Press into position then use more clay to remove the excess. Now the
canopy is protected by tape and the cockpit is protected by the canopy.
This was really easy and allowed the canopy frame to have the same color as the
rest of the model.
After applying a
smooth glosscote I used a combination of the kit decals (which were
outstanding), the VMA-223 set from Superscale, and the self made Bulldog
emblems. This was the first time I used future/water as the decal
set--great results. (see "Common Techniques" in Painting)
Two
problem areas:
The canopy had a nice fat seam right down the middle--an absolute deal breaker.
I read "Removing..seam lines" by Steve Bamford but could not find the
flex-i-file he used, so I purchased a three grit file
from Squadron.com (part number 30505)
for just a few dollars and got great
results in under
10 minutes. The tool is worth its weight in gold!
The Superscale 'anti
glare panel' decal was about 25% to small and did not fit around the windshield.
Fortunately, the kit supplied decal fit beautifully.
All
in all the most fun I've ever had building a model.
Scott
|
Click on
images below to see larger images
|
|

|
|
|