|
I
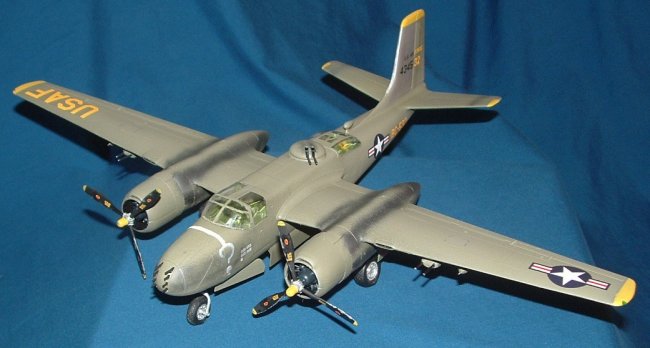
started out with the 1/48 Monogram A/B-26C Invader kit that I purchased off e-Bay.
The kit came with the Aires decal sheet “Marauding Invaders”. On this
sheet were decals for the plane “Question Mark”, as well as two others.
I wanted to use these decals, but unfortunately the C model of the kit was the
glass nosed bomber version, and the “Question Mark” was an 8-gun nosed B
version. Once again I turned to e-Bay and found a Hi-Tech resin conversion
that I decided to use. In addition, I found a good website on the
“Question Mark” put up by the son of the gunner on the ship. The URL
is http://www.ucinet.com/~mwmurphy/qmark.html.
I decided to build the ship, and use the decals that I had.
|
Click on
images below to see larger images
|
|
|
|
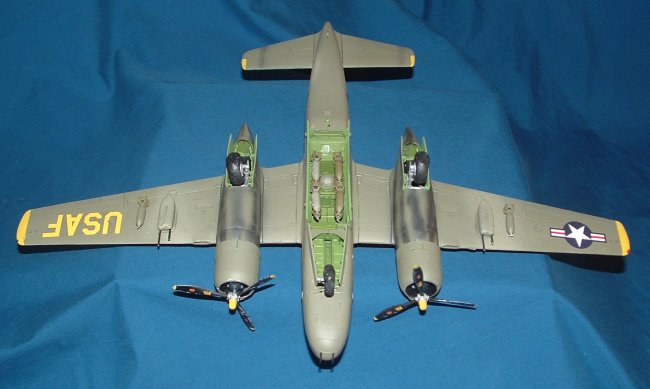
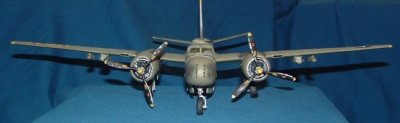
The
first steps that I took were to start the build of the interior of the ship.
I purchased numerous reference books, and found many color photos to help me
along. I paid special attention to the cockpit, and the aft gunners
compartment, as these were the two areas visible through the windows. I
painted the whole interior and bomb bay Model Master interior green, and the
bomb bay and landing gear doors Model Master Zinc Chromate. I then
weathered all these area by dry-brushing aluminum paint onto the corners and
used areas. After this was all done, I cemented the halves together and
allowed them to dry.
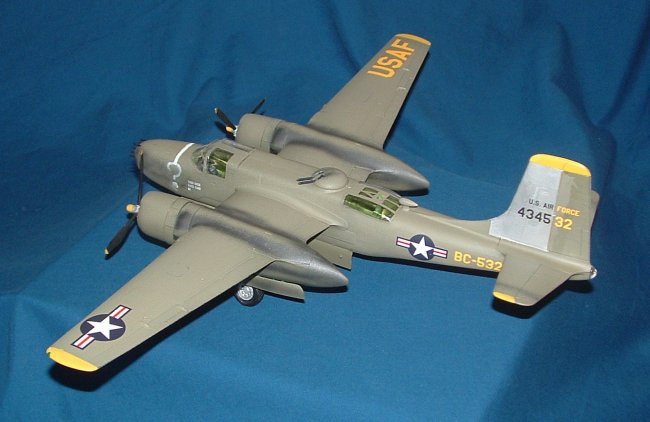
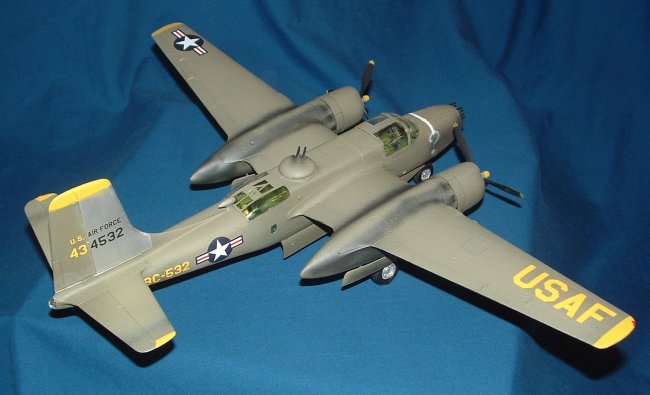
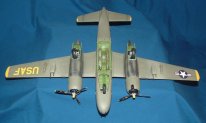
With
the halves together I concentrated on the exterior. My research was
ambiguous about the exterior color of the plane, it was either olive drab or
flat black. Although the exact color was inconclusive, it leaned more
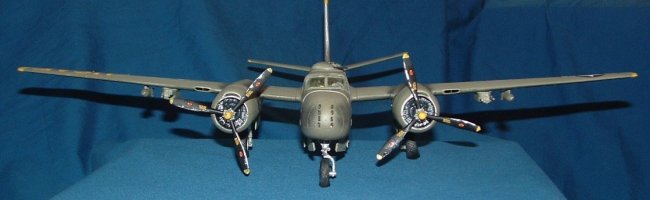
towards the olive drab, so that is what I chose to go with. I airbrushed
the whole plane with Model Master Olive Drab paint. After it had cured, I
decided to weather the upper surfaces slightly, by adding white to the olive
drab paint and lightening it. This worked very well. Then I used
Model Master Buffing Metalizer Exhaust for the engine exhaust and the gunpowder
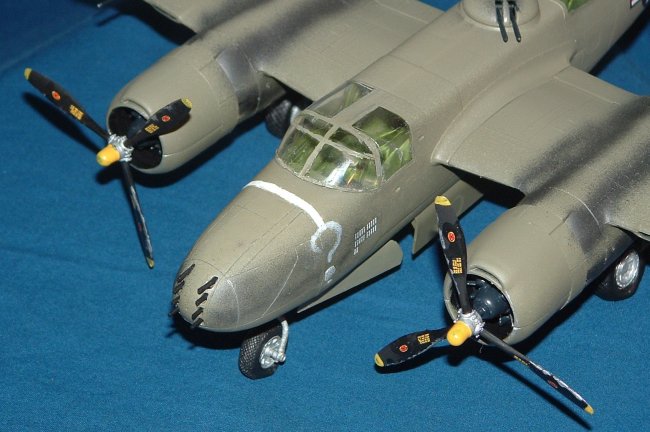
residue on the nose. The white question marks were hand painted on the
nose, as the decal sheet only included one, and did not match my reference
photos. Next, the tail was painted in Model Master Buffing Metalizer
Aluminum to simulate the tail that was replaced on the actual plane. Then
the decals were applied and the wing tips, tail tip, and horizontal stabilizer
tips were all painted in yellow. Then slight weathering with a silver
pencil and some aluminum paint finished the model.
Sean
You
can visit Sean's homepage at
http://www37.homepage.villanova.edu/sean.pearson/models.html
|
Click on
images below to see larger images
|
|

|

|
|
|