|
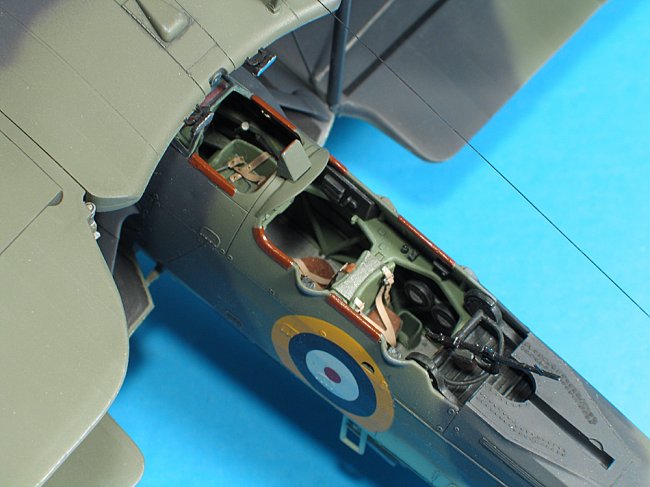
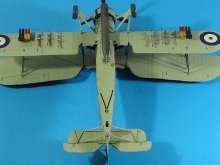
I built Tamiya's
Swordfish kit using their photoetched parts, which I didn't care for at all.
They are just flat shapes, with no relief detail, sane for eyelets on the ends
of the rigging. They had a "springy" quality to them, making sharp
creases at 90 degree angles nearly impossible. The rigging had a tendancy to pop
out of it's locators. I noticed after I took the photos that one of the wires on
the right wing came loose.
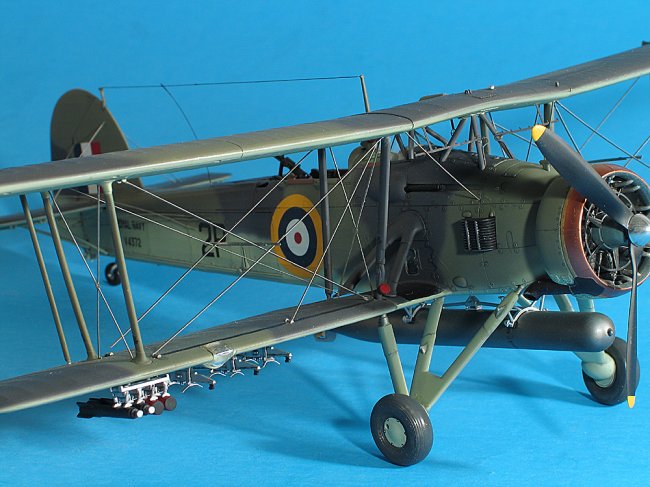
The method they
chose for the wing struts, connecting them in a "U" shape, makes
alignment easy for beginners, but filling the gaps in the top wing without
marring the surface is impossible. I would have preferred separate struts, even
if it's more difficult to align. The strut design also means that the top and
bottom wings must be joined before painting, so that the gaps can be filled.
The control cables
for the rudder and elevator were made using fine copper wire. These were not
included with the kit, but they are shown on the side of the box.
Everything about
this kit seemed to be geared towards simplicity. I don't have much fun when a
company engineers all of the work out of a build. I'm not a fan of Tamiya's
kits.
|
Click on
images below to see larger images
|
|

|
|

|
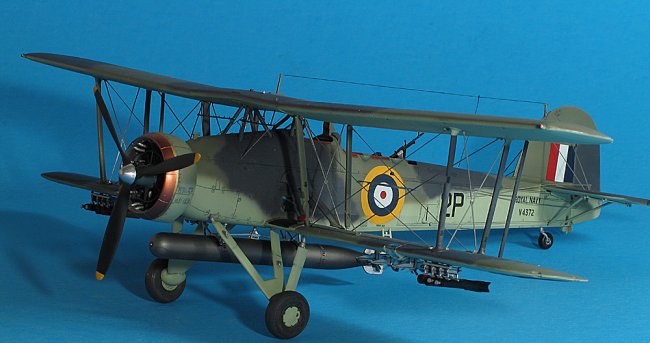
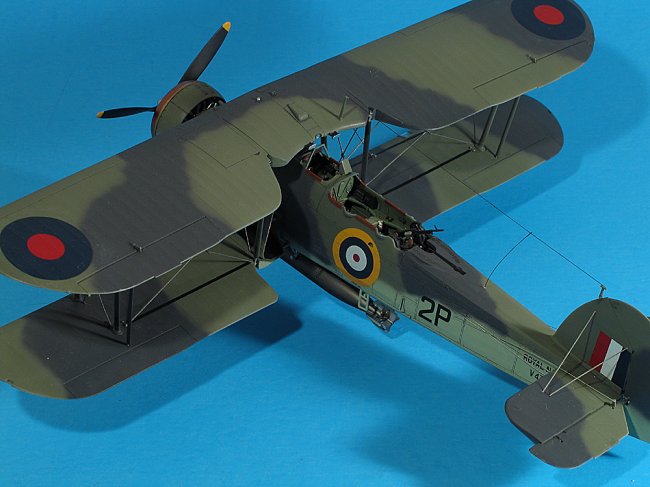
Believe it or not,
the painting guide suggests RAF Dark Green and RLM 75 Gray Violet (!) over
Medium Sea Gray. Fleet Air Arm aircraft of this period were painted Dark Slate
Gray and Extra Dark Sea Gray over Sky Type "S." I used Model Master
enamels and Gunze acrylic for the freehand camouflage scheme. The front cowling
ring was painted with Alcad Copper, and the torpedo is Alcad Dark Aluminum, with
a light overspray of Alcad Steel.
With the U.S. cost
of this kit, it would seem to be geared toward experienced modelers. This is not
a difficult kit to build, however. If you like them easy, and can get it on
sale, you may enjoy it.
Bill
Visit my website to
see other models of mine, I also build models on commission. http://www.pix.prettyneatinc.com/
|