|
Over the past few
years I have been building a 1:48 collection of post war Fleet Air Arm
aircraft. The fixed wing variety have been well catered for by both
mainstream and limited run suppliers, however the Lynx helicopter has not
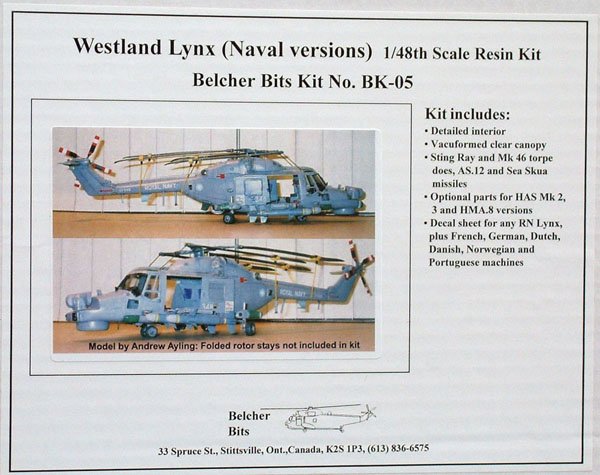
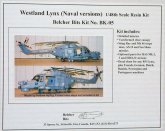
appeared yet in injection moulded form. A resin kit does exist, however,
from the Canadian firm of Belcher Bits and having built one resin model (Collect
Aire's F3D Skynight) I felt ready to try this one. Here in the UK,
Aeroclub models list both the Belcher Bits Royal Navy and Army Air Corps
versions of the Lynx - I ordered the RN boxing.
In the box you get a
comprehensive set of resin parts and a vacformed front cockpit canopy (plus a
spare). All of the parts are resin - there are no white metal or
photoetched parts - and some of the finer detailed parts need to be strengthened
as resin is not the ideal material for them - the landing gear struts being
a good example. Alternate parts are provided so that you can model a
RN Lynx Has Mk2, Mk3 or HMA8; a French Navy WG13 , Mk2 or Mk4; Dutch Navy
UH-14A; Danish Navy Mk80 or Mk90; German Navy Mk88 and Mk88A; Norwegian Coast
Guard Mk86 or a Portuguese Navy Mk95. Decals are provided for all of
these options and you also get a set of vinyl masks for the cockpit
glazing. The instructions are thorough but to my mind rely too much on written
assembly descriptions - some more diagrams would be useful, but there enough
photo references on the internet to compensate!
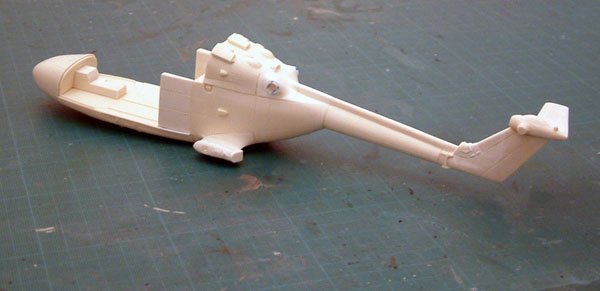
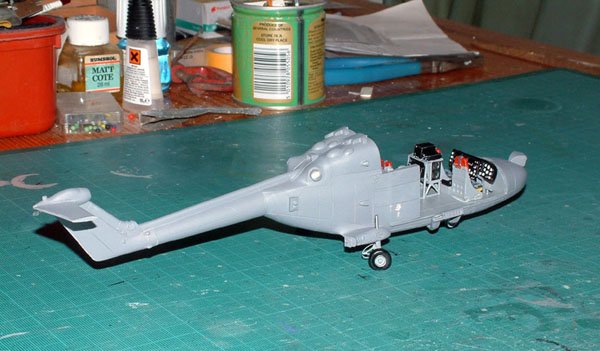
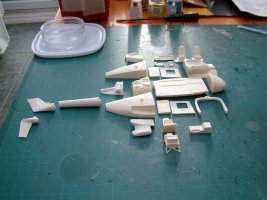
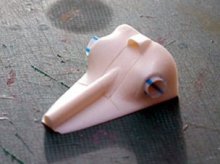
| The fuselage
parts are formed form a series of resin "building blocks" that
need to be glued together as opposed to the traditional left and right
halves. Some plasticard shims were needed to ensure alignment and
super glue was used to fill some of the finer gaps. Constant test
fitting is recommended as any misalignment at this stage will be highly
visible. Humbrol filler was used to blend some of the parts
together - in particular the main gear sponsoons and the tailboom joints. Using
photo references I added additional plasticard stiffners to the tail
hinge points. The resin moulded control column and engine exhausts
were respectively replaced with steel wire and drinking straw offcuts. |
Click
on image below to see larger image
|
|
|
|
Click on
images below to see larger images
|
 |
 |
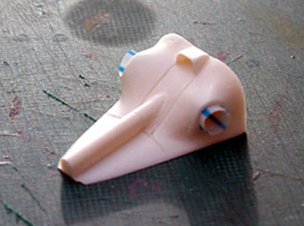
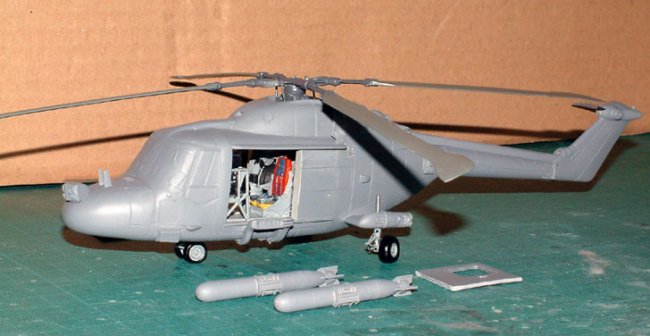
The interior is well
detailed with early and late instrument panels and resin seats for the pilot and
observer. In the rear you get a choice of "inflatable" seats for
ratings or a dipping sonar fit with a third seat and instrument rack. The
rear fuselage cockpit floor and nose were assembled and primed using Halfords
gray acrylic spray primer, which works well on the resin but needs two or
three coats to get a good finish. The main rotor blades are moulded
straight with the later BERP blade tips provided as separate mouldings - I
wanted to model an HAS Mk3 with the later BERP rotor tips so I cut off the ends
of the "plain" blades and superglued on the BERP tips once the
glue had set, the joints were cleaned up with fine sandpaper. Steel pins
reinforce the butt joints between the blades and the central hub and were also
used for the control rods. The tail rotors are also provided as separate
parts and careful attention is needed to fix them to the separate hub. I
used stretched sprue for the control linkages and drilled out the hub to provide
a steel wire shaft connection to the tailfin.
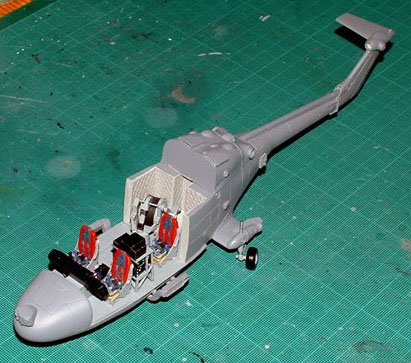
The interior was painted a mix of
light aircraft grey and dark greys of various hues (advisedly "Old
Admiralty Grey" is the official interior colour) before the main roof and
cockpit glazing were added. The vac-formed canopy was carefully cut from
its backing and then test fitted and trimmed to optimise the fit to the resin
parts. I dipped the vac-canopy in Johnsons Clear to enhance its clarity
and to impede potential white misting as I needed to attach it with super glue.
The part was masked before application - I used small dabs of glue applied with
a pin to tack it in place before running further glue into the joint with the
same pin. Once it was set I used Humbrol filler to further fill the joint
and fine sandpaper to blend it in (using a couple of layers of masking tape to
protect the clear parts).
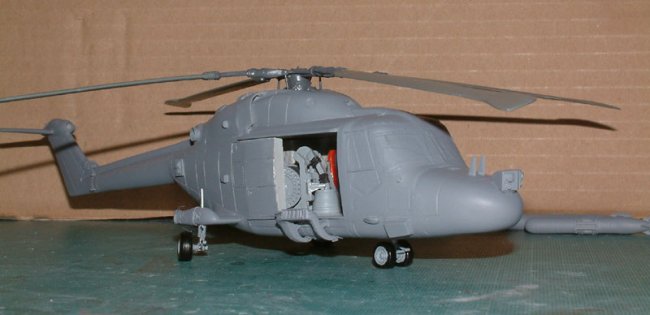
The fuselage doors are moulded
separately and are quite thick so to be posed open they need to be thinned
somewhat. They are also moulded flat and need to have some curvature
added to follow the fuselage contours. No glazing was provided for the
doors so I used "windows" cut from the clear plastic that is used to
stiffen shirt collars. The landing gear oleos were cut from the
resin struts and drilled out so that they could be fitted to new struts cut
from steel nails of the same diameter. Brake lines were added using
stretched sprue and steel wire axles used to attach the resin wheels.
The strengthened main gear was inserted through holes drilled in the sponsoons.
A full ordnance fit out is provided
in the kit with AS12 missles (4), Mk46 torpedos (2), Stingray Torpedos
(2) and Sea Skua missiles (4) together with their mounting rails. I
added the mounts for the Stingrays but have yet to paint and attach the
ordnance.
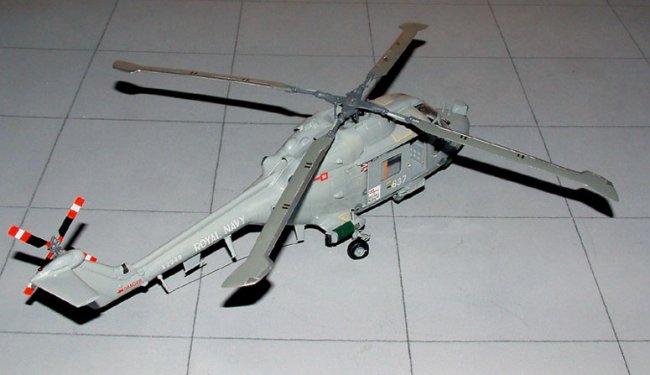
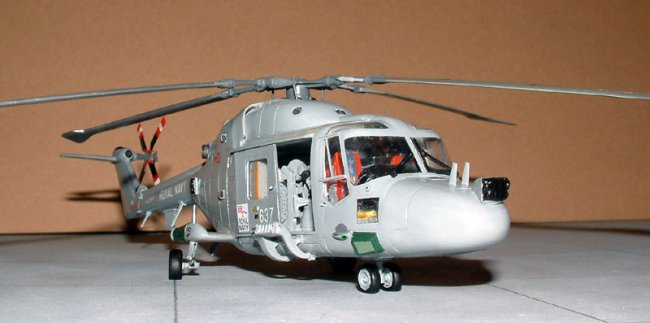
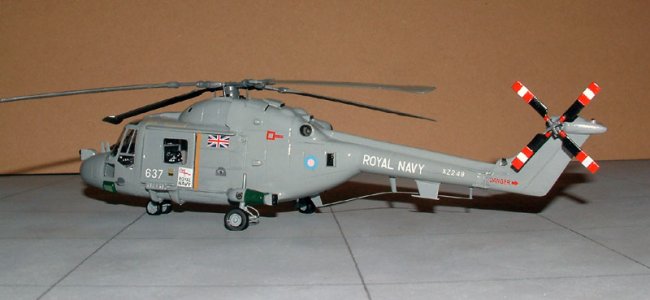
Once primed the model was brush
painted with Humbrol medium sea grey and given a couple of coats of Johnsons
Clear. The decals went on without a hitch and were sealed in with further
coats of Clear. Plastic card and stretched sprue were used for the
antennae, windscreen wipers and other lumps and bumps that the photo references
showed.
The Belcher Bits kit is not one
for the beginner but it is well cast and with a bit of planning and the right
tools (fine drill bits and a pin vice or motor tool are essential) it builds up
very well.
Darius
|