|
Hello again friends, I'm happy to be back again with yet another
tiny 1/144 kit. This time it's Revell's Rafale M, a beautifully molded
gem with finely engraved panel lines and superb detail. It seems that Revell is
really taking this scale serious by producing very fine kits like their Hawker
Hunter, F-104, F/A-18C and just recently an F-14A and E-2C. If you think
that the best things in life are (almost) for free than you should consider
buying this one: for only 4 euro's you can drool over this amazing
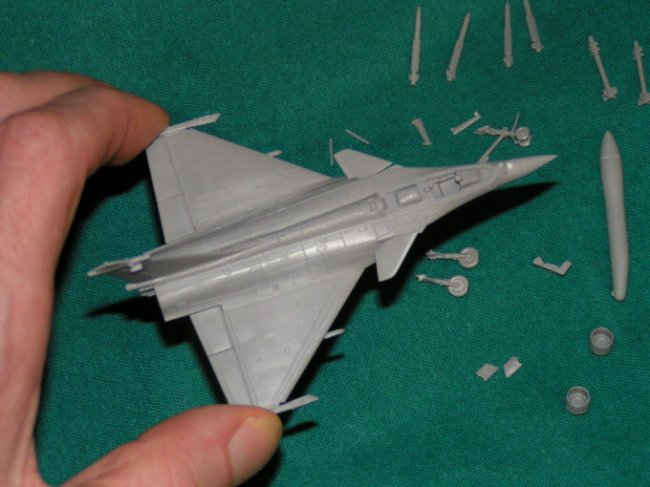
kit. Remember that this model is smaller than the palm of your hand.
Ok now, once you got over the
first excitement you can just go ahead and build it. Construction is very easy
and requires no putty except for a small sinkmark on the nose. Before
assembling the fuselage you can paint the main gear wells and then add cockpit
and wings. This is all very simple so far. If you want a goodlooking model
you will probably want to correct the nose a bit because this seemed to me the
weakest point, it sits a bit strange or it's out of scale. And you might have to
sand around the intake/fuselage and wing/fuselage joints, there are no gaps
here but it will make the transitions smoother. Even the smallest fault looks
enormous in this scale, so you have to take care that everything is fine.
|
Click on
images below to see larger images
|
|

|
|
|
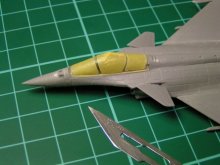
After major assembly I dipped the
canopy in Future/Klir and masked it with Tamiya tape and a new xacto blade, not
much fun but it can be done as you can see in the pics. Then it was temporarily
fixed with white glue, I wanted to paint the cockpit in the final stage.
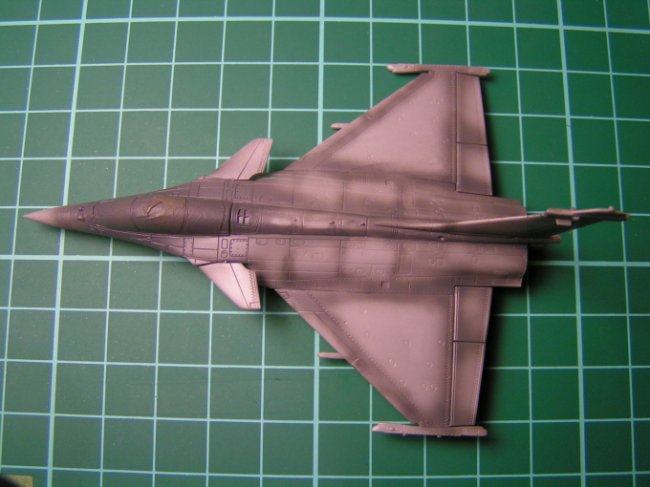
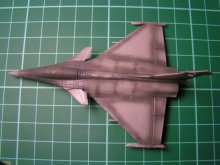
Painting: The kits decal versions are
for 2 overall grey schemes and I knew that it would look better with a bit of
preshading. For this I used dark grey, same color as the cockpit, this
allowed me to paint the inside canopy framing color first. After that I
could go on with the actual lighter grey for the whole aircraft. The preshading
almost disappeared but the effect returns when you take pictures with
strong light and zoom. I didn't want it to be overdone anyway.
Then I took the canopy back off
and painted the cockpit. The seat has molded belts and there are even 2 very
small joysticks and an instrument panel. Maybe no one will ever see them but at
least you know they're there.
The rest of the smaller stuff is
easy to paint, just difficult to handle with tweezers more acting like
catapults.
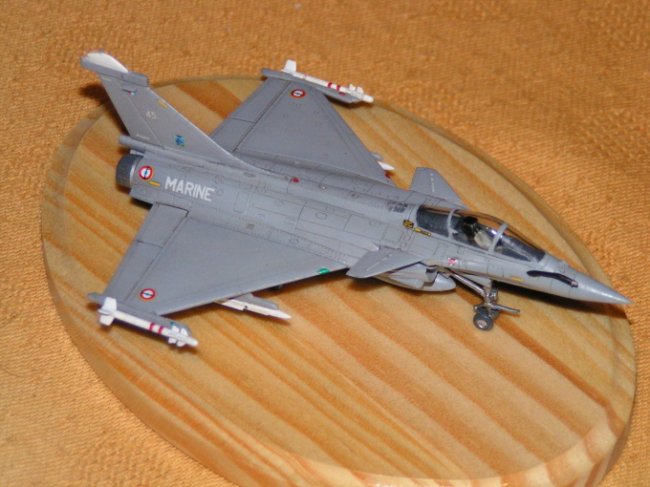
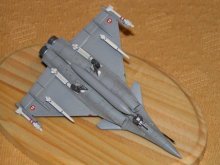
Decalling was straightforward
after a coat of Future/Klir. Only the markings on the bombs were handpainted.
Then another coat of Future/Klir and an oil wash: oils thinned with turpentine,
let dry few minutes, wipe off excess with damp cloth with thinner and the
panel lines become visible. Finished it with a dull coat.
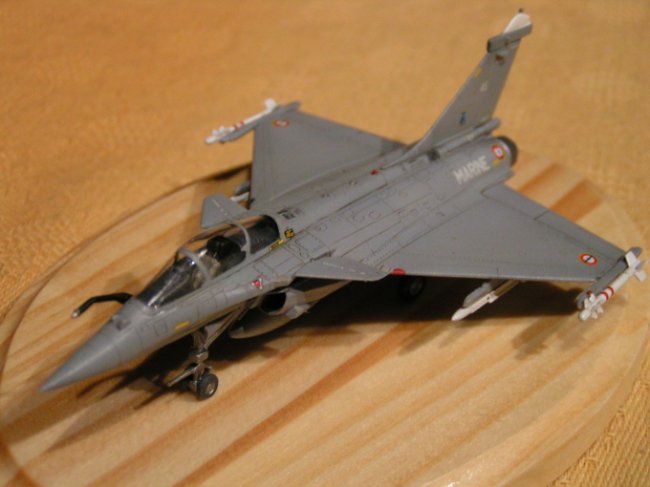
At last canopy masking tape was
removed and all the fiddly bits glued and done !
Well there you have a fantastic
model that will fit in every display case, taking much less space and looking as
good as a 1/72 kit. So I can only recommend these kits from Revell, I have their
new F/A-18C and F-14A and if I ever get them done you will certainly hear
from me again.
Erik
http://users.pandora.be/erik.wauters/
|
Click on
images below to see larger images
|
|

|

|
|
|