1/32 Academy F/A-18C Hornet |
|
|
Gallery Article by Carlos Concepcion
on Aug 23 2003 |
|
|
|
I check ARC
everyday and get some helpful tips and techniques every once in a while. I also
browse the gallery and get some inspiration from there as well. Thought I would
contribute some photos of my Academy 32nd scale F/A-18C Hornet.
|
Click on
images below to see larger images
|
|
|
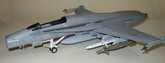
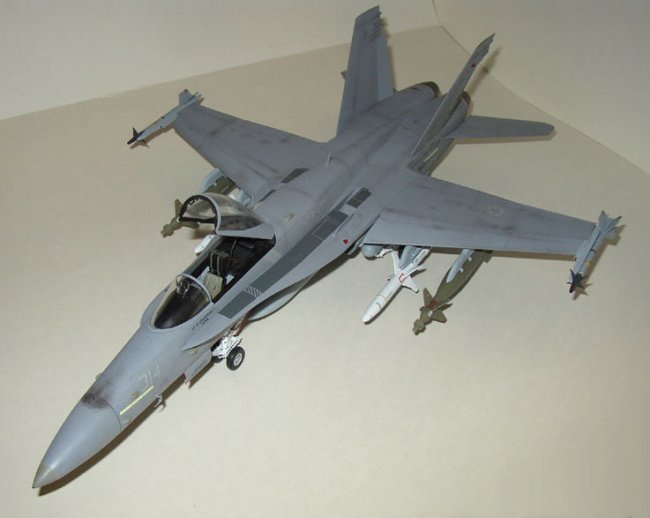
Probably the
best kit I've ever had the pleasure of building, except for some minor fit
problems with the intakes, otherwise, this model went together beautifully.
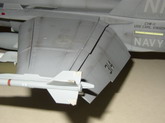
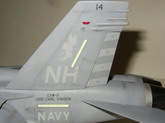
I wanted
something different other than the kit-supplied "Year of the Golden
Dragon" markings that everyone else was likely to build, and opted for
CAMdecals 32-104, VFA-22, Fighting Redcocks, USS Carl Vinson.
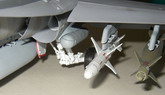
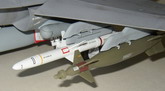
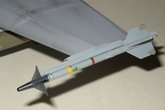
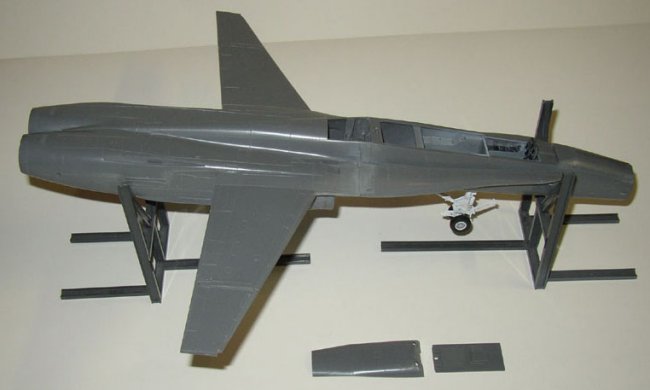
For those
wanting to build these models but were somewhat intimidated by parts and/or
complexity, try a different approach. I broke tradition on this Hornet by first
building the external weaponry and associated pylons (instead of cockpit first)
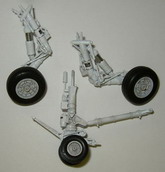
and painted and decaled them to completion. I then moved on to the landing
gears, same treatment. Doing things this way forces you to concentrate on one
particular subject matter and ignore everything else. The wings came next, then
the rear fuselage, intakes, twin tails, flaps, slats, until you have nothing
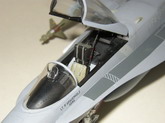
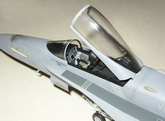
left but to tackle the cockpit. To aircraft modelers, the cockpit is the most
worked on, detailed aspect of the model. My approach was "save the best for
last." Before you know it, you've completed the cockpit and are left with
several sub-assemblies that just need put together. Best of all, the landing
gears and weapons are already assembled, painted and decaled. To most modelers
that follow the traditional building process, they get bogged down when they get
this far. They realize they still have these parts to build, and, more often
than not, end up boxing the project out of frustration, probably not to be
touched again for several months, if ever.
With this
technique, once all the major sub-assemblies are put together, it's off to the
paint shop, decal, and finishing touches. And there you have it. It took me
about a month to complete my Hornet; a couple of hours nightly, a little more on
weekends. A lot of patience, especially with the landing gears, probably the
most complex aspect of this project. But I had a lot of fun. I liked it so much
I have second kit already in the works. Knowing where the pitfalls are, I can
take my time building it. Enjoy!
Carlos Concepcion
|
Click on
images below to see larger images
|
|
|
|
|
|