|
|||||||||||||||||||||
|
|
|
|||||||||||||||||||||
|
|
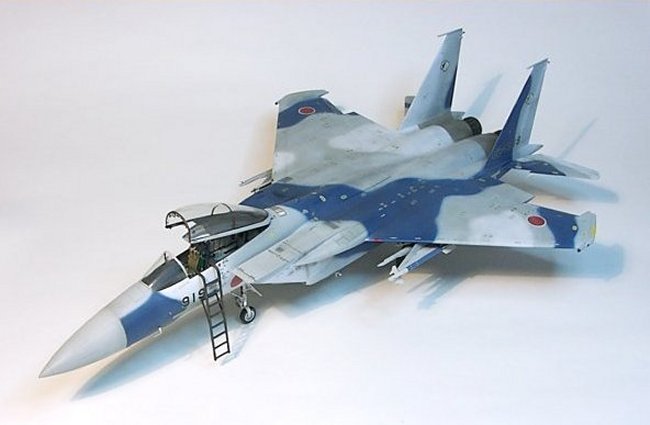
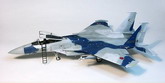
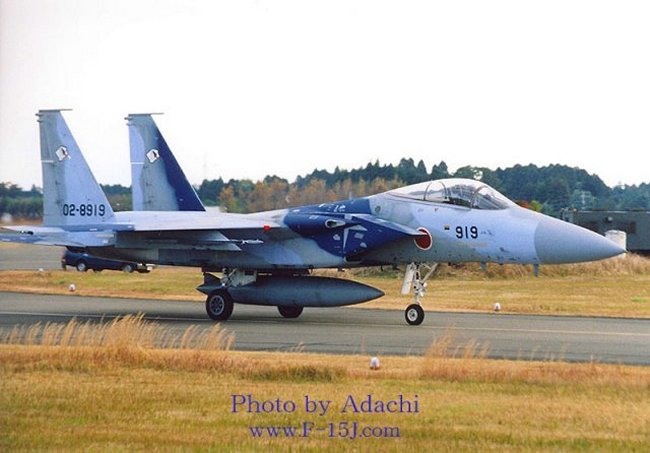
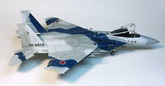
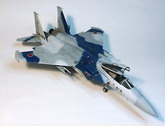
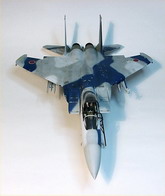
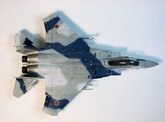
This is the result of seeing the box photo of the model at www.hlj.com. The moment I saw it, I ordered it, when it arrived I stopped all my projects and finished the model. Maybe I got bored from all the greys, surely Japanese people know how to paint their F-15's.
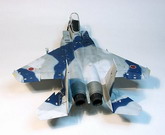
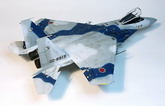
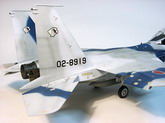
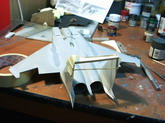
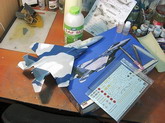
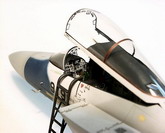
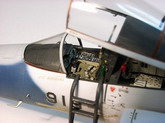
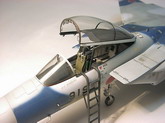
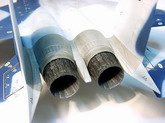
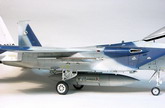
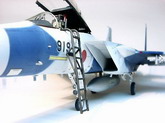
It's the Hasegawa model with Eduard interior and exterior sets and an Aires resin AcesII seat. I didn't use any resin cockpit sets, because I had a spare Aires seat and the kit has a reasonably detailed cockpit. After adding the details which Eduard provides, there were no need for a cockpit set. www.f-15j.com was helpful on finding the pictures of the real plane, it has pictures of almost every F-15J. Some of the details provided by Eduard are not very visible on the finished model, but I decided to add them anyways. This time I attached the vertical stabilizers before I paint the model, filled the gaps and sanded the join smooth. This is often overlooked by F-15 models, (including on my previous F-15E), maybe because it is much easier to paint the stabilizers before attaching them to the fuselage. This model is painted freehand, gloss coated and it's ready to decalling. Putting the decals on a gloss coated model is the most entertaining part of modeling in my opinion. I use distilled water for decalling to prevent lime stains on the model. Painting the freehand camo was easy on this model, because the demarcations on the real plane is not tight. Painting was done with mixed Tamiya acrylics.
After the decal job, I gloss coated the model again, put a matte coat, weathered it using chalk pastel dust and washes, put another matte coat to protect the weathering, and finally masked and painted the exhaust area using Testors steel. Kaan Gök
|
|
Photos and text © by Kaan Gök