|
|||||||||||||||||||||
|
|
|
|||||||||||||||||||||
|
|
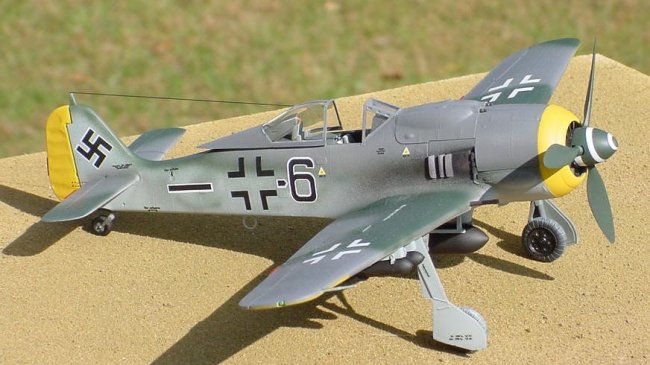
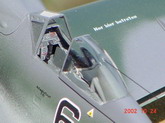
This is my 1/32 Revell Fw-190F-8. From what I understand it's a re-box of the old Hasegawa kit. Not to many Fw-190's are out there in 1/32 and this looks like a new release from Revell so I picked it up on a whim at the LHS. It's a very nice kit. There are additional sprues added to convert a traditional A-8 to the F-8 (ground attack) version. The kit build nicely and minimal filler is needed with exception at the lower wing/fuse joint. All the details are raised and there are a lot of rivets! I'm not sure if the real 190's skin was this rough but to my untrained eye it looks OK. I built the kit OOB. I tried to dress up the cockpit area a little but there's not much detail. A little dry brushing on the instrument panel helped. Since I wasn't going all out on this one it wasn't too concerned.
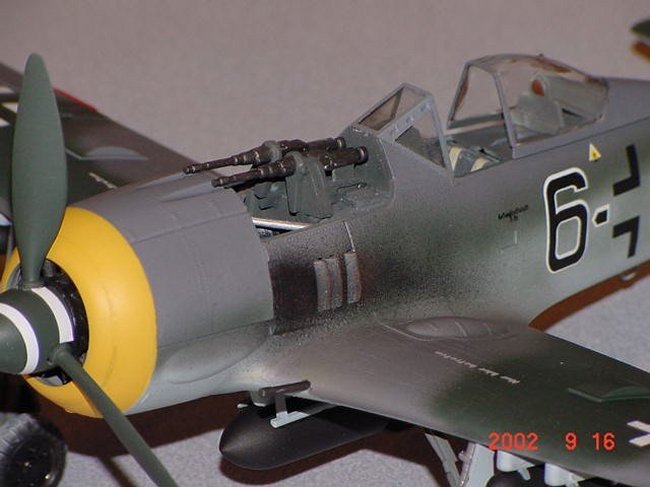
Everything fit very well and the model build quickly. There is a BMW radial engine under the cowl as well as MG 151 machine guns under the cover just forward of the windscreen. The only problem with the engine were the exhaust stacks. These do not fit very well and some trimming and repositioning is required. The engine itself is not very detailed but a little painting and dry brushing helps. The top engine cowl is removable and that's really the only way to see the engine since the front view is obscured by the cooling fan. (all 190's had this fan since the BMW engines were prone to overheating).
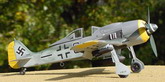
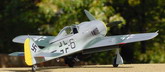
The model was painted with MM enamels (RLM 76/75/70/04) and the camo pattern was freehanded by myself using my trusty Badger 350. I didn't use the color schemes provided in the instructions. I used several references I had on the 190 and this scheme is sort of a composite of those that I could find and liked. One thing about the F-8 is that it's production came at the end of the war. By this time the Reich was in disarray and you see a lot of different color schemes being applied in the field and even at the factories. So my choices my not be too far off the mark. After painted the model was gloss coated with clear lacquer and ready for decals. I used the kit decals which are very nice and conform well to the bumps on the surface of the model. Some Micro-Sol was used but not an inordinate amount. After the decals were done I added some exhaust stains and some detail paint then gave a coat of flat, clear lacquer. The fial bit were installed and she was declared done. I've always liked the "Wuger Bird". It's one of Kurt Tank's most enduring designs. It has such clean lines and looks every bit the fighter it was intended to be. I can see how this plane could instill fear of the bomber crews over Europe sixty years ago. Visit my web site at http://www.geocities.com/jbrundt Jeff Brundt
|
|
Photos and text © by Jeff Brundt