|
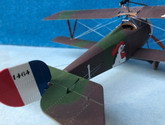
The Nieuport 17 was the logical outgrowth of the Nieuport 11 "Bebe". The 17 was larger than the 11, was equipped with a more powerful rotary engine, and later versions were armed with a synchronized Vickers machine gun instead of or sometimes in addition to the overwing Lewis gun. The 17 was flown by the French, British, Italians, Russians, and Belgians. In addition it was a pre-SPAD mount for the American Pilots in the Lafayette Escadrille.
The 17, like the 11, had a sesquiplane configuration, with the lower wing only supported by a single spar. While this provided the pilot with a good view downward, the weakened wing structure was prone to breaking off. The 17 could hold its own against the German Albatros D-II and D-III, but had become obsolescent by the time the Albatros D-V and Fokker Triplane were introduced. Many Allied aces added to their scoring in the 17, including Rene Fonck, Billy Bishop, Albert Ball, Rene Dorme, Georges Guynemer, Mick Mannock, Fulco Ruffo Di Calabria, Francesco Baracca and Edmond
Thieffry.
|
Click on
images below to see larger images
|
|
|
I had purchased Copper State's Nieuport 17 "Early Version" shortly after it came out in 2018. I set it aside, hoping Wingnut Wings would eventually do one. Well, we all know how that turned out by now. Anyway, after finishing the Ninak, I figured I had better try and find a replacement to feed my 1/32 WW I aviation fix. With some trepidation I pulled the Copper State model out of the closet and decided to give it a try.
The kit comes in a sturdy box with a sleeve around it showing some nice artwork. Inside the box are 5 plastic sprues, 1 photo etch sheet and one sheet of acetate film for the top wing cut-out. The decal sheet provides for enough decals to do any of 5 versions, although there are only enough national markings for one complete 17. The five marking options all have the basic brown/green camouflage on the upper and side surfaces. The underneath surfaces on all aircraft call for light blue. The color call outs are only given as generic names, without any FS references or use of currently available paint choices. No big deal, there is plenty of info out there on French camouflage colors. Finally, there is an 8" by10" color version of the box art, suitable for framing. The instructions come in a booklet whose cover is designed to look like an old fashioned owner's manual. The instructions show all of the frets and decal sheet. What I really like is that when the build instructions begin, they not only call out the part number but also the name of the part. I finally know what a magneto looks like.
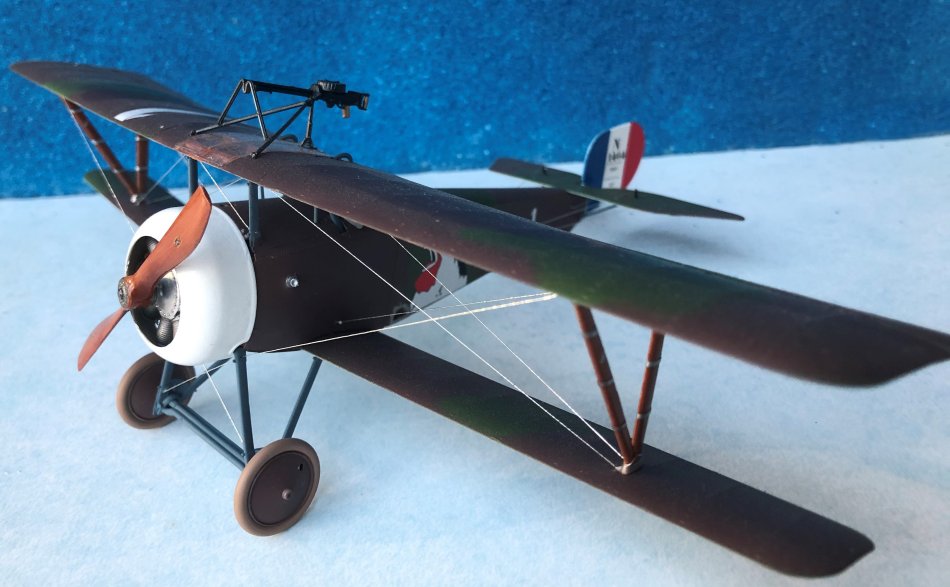
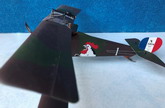
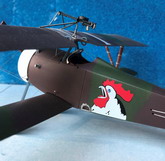
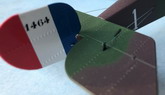
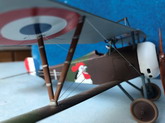
I chose to do the airplane flown by Captain Jean Georges Fernand Matton, a 9 victory ace when he flew with Escadrille N. 48, the "Fighting Cocks". Matton was born on October 27, 1888. He was awarded the Legion of Honor for his work in the cavalry in 1915 before transferring to aviation. He flew with MF 20 and N 57 where he scored his first victory. He was given command of N. 48 in October, 1916 where he added 8 more victories to his score. Matton was killed in action on September 10, 1917.
I can't remember when I had so much joy building a model airplane. The kit is very detailed and the build easily breaks down into stages. The fit of all the parts is excellent. Like Wingnut Wings kit, the tolerances are tight so remove any paint from all mating surfaces. I usually try and paint all the parts I can before assembly; not this time. I took my time and tried to confine my painting to the various stages of the build. I did not do the interior rigging because....well because it eludes my skill set.
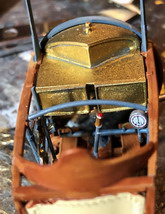
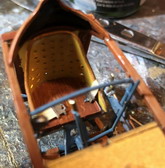
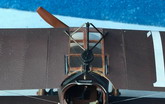
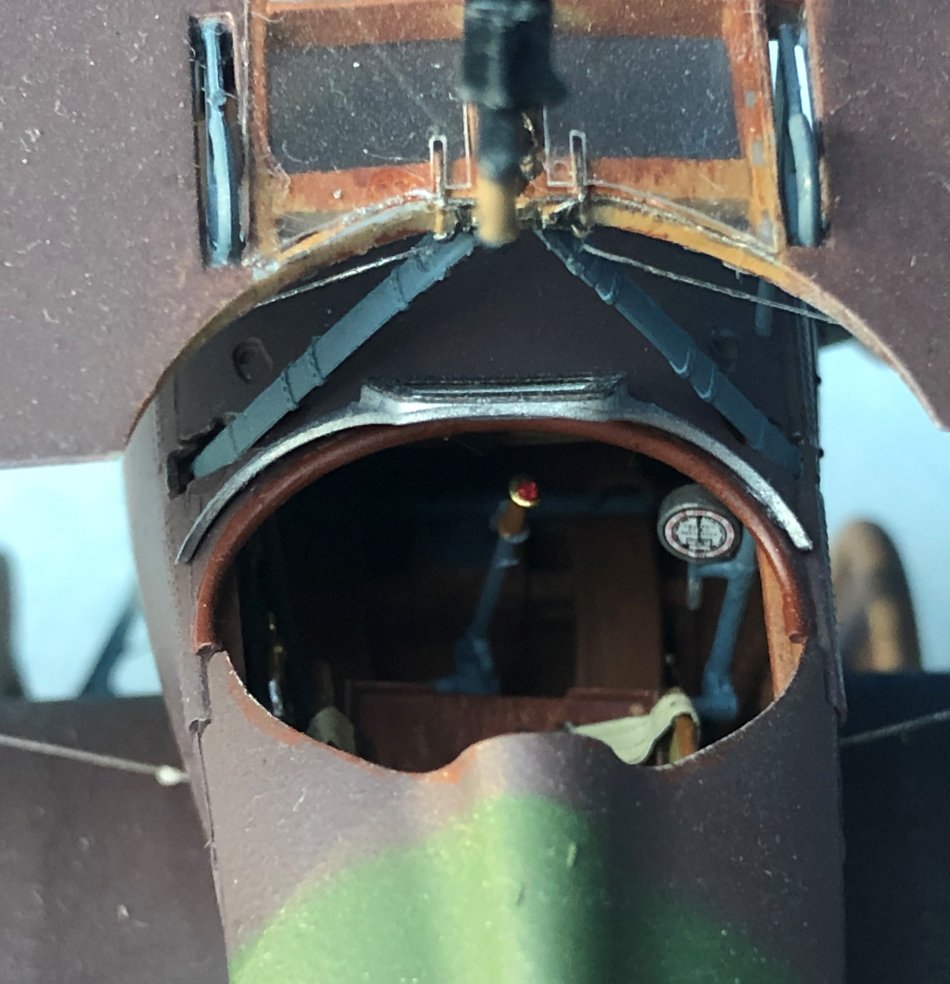
The kit's interior is very detailed for a WW I airplane. Some of the detail, especially the back of the engine plate with the oil pump and magneto won't be seen once things are assembled. Follow the instructions and everything will come out fine. I would suggest test fitting the parts before attempting to glue them to make sure the fit is right. The only difficulty I ran into was aligning the induction tubes so that they fit properly into the appropriate holes in the forward fuselage. I finally gave up and glued them to the fuselage holes without worrying how they didn't connect inside.
The seat belts are photo etch and consist of 3 parts, left and right belt and an odd looking "V" shape that bends around the back of the seat. I left it off but I don't think it shows. Steps 33-35 have you install the tail skid support, but you can't see it once you finish up boxing in the rear fuselage. The fit of parts A-14/18 was off, so I had to do some sanding. Next time, I will simply leave off these pieces and no one will be the wiser.
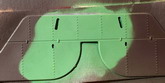
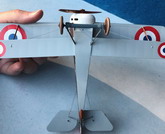
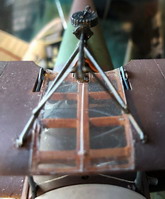
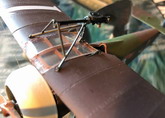
The top wing of the Nieuport had a cutout in the middle to allow the pilot better vision. I have always hated trying to replicate this and was fearful of this portion of the build. My worries were groundless. The acetate fret contained 2 possible choices for the cutout, each one specific to a different type of gun mount for the overwing Lewis Gun. It also has a separate cutout for underneath the top wing. Other than making sure you use the right one for your particular choice of marking, no problem. The clear cutout glues nicely over the exposed internal wing structure and gives the plane a cool look.
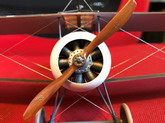
Finally, when the plane was painted, decalled, and rigged, I attached the kit supplied Lewis gun. I had purchased a Gas Patch resin Lewis gun, but ended up using the kit part. I included a picture of my first attempt at the "light green" camo on the tailplane. After staring at it for a few days I realized it was just too much and ended up using medium green from Model Master enamels. For the brown I used MM French chestnut brown. The underside blue was MM French light blue gray.
I am really happy with the final result. The build was so enjoyable I have ordered another Nieuport from Copper State. I'm thinking of doing a Belgian version. While these 1/32 kits are a but pricey, this one is well worth the money spent.
Mike
Muth
|
Click on
images below to see larger images
|
|
|
|