Hot on the
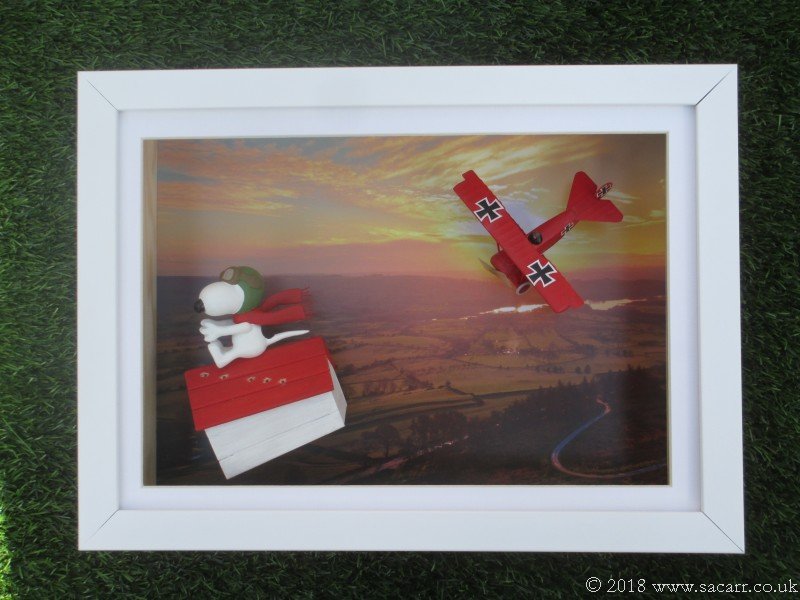
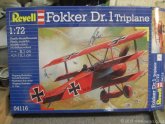
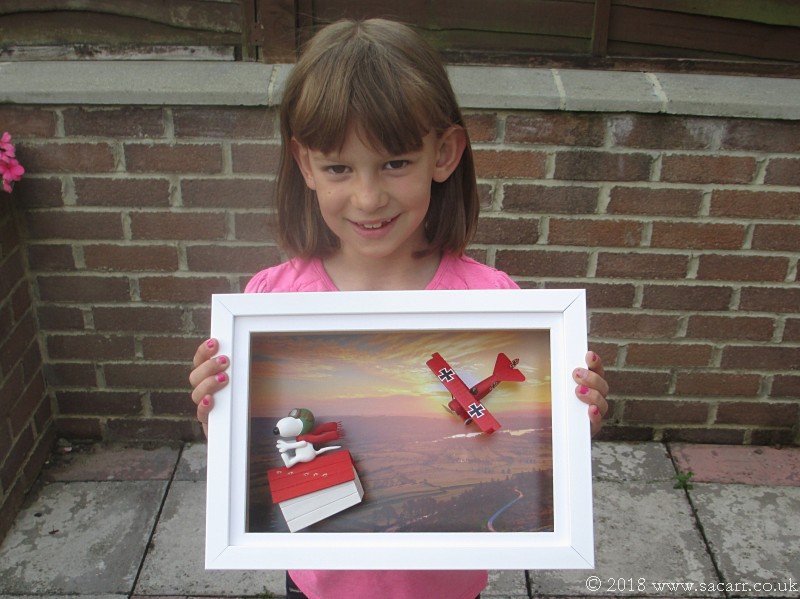
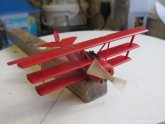
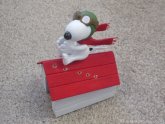
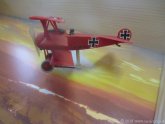
heels of her Spitfire PR.1G diorama, completed in January 2017, my daughter started her next project in early February. This was going to be her third build, but having done such a good job of her Spitfire and her first model, a Red Arrows Hawk, I had confidence she would manage. This project was going to be a wall hanging picture / diorama of "Snoopy verses the Red Baron" using a 1/72 Revell kit and a scratch built Snoopy and kennel. Framing the picture allows it to be hung on the wall where it won't be damaged and also it will keep the dust off the models.
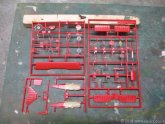
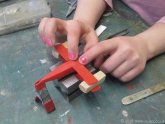
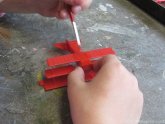
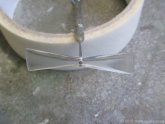
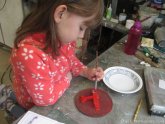
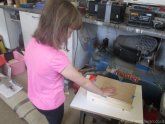
We started out with painting small parts before the fuselage assembly began. The wings were all painted one coat before assembly due to the limited space to get a brush between them once fitted. I taught her about using jigs to hold things square during assembly and gluing, to keep the wings and tail parallel and that the instructions were a guide to assembly, not a hard and fast rule book. Some steps are often best left until later in the build.
|
Click on
images below to see larger images
|
|
|
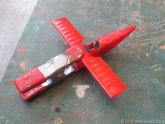
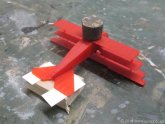
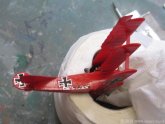
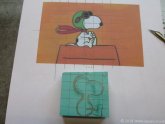
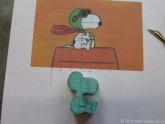
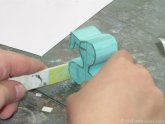
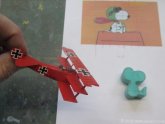
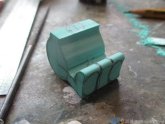
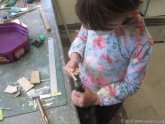
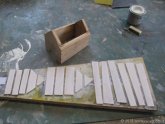
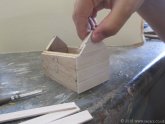
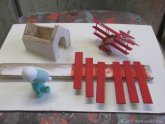
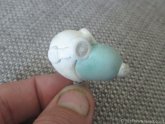
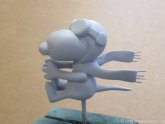
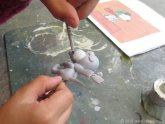
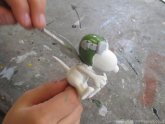
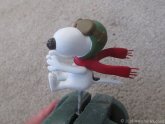
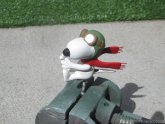
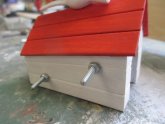
The Triplane was built most of the way towards completion before we began working on Snoopy. He was marked out on a block of polyeurathane resin, scaling squares drawn onto a printed out picture as a guide to his shape. We started with just his outline, but quickly cut off his head to allow easier shaping of both his head and body with hand and power tools. His helmet, goggles, arms and scarf were all made from Milliput epoxy putty. As Snoopy progressed further, we began work on his kennel.