|
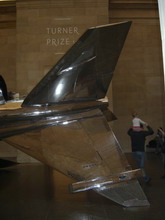
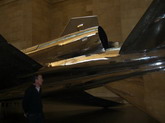
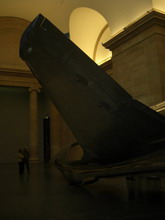
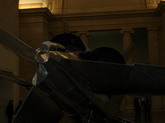
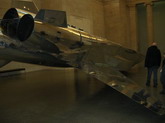
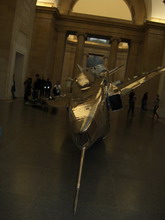
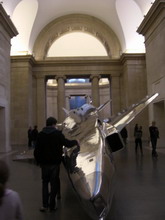
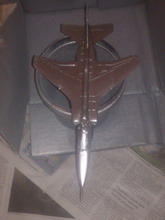
This was not exactly a conventional build in any shape, manner, or form, being a pretty unusual approach to a pretty unusual subject. The artist Fiona Banner, in an exhibition entitled Harrier and Jaguar, had used the retired Jaguar GR.4 XV161 as an installation (a similarly stripped down Sea Harrier FA.2 constituting the other half of the show) in the Duveen Galleries, a particularly long exhibition space in the Tate Britain. It made for a unique display, that much is unarguable.
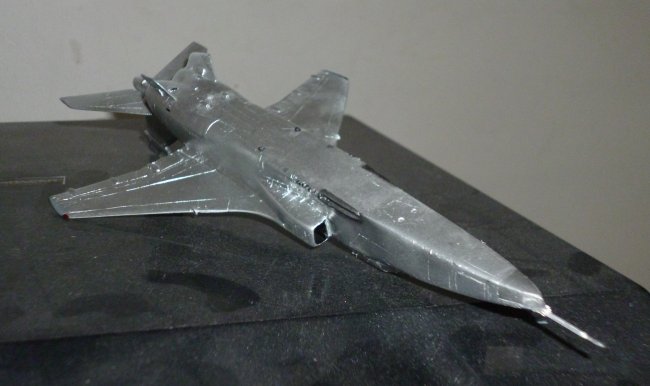
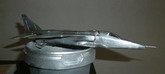
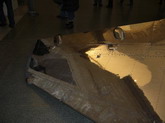
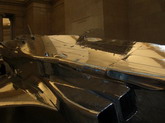
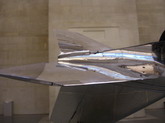
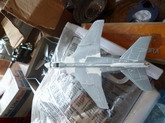
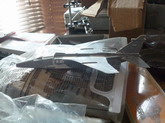
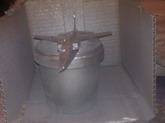
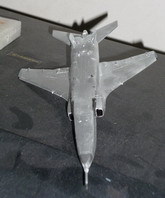
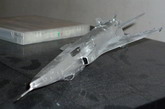
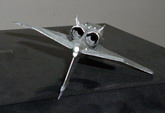
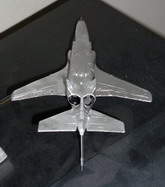
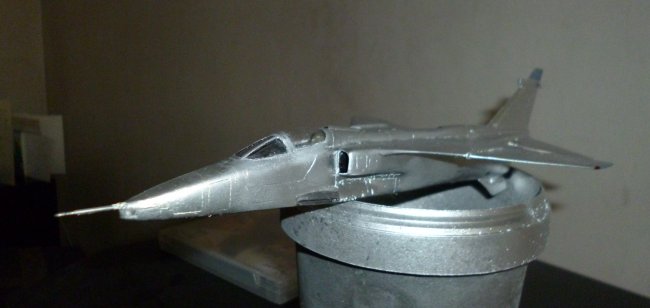
Preparing the aircraft for display involved the removal of almost anything that could be removed, it seems. Engines, armament, instrumentation, controls, ejection seat, the fixed slats on the outer leading edges, and the tailcone were all stripped off, lightening the aircraft considerably, and presumably amortising some of the cost of the aircraft. The airframe was polished to a very bright finish and left lying on its back and port wingtip.
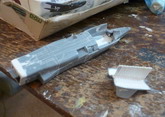
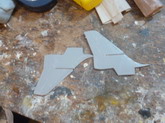
This gave me an idea of what to do with the old Frog Jaguar kit that I had had in the stash for decades. The comparative lack of detail, by modern standards, was not much of a problem, with so much being removed. The Frog kit represents the prototypes, however, there being a significant changes to the exterior between these and the aircraft retired by the RAF, mostly to the forebody. An old Airfix 1:72 kit, acquired cheaply through my local club, was the most effective way to address these issues. In the end, the forward fuselage, vertical fin, and wing came from the Airfix kit, whilst the rest of the fuselage and the stabilators came from the Frog kit.
The Frog kit compares well with the Airfix, despite being several years older. The fit is significantly better, and the shape of the aft fuselage, particularly the swelling noticeable along the spine towards the root of the fin, is preferable.
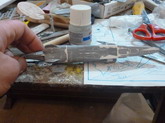
The work began with the aft lower fuselage. A dividing wall between the two engine bays was fabricated from plasticard, as was the bulkhead forward of the engine compartment, two holes for the intake trunking being cut into it. The interior framing was clearly visible without the engines being installed, so this was rendered from plastic strip. The ventral fuselage was then mated to the two main fuselage halves.
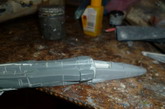
The fuselage then had the panel lines scribed into it - most of the existing raised panel lines being well placed. The fin was then attached, two small swept blade aerials towards the tip remaining. The stabilators had their panel lines scribed before being fitted.
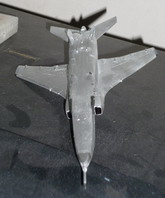
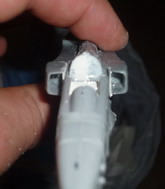
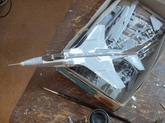
Being a grafting of the Airfix nose onto the Frog body, the attachment of the forebody was somewhat more involved than usual. The cockpit was blanked off forward and aft, and painted in Humbrol Ocean Grey before marrying up the forward and aft fuselages. The LRMTS windows in the extreme nose were drilled out before being squared up with a scalpel, these being simply blank plates in the Airfix kit. The join was made with Superglue and required a reasonable amount of filler. Significant work was required to get the shape of the cannon fairings right, and the cartridge case ejector chutes and their fairings had to be entirely scratchbuilt, along with a number of other 'lumps and bumps' on the fuselage underside. The louvres and gas vents around the gun muzzles were added by scalpel and drill, with varying degrees of success. The shape of the nose gear doors on the Airfix kit is quite wrong, and these were rescribed. The Frog main gear doors were perfectly fine. The prominent midfuselage dorsal intake was carved with a curved chisel. The Airfix nose probe was retained, its shape being reasonable.
The canopy on the exhibit seemed to have been deliberately rendered foggy. Hence it was unnecessary to apply Clear or to replace it with a vacuform item, as I might otherwise have done. The LRMTS windows were made from a length of clear plastic sprue, whose ends were sanded to suit the fuselage contour and then polished to clarity, with the aid of Finishing Touch canopy polish.
|
Click on
images below to see larger images
|
|
|
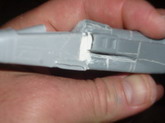
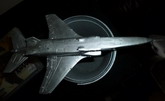
With the fuselage completed, the wing was fitted, considerable amounts of Milliput being used to make the dorsal contour good. The outer slats were removed and the leading edge made good - a drawn-out and tricky process. A lot of problems were encountered in making good the trailing edges at the wing roots, with high viscosity cyanoacrylate being used extensively. The actuator fairings were reshaped and extended using Milliput.
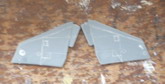
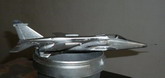
The surface finish is unusual in being exceptionally uniform and very reflective. I considered using applique foil, but felt that it would not be able to cope with complex curves. So I reverted to the old approach of Humbrol Silver Fox overall, over an acrylic grey primer.
The primer was sprayed in two coats, the first being used to help identify surface flaws, which were then filled with Mr. Surfacer. The second formed a uniform base for the silver topcoat, but a gloss black followed by an Alclad lacquer might in retrospect have been a better choice.
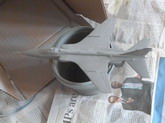
The only exceptions to this uniform coat were the fibreglass antenna fairings on fin and wingtips, which were rendered in a pale greyish-brown mix, and the cannon muzzles, which were painted in Humbrol Gun Metal. The interiors of the engine bays were painted in flat black, as the actual ones seemed to have been.
This was a most unusual project as far as 1:72 aircraft are concerned, and raised some interest at my local club. At least one enterprising soul was considering attempting the Sea Harrier, which would be rather more challenging, the dorsal surface of the wing and forebody being subtly painted with the wings and body of a harrier.
Gavin
Parnaby
|
Click on
images below to see larger images
|
|
|
|