|
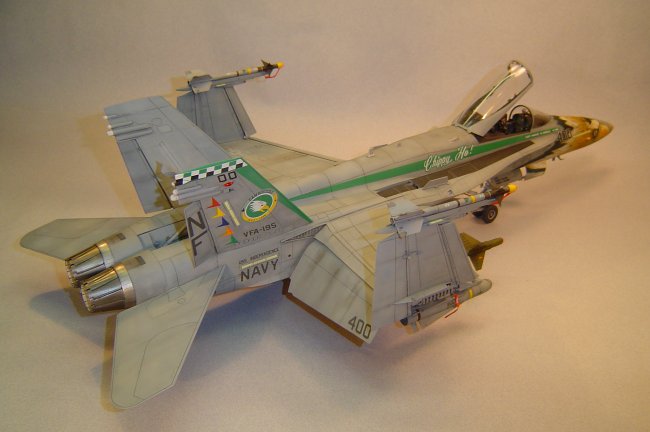
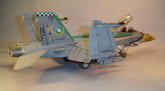
I am not a big fan
of the F/A-18 Hornet, but I must say that this is one of the best engineered
kits that I have built in a very long time! My only real regret is that
the Hornet doesn't have a few more hard points to mount some more of the diverse
variety of weapons included in the kit!
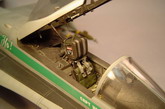
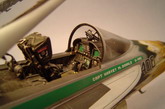
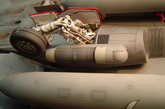
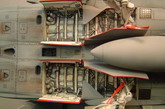
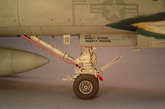
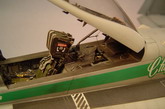
I used the Aires
Cockpit, wheel well, and closed exhaust sets. All three sets are typical
Aires quality; beautifully cast resin pieces with crisp detail, accentuated with
photo etched parts. Unfortunately, all three sets also suffer
from the dreaded Aires "Shrinkage" problem that plagues many of their
sets. A little surgery and modification were needed to get them to fit,
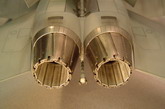
but it was not too difficult and well worth the effort. DMold seamless
intakes were used as well. These were very easy to install and corrected
the narrow intakes that were supplied with the kit.
Click on
images below to see larger images
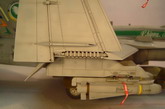
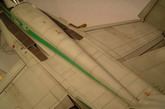
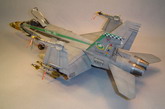
The kit went
together very well. The only major issue I came across was with the
parts used to build the wing tips in the folded position. On parts
G42, G43, G44, and G45 (these are the parts that look like hair combs),
some of the teeth on each part have a tab that extends from the base of
the tooth. These tabs cause the wing tip to mount further out
on the hinge parts G39 and G40 than they should, and it causes a gap on
the top side of the wing fold. I removed these tabs, and that
allowed the teeth of the combs to mount flush with the hinge parts.
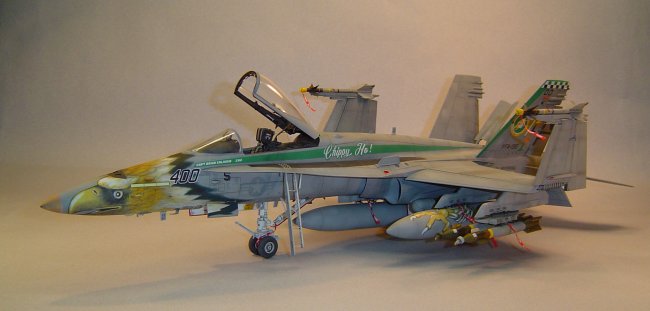
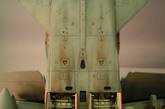
The model was painted with Model Master enamels. I weathered the kit using the techniques outlined in Kaan Gok's article in the Tools 'N' Tips section of ARC. While I didn't achieve the effects that I was striving for, I learned a lot and will be better prepared the next time that I build a modern Navy plane.
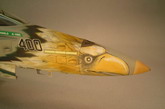
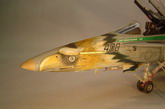
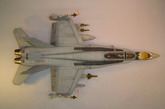
Future was applied as the gloss coat. The kit decals give you the option to build either the "Chippy-Ho!" or the "Chippy-Ho II!" bird. I had originally planned on building the "II" version, as I had not seen any builds of that option and thought that it would be a little more original. However, I mangled the eagle head decal when I applied it. It's a one piece decal, and it was very difficult to apply and wrinkled badly. Consequently, I went with "Plan B" and built the original "Chippy-Ho!" version. This time, I cut the eagle decal into smaller pieces and applied it in sections. Even so, I still ended up with some unsightly wrinkles. So, in order to salvage the markings, I sanded down the wrinkles, then touched up the markings using flat white, Tamiya clear yellow and orange, and a gray pastelle. It's not perfect, but it's presentable. After the decals were sealed with a coat of Metalizers Sealer, I applied a black wash to a bring out the panel lines and rivet detail. The weathering was finished using pastelles and weathering powders, then everything was sealed with a coat of Testors Dull Cote.
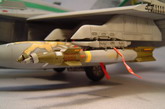
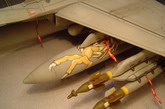
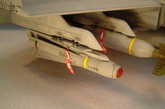
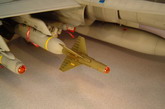
Now, I know that it's very unlikely that this plane carried much (if any) live ordinance, but I couldn't resist arming this bird with a little firepower. After all, the kit comes with a plethora of weapons, and it would be a shame to put ALL of them into the stash! In addition to the kit weapons, I added a couple of GBU-12's from the Academy F-16 that I received through a trade on the ARC forums (thank you Recon!). Also, the AIM-9L Sidewinders are Cutting Edge. There isn't anything wrong with the kit Sidewinders, but I had the CE missiles in my stash and decided that this would be a good home for them. The covers for the Sidewinder IR seeker heads are scratch built, and the RBF tags are from a Tamiya F-15E Strike Eagle.
Academy really were at the top of their game when they produced this kit, and it's a great addition to my 1/32 scale jet collection. Highly recommended!
John
"johnnymac" McCormick
Click on
images below to see larger images
|
|