|
Winter
brings about many changes. Cabin fever sets in and can eventually make one do
some very strange things. For instance, while deciding what to work on next I
found my curiosity leading me down a path that I have never been down. Picking
up the box was the first step, what followed proved to be a positive helo
building experience. Another motive was to commemorate the 20th anniversary of
the fall of the Berlin Wall and with that the fall of an empire. Much has been
written about this venerable gunship, so I won’t waste time with a detailed
history.
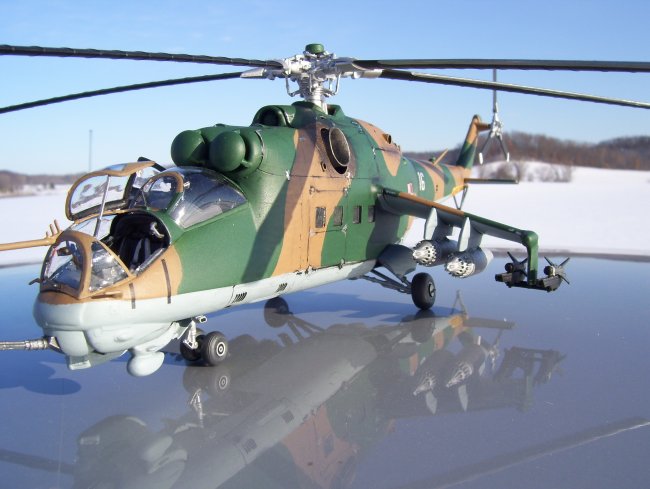
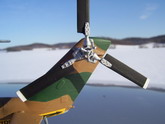
The
Revell Hind has been on and off the market over the last decade or so and builds
into a nice replica of the infamous Soviet weapon. Construction is straight
forward and the detail is moderate. Although it can be presumed that scratch
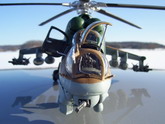
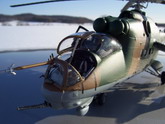
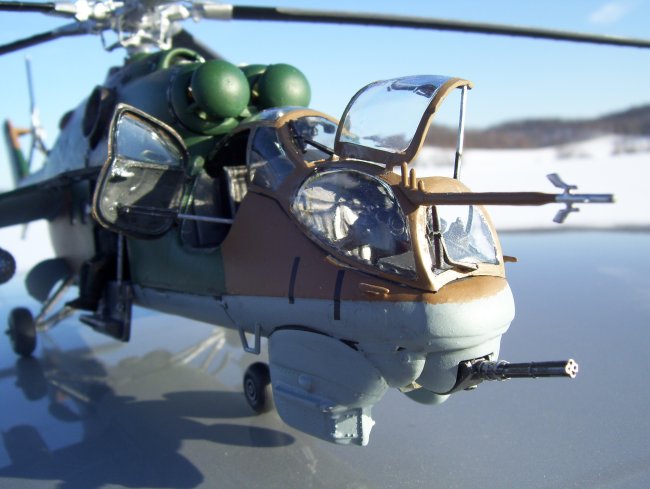
builders and super detailers would many instances in which detail can be added
or amplified. There are many goodies in the cockpit area that look great when
painted and weathered, but could look truly amazing if time is taken to fully
detail it.
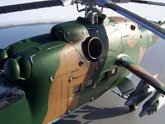
There
were a few instances where the sandpaper was taken out and put to use. Although
this was kept to a minimum as the necessity to do this was too few to slow the
build down. All in all, the fit is actually pretty good. A little detail that
was incorporated to add realism was the hollowing out of the rotary cannon
barrels. This personally is my favorite “addition” as it adds to the
aggressive profile of the machine.
Click on
images below to see larger images
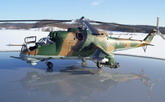
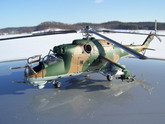
Painted
with Model Master Paints, it started to take on a personality of its own. After
painting, a couple coats of Future primed it for decaling. Although there are
different options out there, I opted to keep it real and use the kit decals.
Those included were two birds, one from the East German Air Force and one from
the Polish Air Force. Having my fair share of Polish blood coursing through me,
I naturally had to choose the Polish version.
After
the decals were in there place it was time to clear coat, and then advance to
the next step, weathering. This was accomplished by using artists charcoal and
silver paint. I also used my Q-Tip and black acrylic paint weathering technique
(which I have explained in depth in past articles).
After
weathering it was time to put the finishing touches on. The Mi-24 has many large
windows which are good for the crew and good for me as it makes the laborious
effort of painting clear parts easier. After masking and painting, they were
installed along with the remaining small parts (antennas, sensors, and hydraulic
door arms.
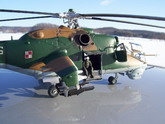
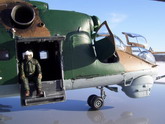
Deciding
to add a little life to the build I placed a crewman in the back, relaxing while
enjoying a smoke after a strenuous day of maneuvers in the extreme cold of the
Polish countryside.
After
it was completed I looked back at what I had achieved. Besides completing my
first chopper I had also built a memorial to the years when death could rain
down any minute in the form of Soviet nuclear warheads. Just the thought of that
makes me reflect on how grateful I am to be part of the post Cold War generation
(for better or worse).
Besides
that, the Revell 1/48 Hind is a relatively simple and straightforward build. I
would be comfortable in saying that beginners on through veteran builders would
draw satisfaction from this kit, especially with the many interesting camo
schemes out there.
Sitting
on my shelf next to my other builds, it holds its own and defiantly draws
attention from company. So the next time you are tempted build something that
you haven’t had much experience in, do it. It might turn out to be pretty
enjoyable.
As
always modelers and modelettes, build on!
Chip Berseth
Click on
images below to see larger images
|