|
This kit article comes with a big
hello from New Zealand. I finally moved from the UK to enjoy the simple
life and so far it is working out. For the regulars here on ARC, this
kit needs no introduction, but for the novices and not so regular visitors
here is a short prelude!
This kit is non other than the
Promodellers Revell 1:48 F-15E Strike Eagle which really is the only one to
buy. Credit is really due for Revell for this one as you really do
not need to think about using any aftermarket accessories for the kit as the
detail speaks for itself. Whether you're a novice (I still regard myself
as a novice) or a seasoned kit basher, you can easily turn out an eye
appealing
example.
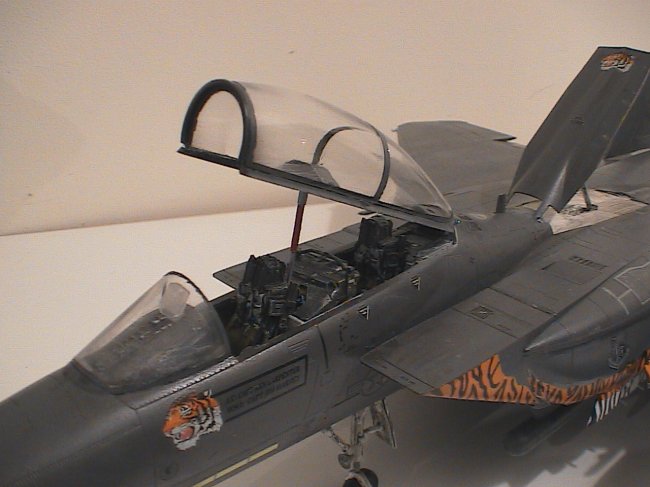
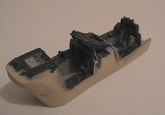
For my kit I did choose to go down the
aftermarket route. I purchased the Avionix (formerly Black Box) Resin
cockpit set. Having seen what others have done with the kit parts,
I really do feel out of pocket with this and realise in some ways, was quite a
mistake. Granted the resin set is very detailed, there really is no
need to go down this route.
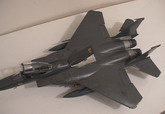
The overall kit generally
falls together and the only real issue I had was a small step in the forward
fuselage and aft fuselage joint which from having read other articles, this seems
pretty normal. A small bit of filler and a bit of sanding soon sorted
that.
Click on
images below to see larger images
Prior to starting the
build, I tried to do as much homework as I could about the techniques that
others had used on the same kit as this is my first ever 1:48 scale kit I
have ever built. I wanted to turn out a well presented example to
take to my local model club to show that I have upped my game!!
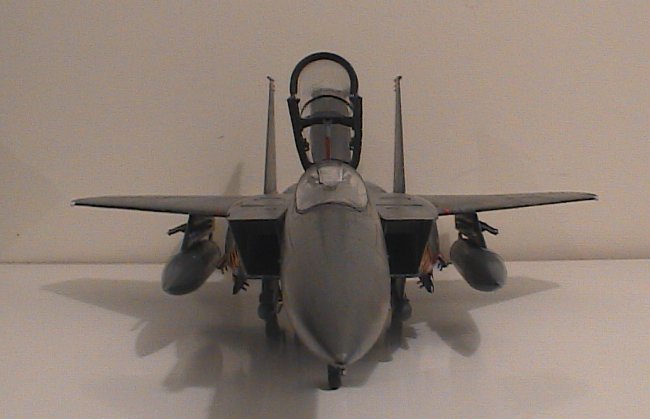
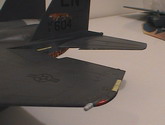
As you can see, I dropped the inboard flaps to represent the bleeding of hydraulics when the crew shut down the systems. This is common on a number of aircraft as this bleeds the pressure out of the systems so that it is safer for maintenance crews to work on them and so that no extra pressure during start up will damage the plane (as has happened). The process also retains the existing hydraulic fluid in the system but returns the used fluid back to the fluid chamber so it can be used again. The process of dropping the flaps was very simple and was done just by running an exacto knife down the panel lines until thin enough to bend slightly.
Inside the cockpit I highlighted the screens by using Humbrol Clear green on them followed by a coat of Johnson's Klear. The effect is very convincing, however how accurate it is when the screens are off I am not sure.
The Navigation lights were created by first applying Revell Matt White to the areas and once dry I used a Staedtler marker pen over the white and finally added a coat of Johnson's Klear. The result is fantastic and really looks the part.
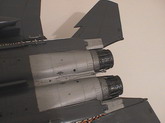
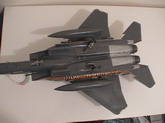
The overall Gunship Grey scheme was done using Xtracrylics paint and sprayed through my Iwata air brush. I have found myself using these acrylics alot more as they are easier to spray and rarely need thinning and if so, just a drop or two of water is all it needs. Cleaning is a
doodle as well. Just running water through the airbrush is all it takes. The overall results are flawless and I am really proud of it.
Weathering was created by using Tamiya's Weathering Master which is a dry powder which can be used dry by rubbing it on, or you can put it into a solution. I just loaded up a few drops of white spirit (smelly, be sure to open a window or mother goes mad!!) with the oil stain colour and
simply brushed it on all over and worked into the panel lines but not being particular about where it goes. Once the weather solution had dried, I got a piece of kitchen towel and rubbed it a few times to remove the excess. On a final pass, I damped the kitchen towel slightly and worked in a backwards motion to then create the
streakeness created by the natural airflow. TAA
DAA!!
The final little technique I did was to leave the nose landing gear out where the instructions say to attach it when the two forward fuselage
halves are put together. At the end of the build I was able to remove the smallest of material from the gear leg and the undercarriage bay just enough to pop it into place. The amount of material removed is hardly noticeable and I would defy anyone to find it.
Well, there you have it folks. If you literally want a shake and bake kit with no (real) need to use aftermarket stuff, then this it. I loved the entire process of this one and the learning curve of building 48th scale kits. Hope you all like it and regards from New Zealand.
I am dedicating the build to my Grandfather who bought me this kit for Christmas 2008. He hasn't been involved in the military, apart from his national service in the Army, but it is the mere fact he is the only one of my family who has ever bought me a kit and I promised to build it for him for when he arrived on his trip here to New Zealand. He is here as I write this. Here's to you Grandpa, all the best and thank you for giving me a great gift.
Andrew Taylor
Click on
images below to see larger images
|