1/48 Accurate Miniatures P-51A Mustang |
 |
Gallery
Article by Alan Williamson |
|
|
|
This
model was built OOB apart from seat belts and antenna wire which were scratch
built. The photos were taken with my video camera.
Background
The last of the Allison-engine Mustangs to be produced was the P-51A. This version had an updated engine that enhanced its performance. While still not a match for the performance of the Spitfire or Messerschmitt 109, it went on to compile an excellent service record. As a fighter, a limited escort, and reconnaissance aircraft, the “A” model served primarily in the China-Burma-India theater. They flew with the 10th Air Force, 311th FG and 1st Air Commando Group. Over 300 P-51A’s were produced with 50 going to the RAF. The end of World War II found P-51A’s still in service… A testament to their durability.
|
Click on
images below to see larger images
|
|
|
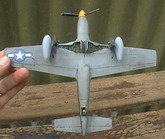
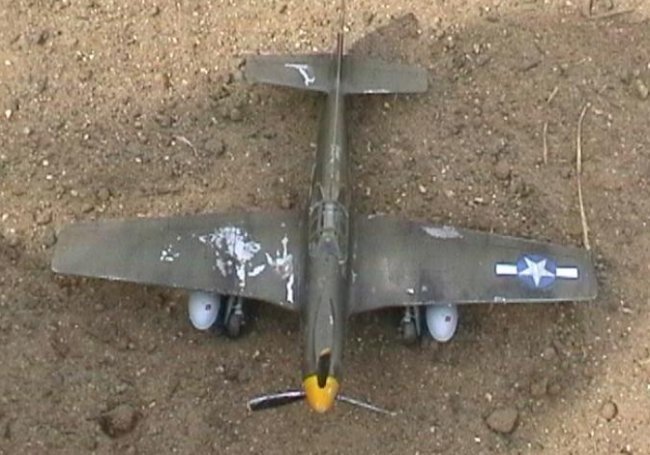
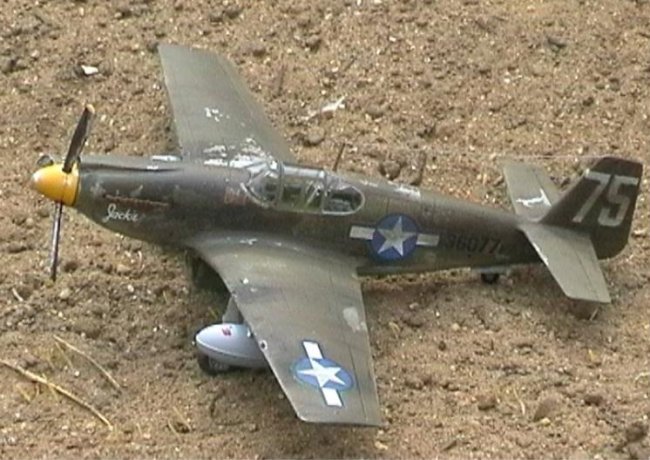
This model of the P-51A represents an aircraft flown in Burma in 1944. It was flown by one of the CBI’s first aces… Captain J. J. England, of the 311th Fighter Group 530th
SQ.
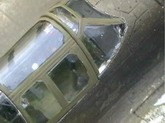
The kit went together with minimal problems however a bit of filling had to be done. The overall model is well detailed with a great cockpit.
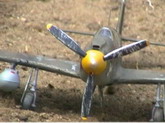
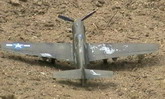
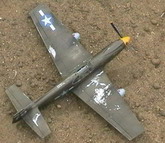
Since the P-51A was one of the first Mustangs to enter service, I decided to weather this model. This is the first time I’ve used this technique of doing chipped paint as well as that of accenting panel lines. Thanks to the tips I got of the ARC Tools ‘n’ Tips section I was able to get the finish I wanted. The paints I used were Humbrol Enamel’s. The chipped affect was accomplished by spraying the model with Humbrol Metal Cote number 27001 and then applying a gloss clear paint also Humbrol, on top of the metal cote.
After 24 hours I applied the colours olive drab and grey after an hour I thengot some masking tape and placed it on the model ripping it off to revel the metal cote underneath. The panel lines were done using a pastel stick which was mixed with some water and dishwashing detergent. This helped to brake up the pastel stick and to help it to stick to the model. I then painted it on and after an hour or so I then used a damp tissue rubbing along the fuselage, in the direction of the airflow. However rather than cleaning the excess pastel off I used this to highlight the plane for the look of a bit more wear and tear. After applying the decal’s I then sprayed a matt clear over the model to seal in the Pastel.