|
To start my last
segment, I would like to say thanks to everyone who sent a direct email to me.
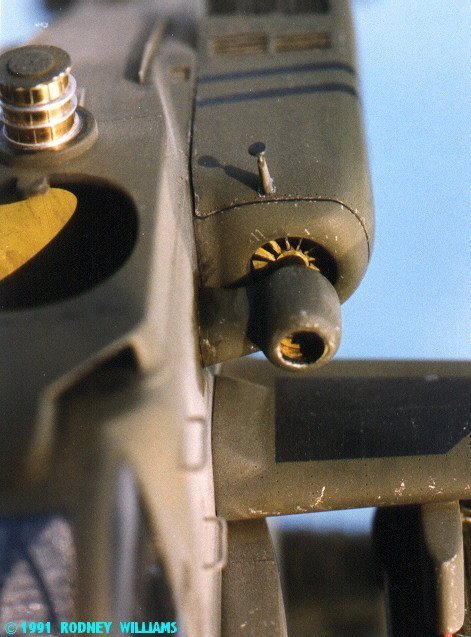
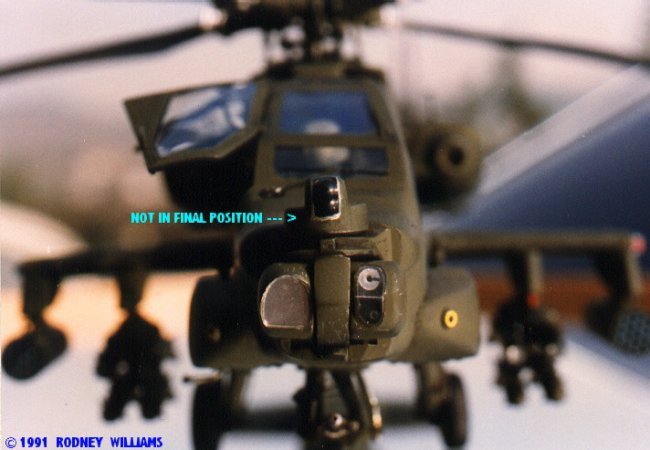
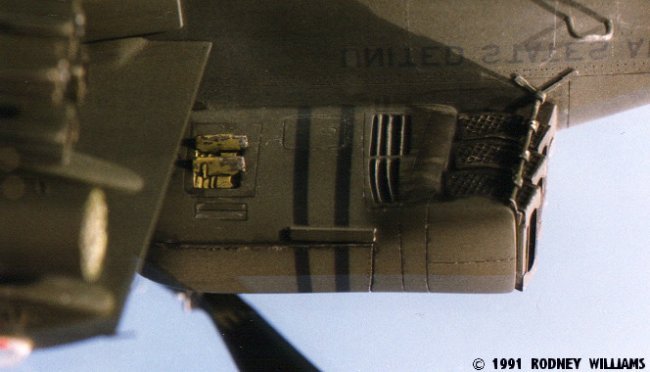
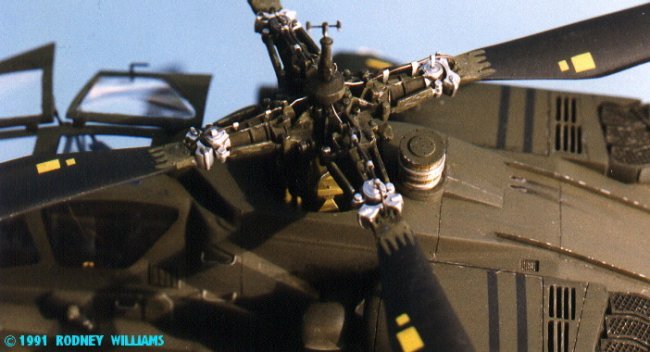
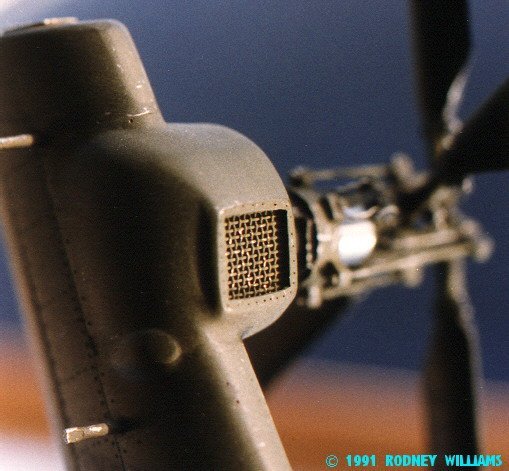
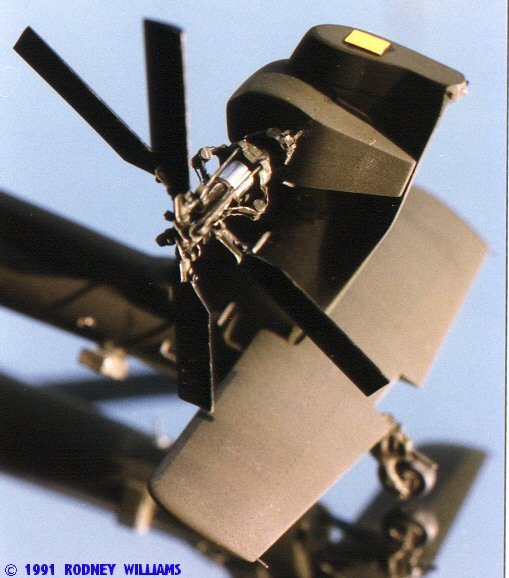
I now know what that little white box is for, which I built and attached to the
aft left side of the fuselage, including the gold looking round item on top of
the spine, just aft of the main rotor.
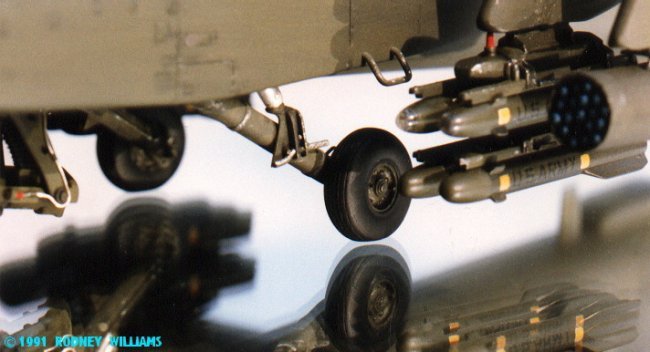
Someone wrote and
related that the rivets were raised, and mushroomed over, and that they had
photos of same. They wondered why I sanded off all the rivets, then used a
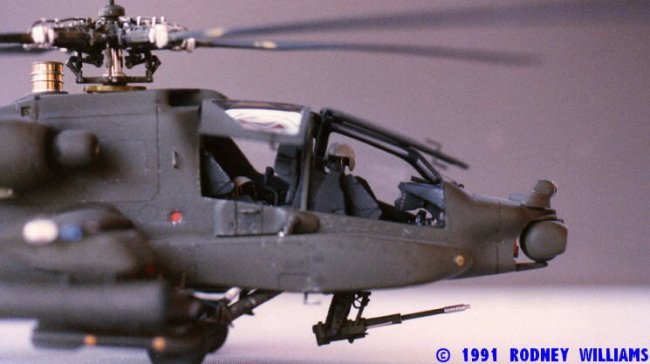
pin to replace them. I had photos too! The rivets on the
chopper may be about 3/8" to 1/2" in diameter. Reduce that
diameter down to 1/48 scale, which is less than 1/64" in diameter.
Now make several hundred, if not a thousand or more, and put them on the model.
Let's get realistic, like the guy who wrote a story about a 1/72 scale F4F
Wildcat, saying that the fuselage was short by 1/2" in scale.
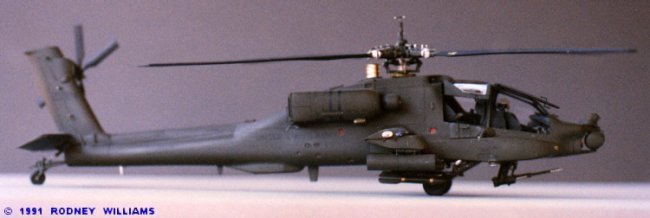
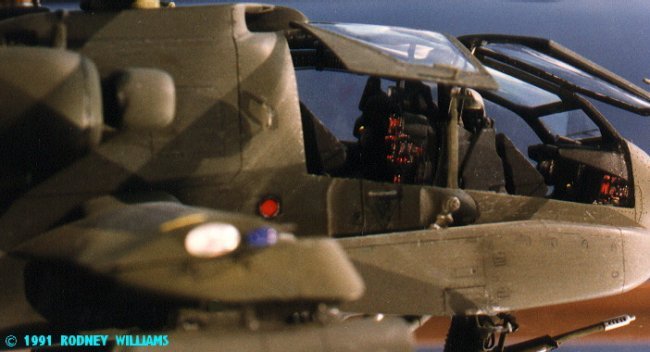
The model was
painted, using Tamiya Acrylic's. Once the paint had dried for a day or
two, I carefully rubbed down the paint with a soft clean cloth, including the
use of cotton balls. This method removes all of the flat acrylic build up, and
the paint looks like it's semi-gloss. There were next to no decals for this
model, so I airbrush on a tiny bit of "Future" just on the area
where the decals go. A bit of future overcoat, and some dull coat,
and the model is finished.
Looking back on this project, I
could have built all the parts using flat and tubular styrene stock. One
guy wrote and wanted to know what kind of metal shop I have to make all these
parts. My answer was: I have no metal shop, just a few simple tools,
that's it!!! I have a small "Archer" brand soldering iron,
two 8" long x 1/2" diameter "pencil type" butane gas
torches, a small 3" long steel vice, some 1" long copper clamps, and
an assortment of files.
Building time was
just a tad over 500 hours. I made US$9.97 per hour for my labor, which
came out to an even US$5,000.00.
Happy Modeling!
Rodney
|
|