|
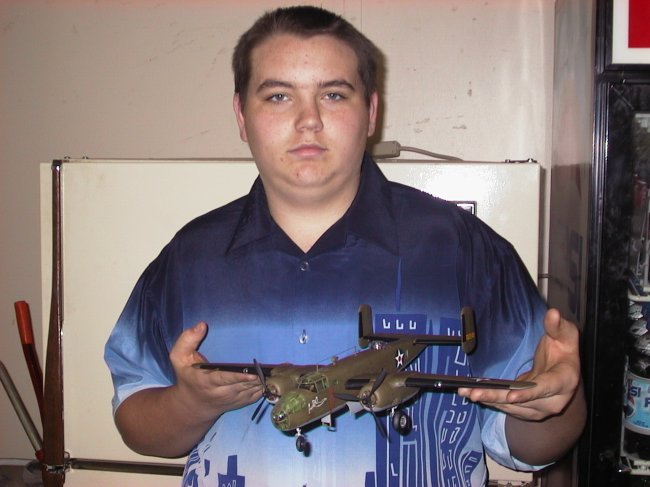
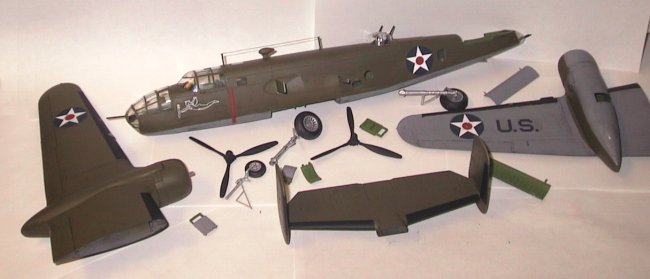
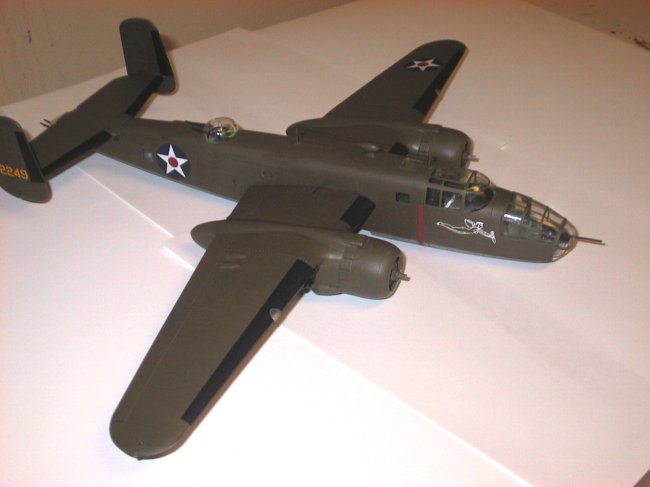
I built this model
completely out of the box. It took me about 4 weeks to build it and
finish. Its finished in the markings of plane #11 "Harri
Carrier". I used Model Master enamel exclusively. The kit went together
great with the only problem with this kit is that
the instrument panel is a clear piece of plastic with a decal that goes behind it, the problem is, it
didn't come with the decal, but with some advertising, I found one, thanx to the art director at
Accurate Miniatures, Thomas Myers, he had a spare he gave me.
The kit itself is great, it comes with paint mask, and pre cut nose weights, and decal options to do any one of the
Doolittle Raiders. I started off by painting the major interior parts green zinc, notice the clear
instrument panel to the left in the beginning stages of detailing.
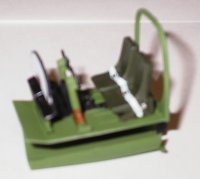
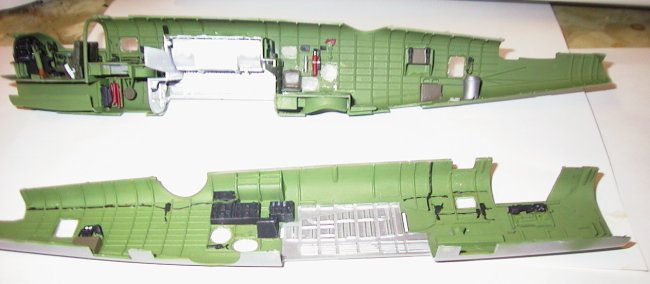
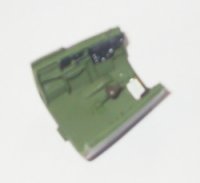
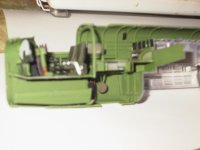
| Here is the
interior of the aircraft after painting and detailing, the bomb bay area was sprayed with aluminum metalizer from
Model Master that I buffed it to a high shine. It will be dulled down later on
due to weathering. I also added the fire extinguisher and axe in the back, and painted the molded in wires black with a toothpick end. |
Click on
image below to see larger image
|
|
|
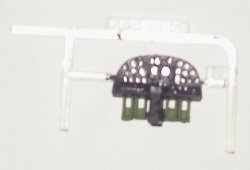
Here is the finished
instrument panel before I added the decal to the back, it took some
careful painting to paint around the little clear holes, then the various switches were painted red, and dark gray, some were left black.
I left it on the sprue for easier handling during the painting process.
|
|
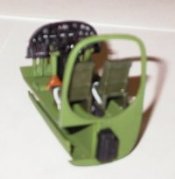
Here is the completed cockpit assembly showing the
instrument panel detail, the camera I was using wasn't very good, so its hard to see the level of detail in the dials.
The seat belts were also decals, but I left them on the backing paper and glued them into
position with super glue for added realism.
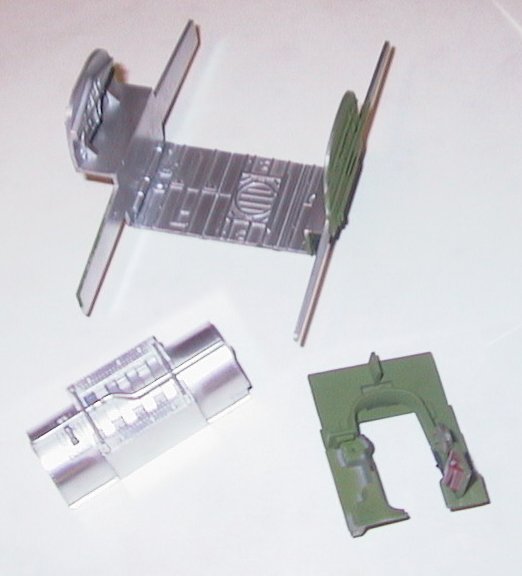
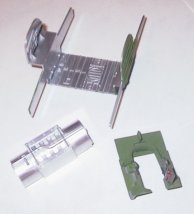
The next step was the bomb bay, it is comprised of about 6 pieces, the item on the bottom left was a long range fuel tank
that was custom made and fitted for Doolittle Raiders only. The bomb bay was sprayed aluminum and green zinc.
|
Click on
images below to left to see larger image
|
|
|
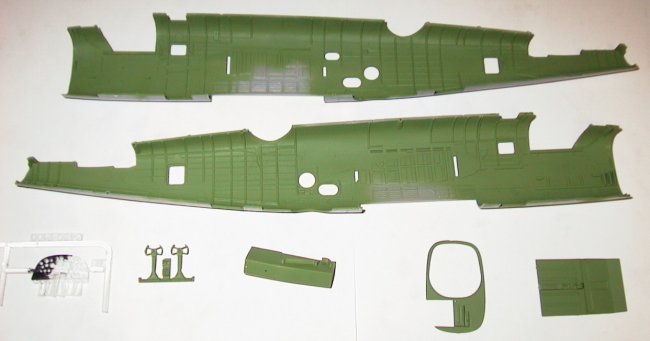
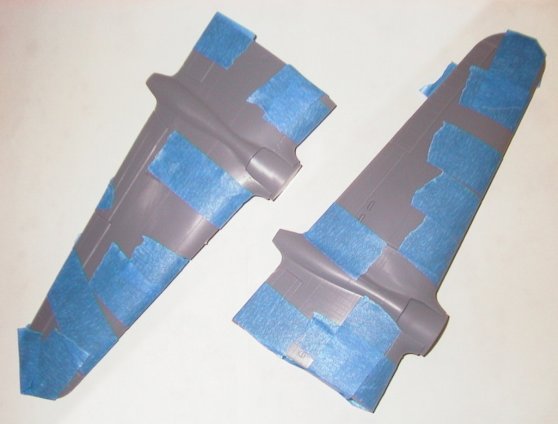
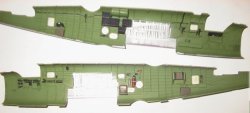
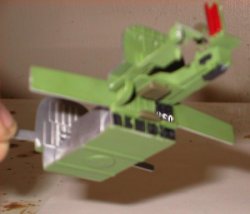
As I was
beginning to near the completion of the interior parts, I went ahead and glued the wings
together and painted the insides green zinc, so they could be dry and good to go when it came time to work on them.
|
Click on
image below to see larger image
|

|
|
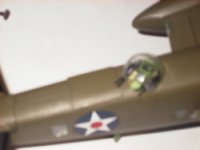
| I then turned my attention to the upper turret, it was painted, washed and detailed,
I will add the turret cover later on in the article. It went together fairly
easy with the only trouble being to glue it together so the gun can move up and down. |
|
After gluing all the sub assemblies in place, it was ready to to be glued together.
The only thing left to add was the bomb racks which I chose to do later.
It went together fairly well with only a little bit of putty required on the bottom.
|
Click on
image below on right to see larger image
|
|
 |
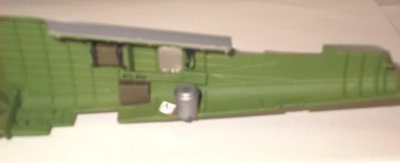
Here's the chemical toilet in the rear, and below it the all important reading material, a
Time Life magazine made form decal
paper. |
|
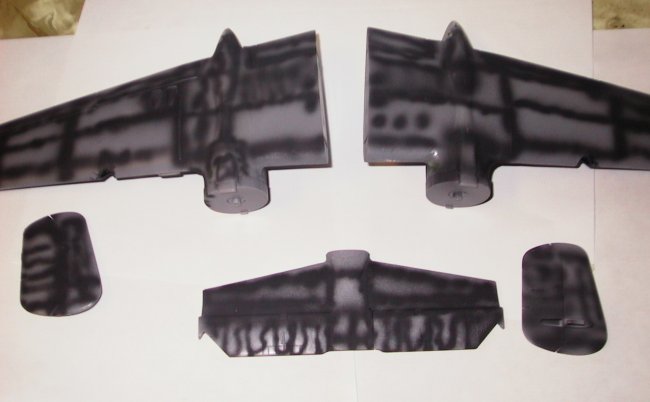
| I tried something new, finish the plane in pieces,
I will explain a little later, but here is the wings and control surfaces after the panel lines had be sprayed black for an undershade affect. (1.5
JPG) |
Click on
image below to see larger image
|

|
|
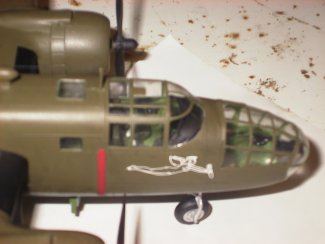
| The nose assembly was very
easy, had it done in about 2 hours. The instructions say to glue the nose canopy on at this point, but
I didn't want to. I wanted to wait and be safe, cause what if I glued it on
and it was crooked?
I played it safe....left it off until later. |
|
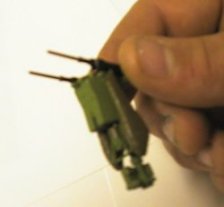
Next is the engine assembly.
A wonderfully detailed engine that comes in 5 parts. The engine on the right has been metalized.
The one on the left has been metalized with magnesium, and washed black with crayola water color paints.
The wires were done with a silver pen.
|
Click on
image below on right to see larger image
|

|
|
Here's the pre-finished items ready to be installed.
I will build planes like this from now on, the masking was easier this
way. It was also easier for me to apply the paint mask and rigging to aircraft with it being in pieces.
Now I can just glue everything together and it will be finished.
On the back by the upper turret
I added some thin plastic styrene to show the armor that the Doolittle
Raiders carried. I removed the lower turret completely, as Doolittle
Raiders didn't have them to save weight.
|
|
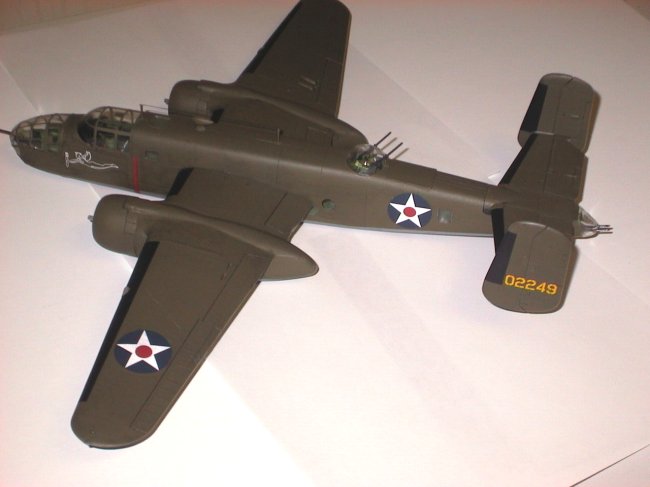
| Being a 16 year old teenager,
I chose to the plane with the markings of a naked woman dropping bombs, so
I built plane #11. |
|
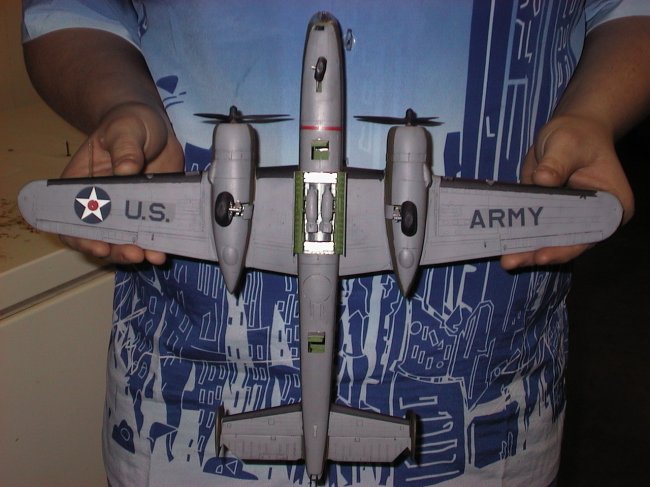
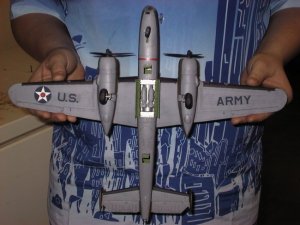
| Here's the under side showing the bomb bays (2.5
JPG) |
Click on
image below to see larger image
|
|
|
Thanx to my Uncle
James for loaning me his camera. ( sorry if the pictures aren't perfect, I'm
still mastering the art of photography).
Josh
|
|