|
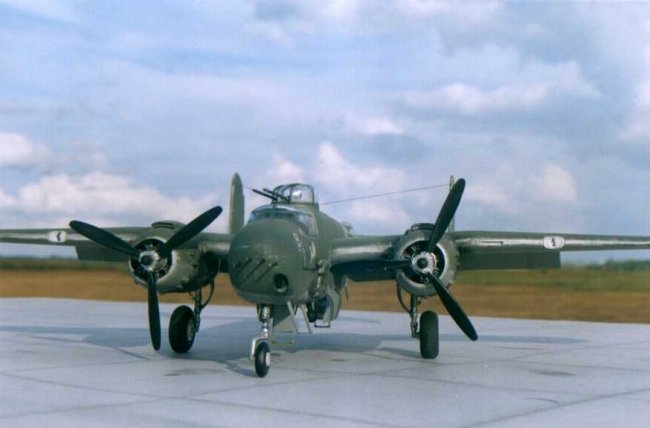
This is my Italeri 1:72 B25-H Mitchell of the Ist
ACG, Burma 1944.
I've always had a fascination for these mighty
gunships, and when the opportunity arose, I did myself a great favour by
buying one of them! This formidable fellow has a 75mm cannon-manually loaded,
four 0.5in guns in packs around the nose, four 0.5in guns in the nose, a twin
0.5in dorsal turret, a twin 0.5in tail turret, and single 0.5in guns in the
beam positions. Phew!
|
One of the most important US tactical
warplanes of WWII, the Mitchell was built to the extent of around 9816 in
number. This was, if I am not mistaken, one of the only warplanes, ever named
after a person; in this case Maj. Gen. Billy Mitchell. Powered by two Wright
R-2600-13 18 cylinder two row radial engines, the B25H could do a max speed of
about 275mph and a range of about 2700miles. Add about 1.3 tons of bomb load,
and you have a very formidable plane indeed.
|
| Click
on image below to see larger image |
 |
|
The Kit:
The kit is moulded in light gray, I've seen other
pieces moulded in dark green too. A bit of flash and sink holes. A good soft
kind of plastic, very easy to work with. The bomb bay is given closed.
There is an option to build the H gunship version or the J bombardier's clear
nose version. For me, the choice was obvious! Superb cooling-fin details on
the engine, with patience and some scrap stuff, it can be shown very
realistically. I chose to open the bay and the crew entry hatches only. I
decided to drop the flaps too.
The Construction:
I have never built a kit that required more
weighting of the nose than this. God help those building the J version. 18gm, I
think. I'm sure this would not be so much of a problem if the manufacturer had
provided some really dense steel or iron for this.
With a scalpel I removed the flaps from the
upper and lower halves of the wing, and the bay doors from the left and right
halves of the fuselage. This done, i proceeded to detail the cockpit with bits
of stretched sprue and wire. I managed to add 11 out of the 17-odd levers on
the central console. Seat belts were added; made out of masking tape. The
instrument panel was also reprented by a decal, but a pretty good one though.
For the bay, I measured off contours from a
side-view cutaway that I found. For the cieling, I used the ramp of
the supersonic inlet from a friend's old F15 kit. This already has some etched
out stuff on it, so it added to the detail, though not accurately. I had to
snad off the wing mounting pins on the inside of the fuselage. I found that
even after this, the wing fit in tightly, so there was no major problem. The
bay cieling would fit in neatly. For the bulkheads for the bay, I used scrap
plastic. However this did not seal properly; I had removed too much material
from the bulkhead sections.
To remedy this, I prepared a goo/filler by
dissolving bits of sprue in very strong and corrosive thinner. This, after
about 24hours, could be applied like a beading on the joint. This also forms a
homogenous joint, since the goo is made of the same plastic on to which
it is being applied. After exposing this applied beading in the air for
about an hour, it was just soft enough to take the shape of the interior
contour of the bay. The bay was just push fit.
I also cut out the crew entry hatches. Cut
stapler pins were added to represent the boarding ladder on the hatches. Some
detailing is necessary in the dorsal gun turret. I added a little
gunsight.
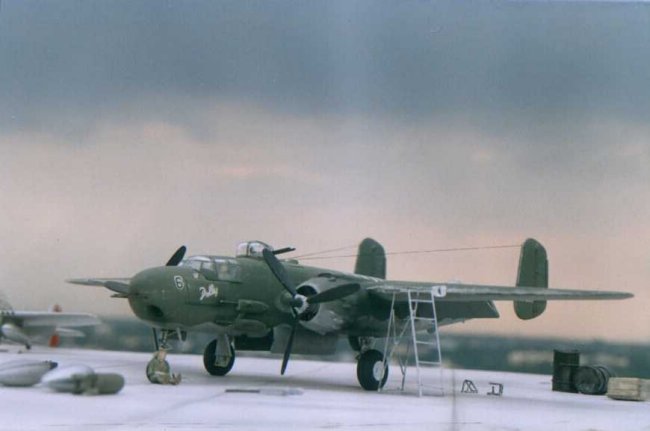
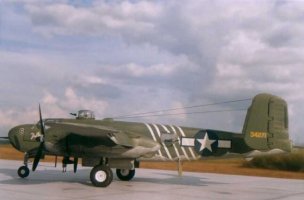
Painting and Decaling:
|
Click on image to right
to see larger image |
The painting was straight-forward enough, with an
Olive drab on top, and a gray on the bottom, with a wavy pattern separating
the two. The stripes were masked and sprayed.
Of all the kits I've built, I've come to the
conclusion that Italeri decals are about the best. Though slightly transparent
at the white portion of the USAAF symbol decal, they fit snugly without any
problem.
|
|
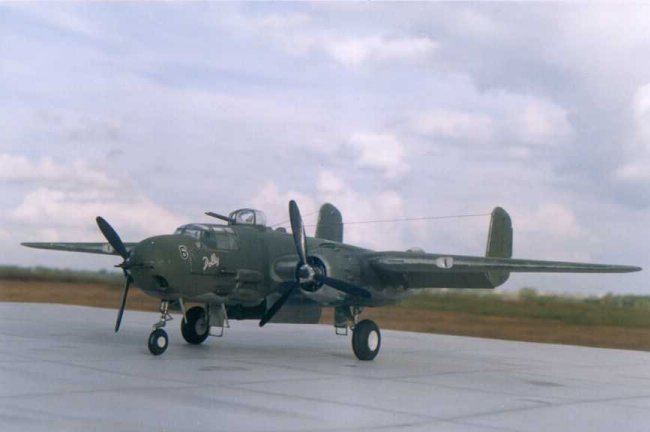
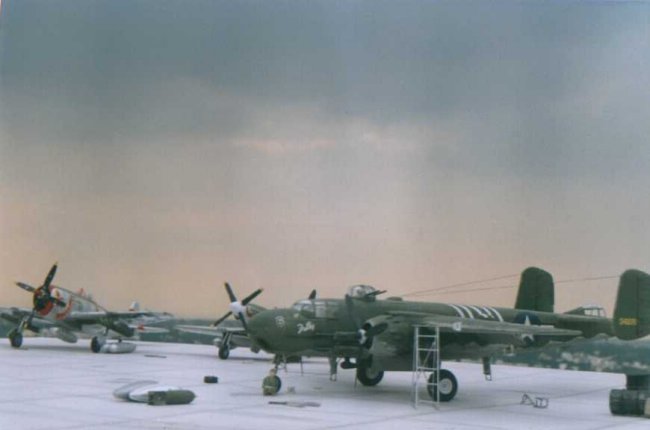
Weathering:
I used my old method of painting the whole plane
aluminium first. I do this because, I can determine any glue marks or
sink holes or errors on the model prior to camouflaging. Also I can
chip off paint to represent weathering, as it happens in a similar way on the
actual fellows. Aerials made of clear-stretched sprue were added. I
remove the paint in chips employing both a needle and fine sand-paper. I
over-weathered the top and the wing-leading edges; next time I better hold
myself back! Its too much of a temptation to weather these planes. I added
soot to represent the exhaust streaks on the cowlings and on top of the wings.
Dirty thinner went on next, in all the actuator joints under the flaps,
elevators and rudder. I bent the rudder trim tabs to give it some
character.
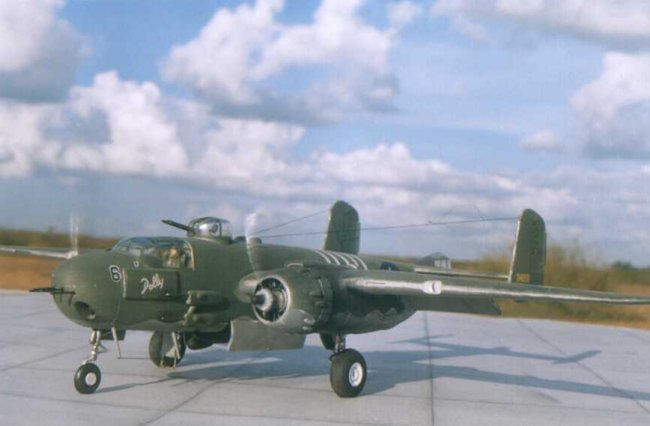
|
Click on image
to right to see larger image |
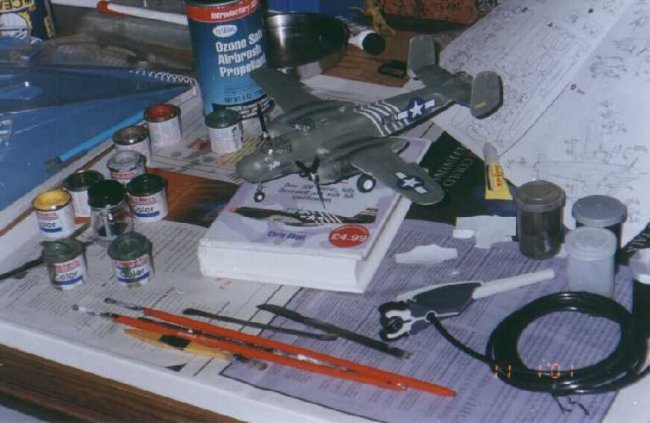
Here's a picture of my workbench
|
|
I just used some of the dio bits I
made for the FW190 here too. It was a great build, simple enough for
beginners. Its pretty big, and you can think about detailing just about
anything on it.
Happy Modelling!!!
Sushanth
|
|