|
I've been hoarding this kit (and 2
others) for quite a while now, and finally decided to get off my rear and build
it. I've always loved the Intruder, and wanted to do it justice when I
built one.
The first thing I did was to sand
off all raised detail and rescribe the entire kit. I've never done this
before, and I don't know what possessed me to make my first attempt on an out of
production kit. But it went fine, rescribing is not as bad as I thought.
I used a sewing needle chucked in a pin vise, remembering to change needles
often.
Cockpit
|
|
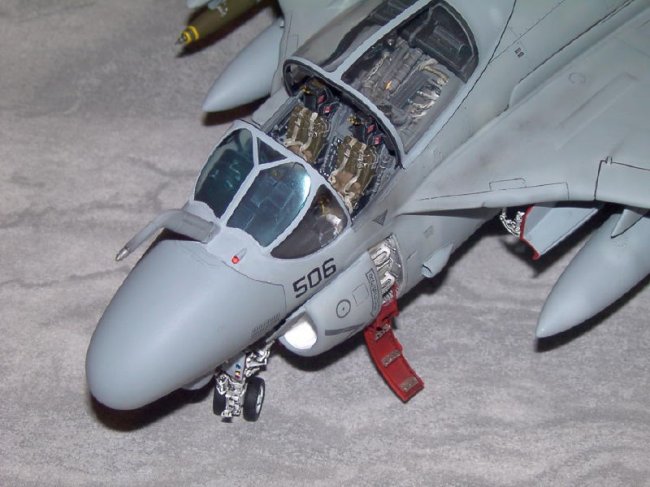
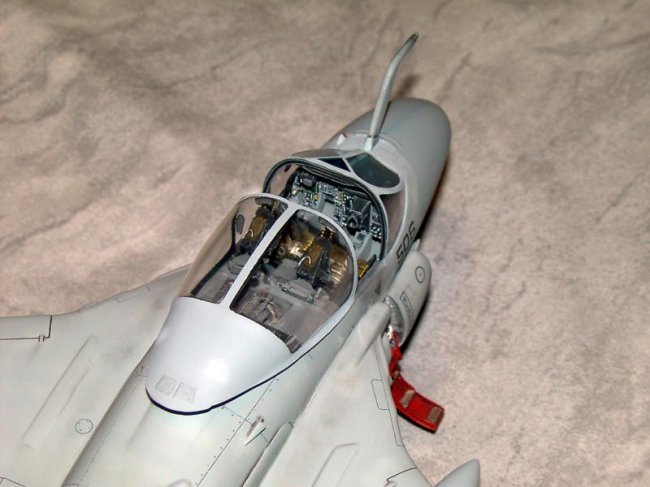
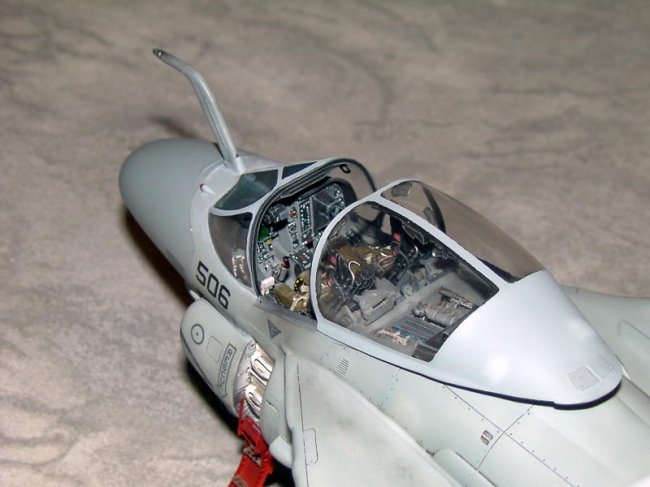
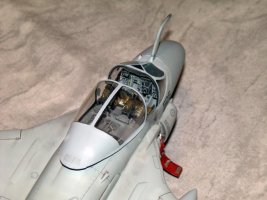
| I tinted the very front part
of the windscreen with a light coat of Tamiya clear blue. Also
used were the Black Box cockpit, which was a beauty and went in pretty
good, the rear decking needed some fiddling, but not bad. I added
2 prominent levers on the pilot side front console. The Verlinden detail
set was used for both sets of steps, and canopy sills. An Eduard
photoetch set was used for various details. |
| Click
on images below to see larger images |
 |
 |
|
Wingfolds
|
|
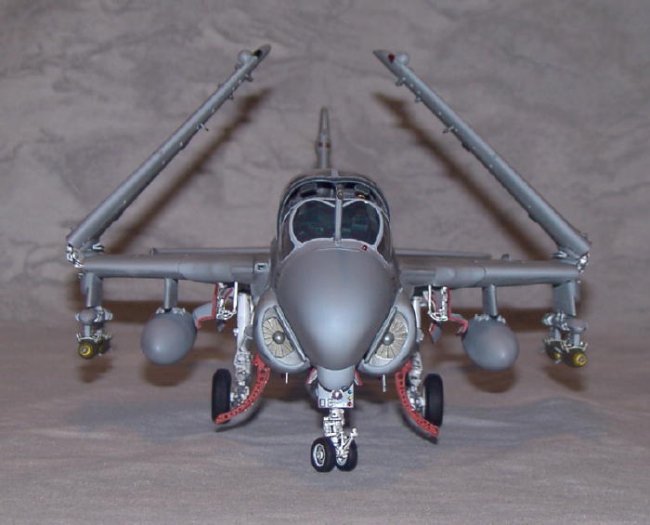
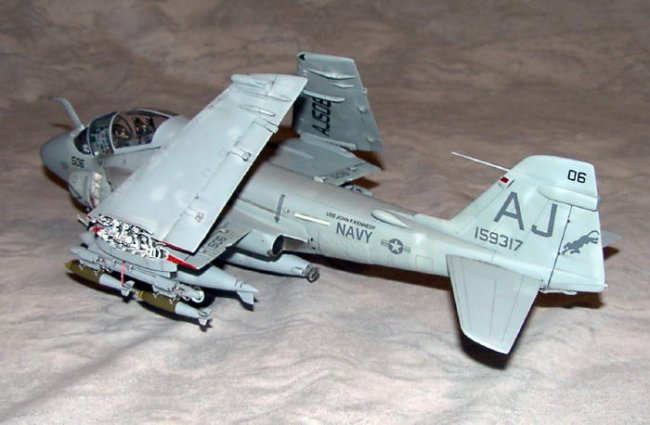
| The wingfolds are the
beautiful resin inserts made by Paragon. These things are works of
art. It was my hope all along the mechanisms would be strong
enough to stand on their own, as I didn't want to add the braces to
support the wings. I was not disappointed. It did some work
fairing them in to the wing, and some very careful cutting. Adding
all the delicate pieces to the folding mechanism took plenty of
patience too, but the end result is very satisfying. |
| Click
on images below to see larger images |
 |
 |
|
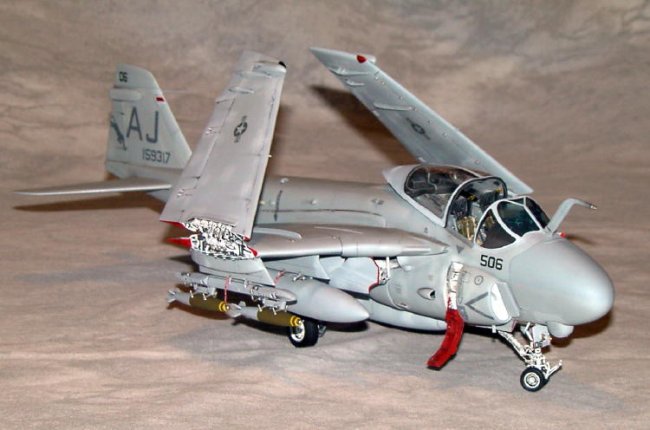
MV lenses were used for all
lights, even the map lights in the cockpit. The nosegear was
repositioned, it was easy to do and I like the attitude it gives the
model. Bombs came from the Hasegawa weapons set.
|
|
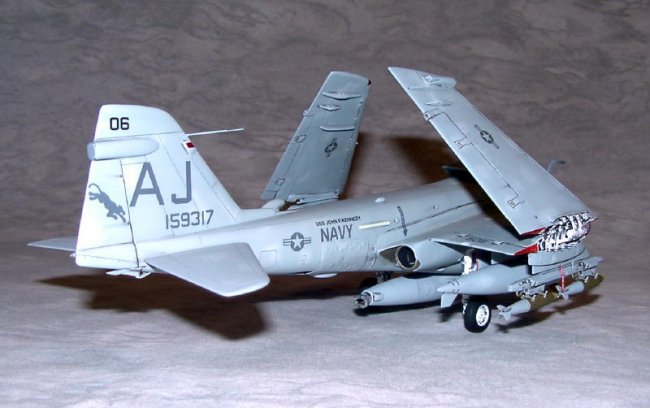
The pitot tube on the tail was made
from styrene rod and wire. And, just to demonstrate the versatility of the
A-6E, I mounted a buddy pod refueling system on the belly pylon, taken from an
S-3 kit. The main wheel wells were boxed in with sheet styrene, and
plumbing was added with wire and flexible tubing. I wanted to give the
Intruder the typical patched up paint job so common at the end of their career.
Touch ups were done by both airbrush and paintbrush. Decals came from
Superscale, and weathering was done with a wash and pastels. Some Remove
Before Flight flags were the final touch. After almost 5 months, I'm glad
it's finished, but I think it is one of my better projects all said and done.
Humorous sidenote, one of the first
things I did upon starting this kit was to put the sprue of clear parts in a
safe place, so I wouldn't scratch them up. I can't remember where I put
them, and still to this day can't find them. I robbed the clear parts from
one of my other kits, but when I superglued the main canopy to the rear deck, it
cracked all the way down the side. So I robbed my third kit for that
canopy. I now have 2 more A-6's in my stash, with no clear parts for
either one!
Kelly
(click on
the image below to load the full size photo)
|
|