|
General
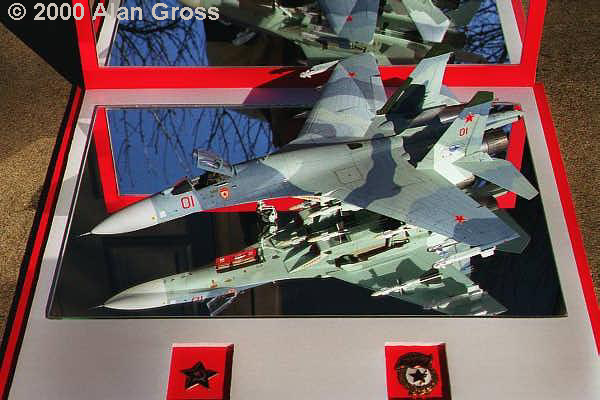
In building the Minicraft Flanker, I
used several after market products and three separate decal sheets in addition
to the decal sheet provided with the kit. I also used Model Master
Flanker Colors (Flanker Pale Blue [2130]; Flanker Medium Blue [2131]; Flanker
Blue Grey [2132]). The aircraft represents a Soviet Guards Flanker (Red 01),
which intercepted an RC-135/RIVET JOINT
mission flown by one of my friends several years ago (and I was fortunate enough
to acquire a copy of the pictures he took during the mission). The finished
model is displayed in a plexi-glass case with mirrors, and an authentic Soviet
Guards Emblem and Red Star.
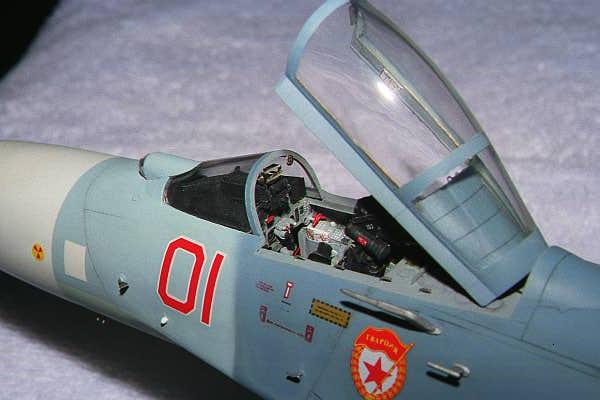
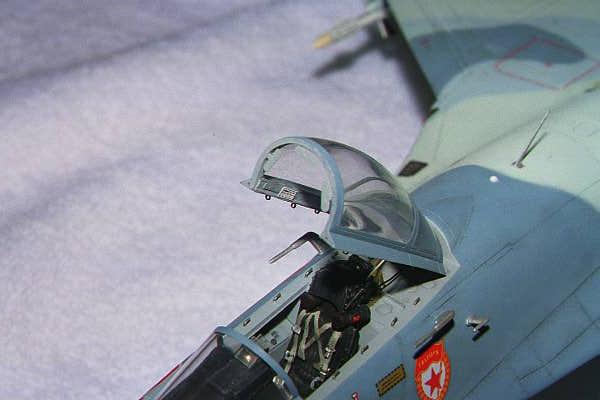
Cockpit
The cockpit was heavily modified by using a Verlinden
K-36 resin ejection seat and Eduard photo-etch details, to include
the instrument panel, angle of attack indicators, etc.
The canopy was also modified to be shown in the
open position as this option is not available with the kit. I scratch-built the
opening mechanism, the ribbing under the canopy, the locking hooks on the canopy
rails, and locking rings (essentially small "O-rings") on the canopy
bottom.
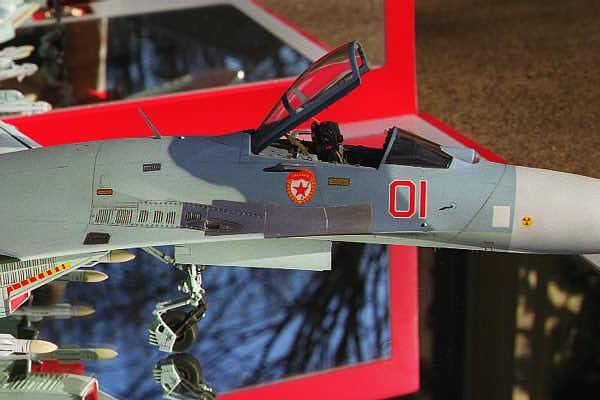
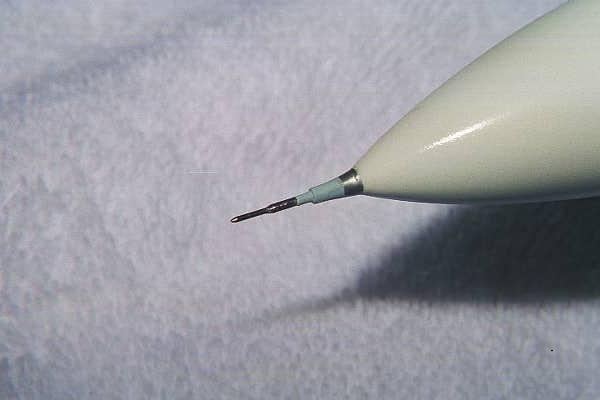
Flanker Nose & Gun
I used stainless steel tubing to better replicate
Flanker 30mm gun and SNJ Aluminum paint for the blast area. I also
cut-out and replaced most of the vents with various photo-etch grills I had in
stock . Additionally, I replaced the kit pitot tube with various telescoping
sizes of stainless steel tubing, which was sanded down to a point.
Landing Gear
I used the kit landing gear, but I replaced all
three wheels with Cutting Edge Flanker Wheels. I also modified the
landing gear and wheel wells by adding various sizes and colors of Detail
Master car modelling ignition wire to better replicate associated wiring. I
also scratch-built locking mechanisms for each gear door and replaced the
nose-gear door oxygen bottle. Finally, I used Eduard photo-etch parts for
the blow-in doors under each intake.
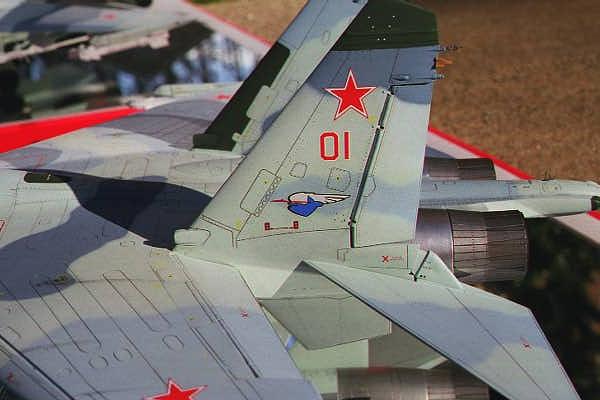
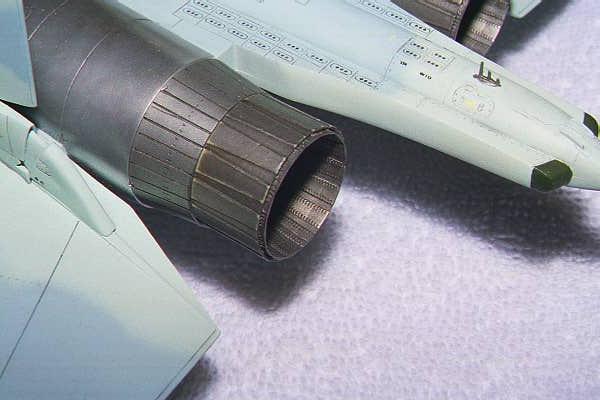
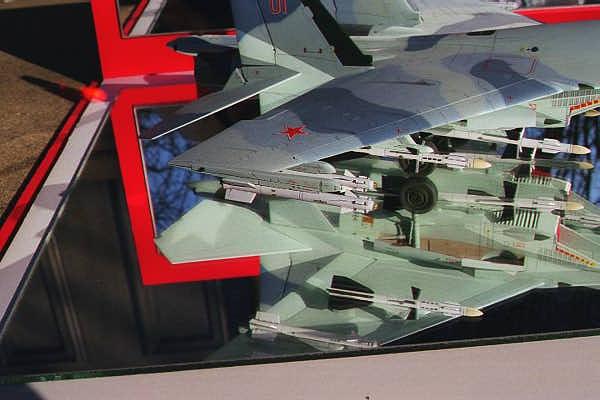
Tail & Exhaust
I again used Eduard photo-etch parts for
all antennas on the tail. This picture also shows the various decals used. I
used Cutting Edge decals for the Soviet Stars, bort numbers, and Soviet
Guards emblems, while I used the Propagteam Flanker sheet (No. 48105) for
the Sukhoi Archer emblem and intake warning stripe. The Propagteam decal
sheet was the only one at the building of this model that had intake warning
stripes and the proper Sukhoi Archer emblem (the true Flanker archer emblem has
black wings vice blue as displayed in other decal sheets). Additionally, I used
the KP 1/48 SU-22 decal sheet for "Y" markings throughout the
aircraft. I replaced the kit exhausts with two resin exhausts from Cutting Edge.
Finally, I also used a wash on the aircraft panel lines and exhausts and used
pastels to replicate oil streaks over the wings.
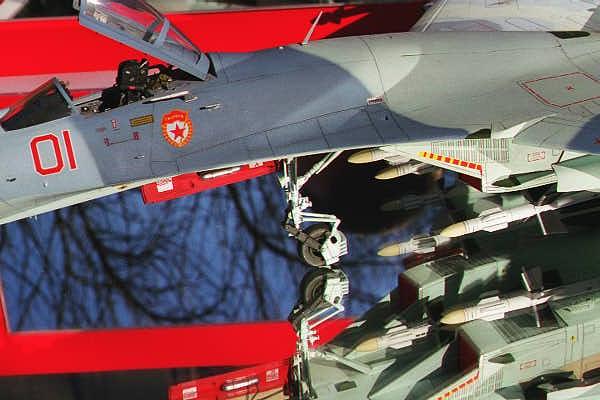
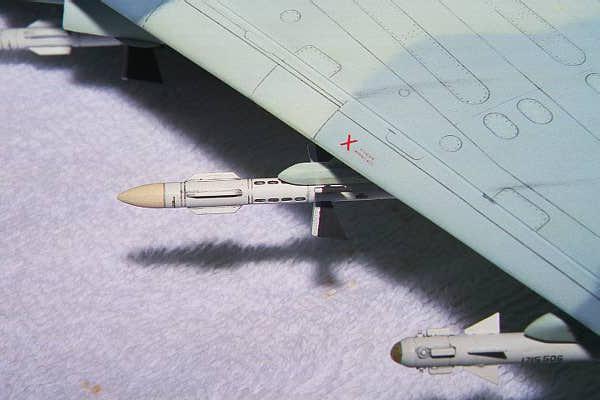
Missiles
I used all the kit missiles on every station that
the Flanker can carry a missile .
I didn’t modify the AA-10/Alamos as they were
pretty accurate, but I did replace the front fins on the AA-11/Apexes. I also
used various decals to better replicate the respective missile markings.
Conclusion
I thoroughly enjoyed building the Minicraft
Flanker and while there are inaccuracies with the kit and numerous areas that
need to be corrected and detailed, it is still the only 1/48 Flanker available—to
Soviet aircraft enthusiasts this makes the kit a true gem!!!!!!!!!!!!!!
Alan
|