|
I always make bases
for my models. They are sized so that the model can be covered by a clear
Plexiglas cover. I have a friend that does cabinetry work and I buy up all of
his used scrap that I can use. Some is real wood and some is nothing but
presswood, but they all work fine for my purposes. Bear in mind, this is caveman
stuff compared to the beautiful woodwork Gnat does!
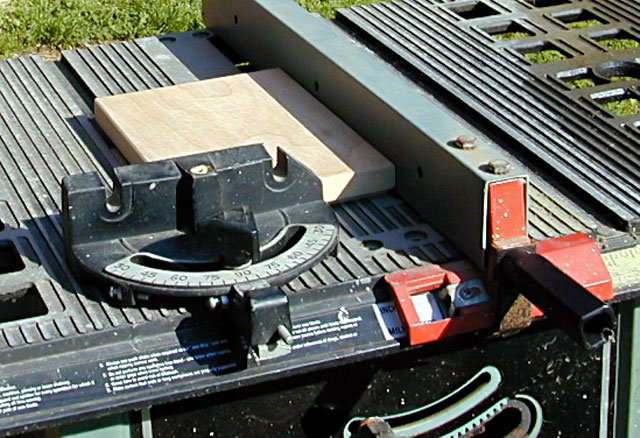
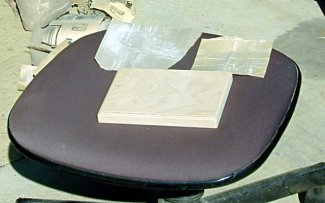
| The first thing
I do is cut my base with a table saw to the proper dimensions. In the case
of the wee Berkut, a 5-in by 7-in. base is just fine. The topside of the
base is ripped about a quarter of an inch in depth and slightly more than
a quarter of an inch inward from the outside. This makes up for paint
coats and ant discrepancies that might occur in the showcase. A loose fit
is much better than a tight fit in this case. |
Click on
image below to see larger image
|

|
|
After cutting
the base, I hand sand with 150 grit in the beginning and work down to a 220
grit. I also bevel the edges and round the corners. Both enable the paint to
cover better and the showcase to slip on easily. I clean the sanding residue
with an old 3-inch brush and rub it down well will a non-linting cloth.
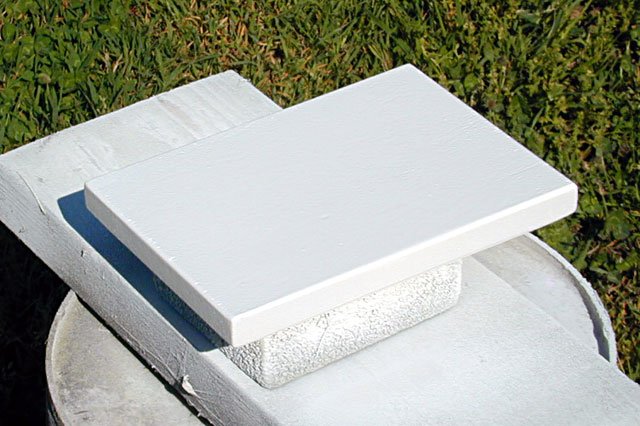
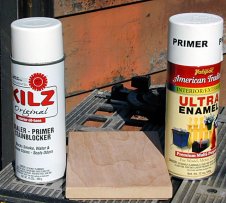
It's really a
matter of choice as to what primer one likes. I keep two, but for the presswood
and most pine, I prefer KILZ, as it seals and sands like a charm in one hour
under warm temperatures. Do not worry about spider webs, dust, flying insects,
or such in the first coat; one has to sand that before the final coat.
|
Click on
images below to see larger images
|
|
 |
I just use an old bucket with a slab of wood and a small
slab to raise the base. Please wear a protective respirator devise of some kind,
if it's only a paper pollen filter and even if you are working outdoors as I am.
Botta-bing! Spray the base about 12 to 15 inches from it in
parallel strokes. Back away on occasion, shake the can, and let the paint dust
settle. KILZ has lots of paint cloud dust (see above, protect your carburetor).
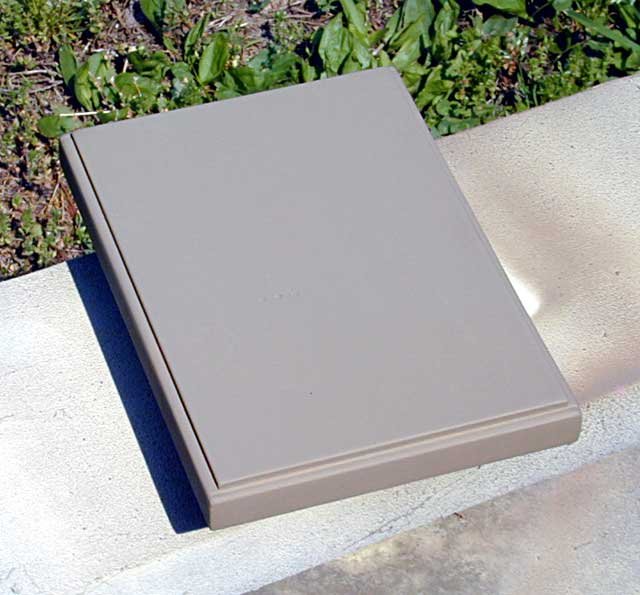
I liked Zynolyte's Camo Sand, it's a real fast drying and
good coverage paint. Here's the finished paint, as I left it to completely dry
while I went to pick up the lads at school.
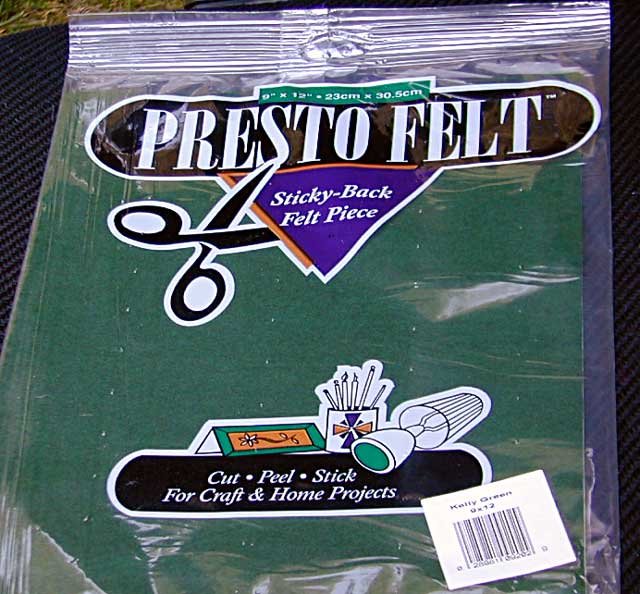
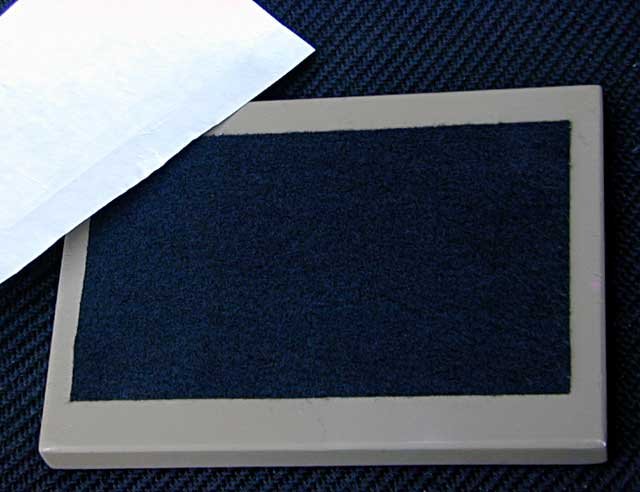
So that my bases do not slip on glass or slick wood, I like
to apply some felt to the bottom. I use a product called Presto Felt, which I
get at Wal-Mart. Presto Felt comes in a 9 X 12 inch size, but for the Berkut I
had a remnant that was the proper size. This was marked, squared, and cut with a
carpenter's square and a utility knife. As I sad, no rocket science here. The
felt has a self-adhesive backing, which is peeled away and the felt pressed
down.
I could drill a wee hole for the pilot's wire brace and do
up a plaque in Photoshop and leave it be. Be nay, let's get artistic!
We left off with the felt applied, which would suffice for
any model. But as Emiril says, let's kick it up a notch! I had scanned the model
into Photoshop before I attached the vertical fins to lay out a camo pattern in
that program, so why not use that scan again, it's already the proper size of
the model!
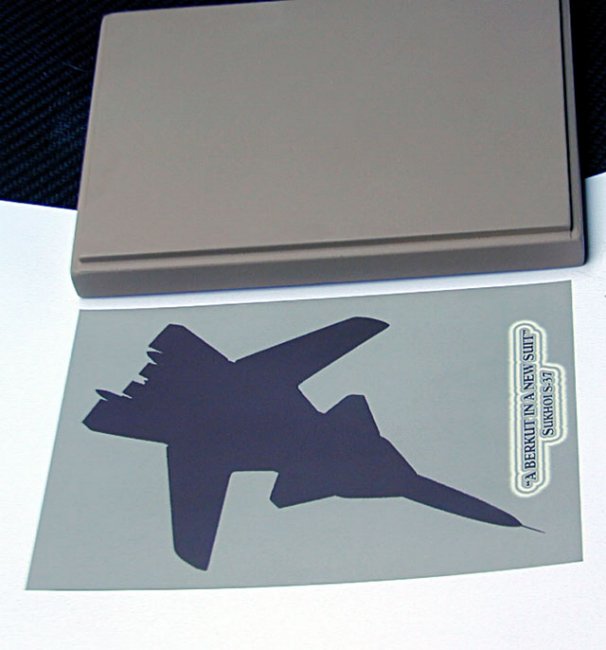
I brought the image into Photoshop, selected the model and
made the background transparent. I colored the model silhouette in a dark brown.
I next opened a new image with a transparent background in Photoshop in the size
of the base top, 4.75 X 6.75 inches. I colored the new image in a light grayish
tan. Next I brought up the silhouette and drug it over to the new image and
slewed it until I got the position I liked, after which I merged the image. The
text tool with some swath detail was used for the text. The resulting image was
printed on glossy photo paper and sprayed with a clear matte fixative one the
inks had dried.
I cut the printed image out with a carpenter’s square and
a sharp utility knife blade, and then checked the fitting on the base top. There
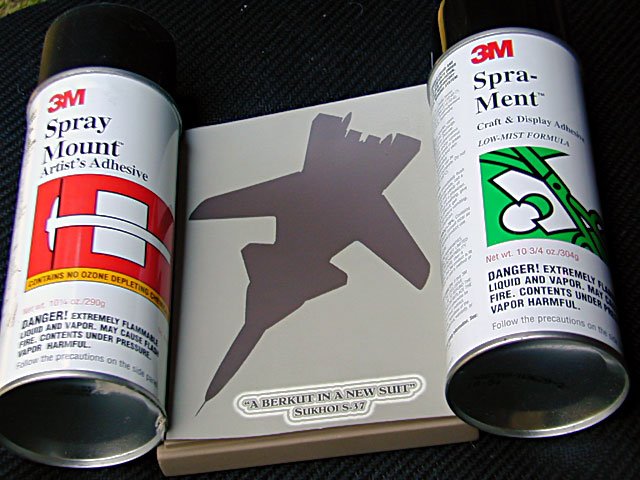
are two type of cement available for mounting printed images or matte board to a
base, both made by 3M, Spray Mount and Spra-Ment. Spray Mount is a very tacky
adhesive and is not permanent mounting cement; therefore I only use it on small
items like plaques that I may decide to change. For base tops, Spra-Ment is by
far the recommended choice. It is permanent once the base top is fixed. I use a
low-tack, wet paint masking tape strips to seal the colored edges of the base
top and peel them away as soon as I have the base top in position. I then rub
down the base top with a paper towel very gently to assure all is set.
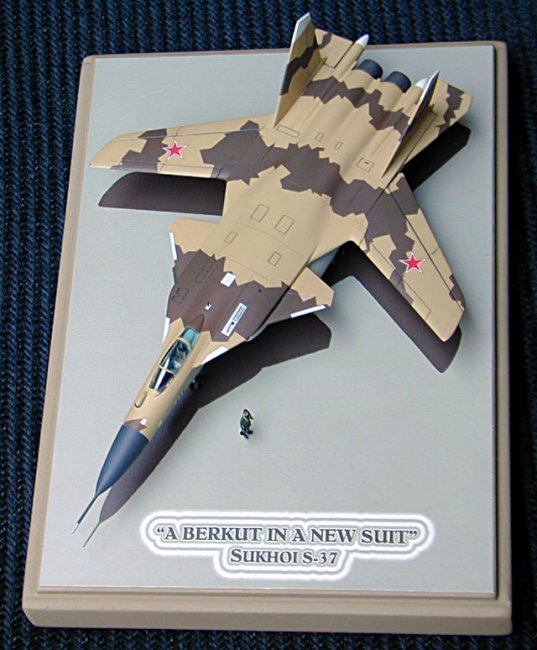
Making a simple base is a great improvement in
presentation. When you add a special top, it furthers the presentation of the
model. Try it; it's a quick easy two day affair, most of that spent waiting for
paint to dry.
Caz Dalton
|