|
Too many models
these days are displayed on pristine-looking tarmac display bases. What about
those old cracked, weed-infested parking spots at the far end of the airfield? I
played around a bit and decided to take a more fun approach to the basic
"paint a picture frame a concrete colour then draw the panel lines".
|
Click on
images below to see larger images
|
|
|
 |
|
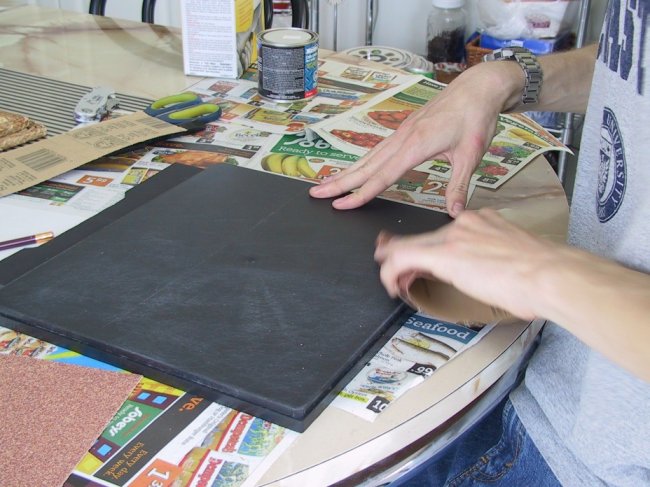
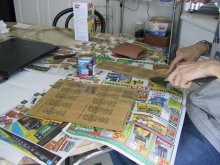
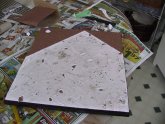
I first got a base
(can be anything. In my case it was a car display base with the clear plastic
lid) and sanded it down to roughen the surface for the next step. I then got
some coarse grit sandpaper and cut it to shape. I then applied it to the base
with contact cement.
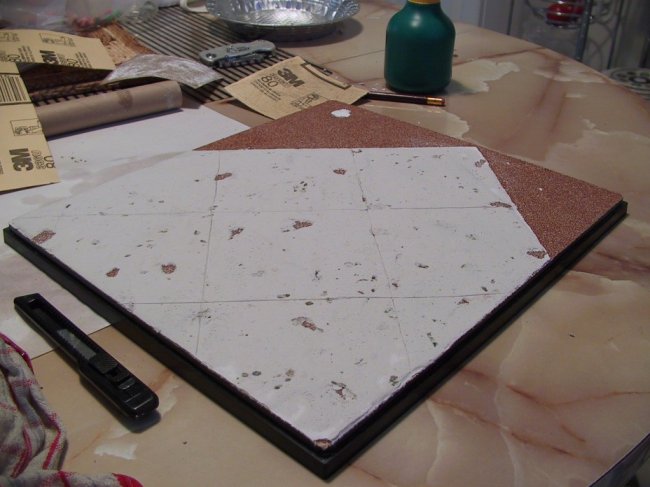
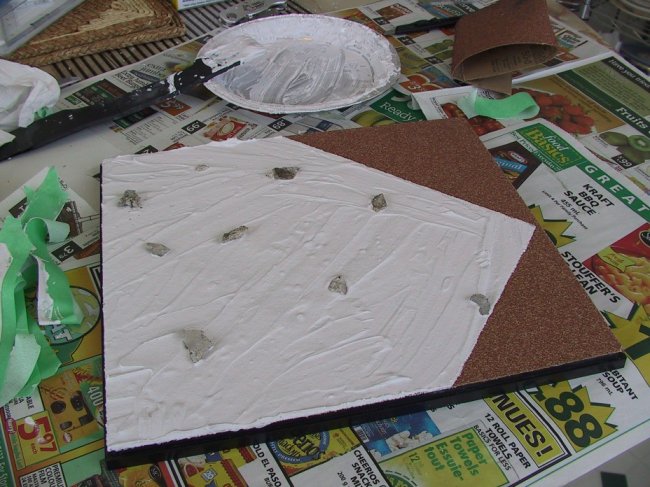
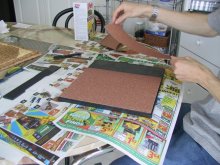
Next I made sure the sadpaper was
laid properly by rolling it with a tube I used as a rolling pin. Next I masked
it off for the poly filla. It's a drywall filler, similar to plaster. I masked
the shape of the corner of the tarmac, and decided on squares of 10cm for my
1/48 models. I then mixed the polly filla according to the instructions and
spread it onto the base
|
Click on
images below to see larger images
|
|

|
 |
|
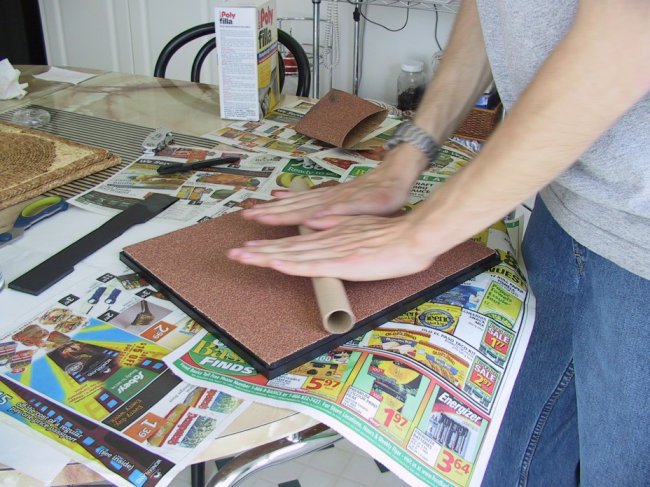
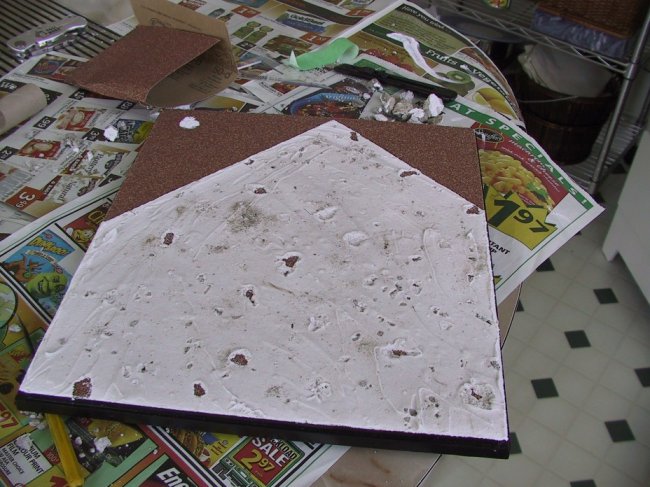
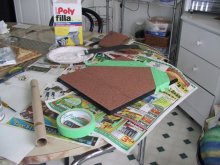
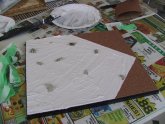
Make sure you don't trowel the
poly filla flat while it's still wet. Remember, we want IMperfection. Before it
does dry, though, I put some rough textured bits of rock and concrete into the
plaster to give it some pits and texture here and there. Once everything was
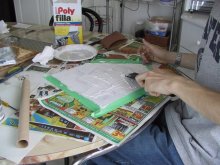
dry, I pulled everything out and left a lunar-looking paved area. Next (not
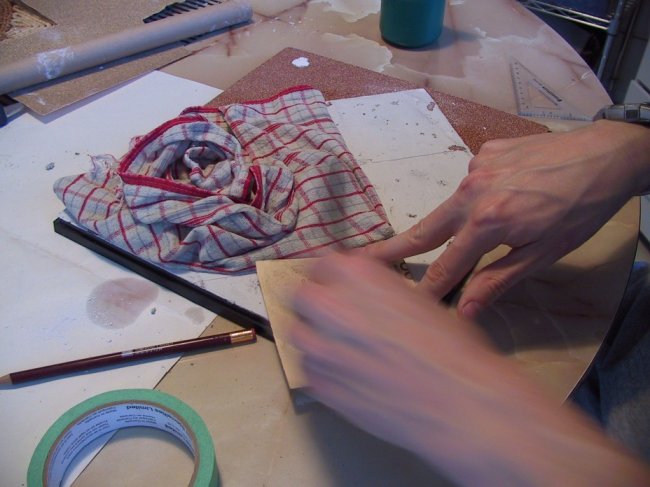
pictured) I sanded the whole thing flat with some rough sandpaper on a block of
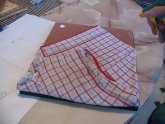
wood. But now the texture was nice and smooth. What to do? I took a dish towel,
soaked it and let it soak into the top surface of the dried tarmac. Once the
surface was soaked and now slightly soft, I took a square of the coarse grit
sandpaper and held it to the newly-carved squares in the concrete and burnished
the texture into the concrete.
|
Click on
images below to see larger images
|
|
|
|
 |
 |
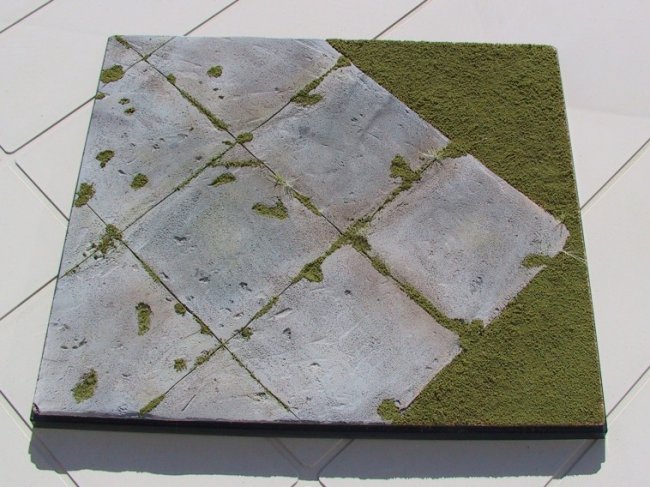
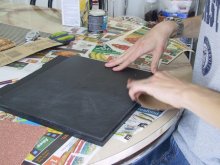
Now that the concrete itself is
done, you can start adding grass or dirt as you like and paint the concrete. I
put lots of grass growing between the cracks and in the big pits in the
surface. I weathered with pastel chalk and some dry brushing. I added my grass
with some white glue diluted in water.
John Gosselin
|