|
|
|
|
|
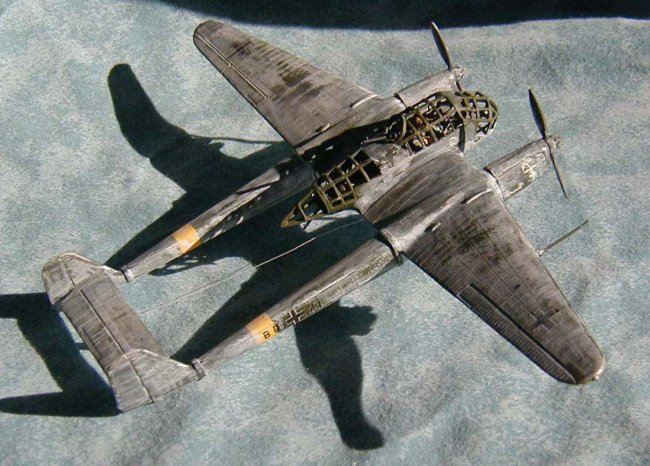
1/72 Airfix Focke Wulf Fw-189 |
|
by Mark M. |
|
-------------------- |
|
|
|
|
I'll skip most of
the history for this aircraft. It was a forward observation craft for the
Luftwaffe in World War 2. It also doubled as a light attack craft, carrying 4
small bombs under the wings. It served extensively throughout the war, including
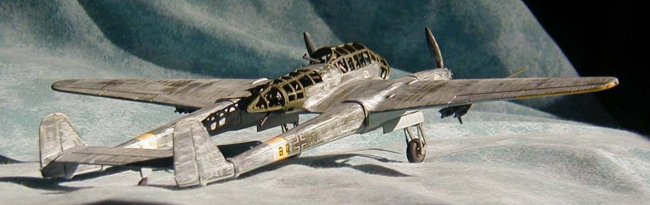
the Eastern Front. I chose to do an Eastern Front paint scheme because I wanted
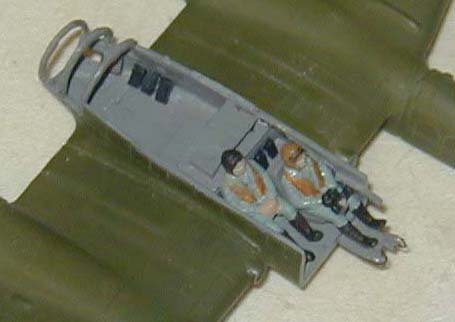
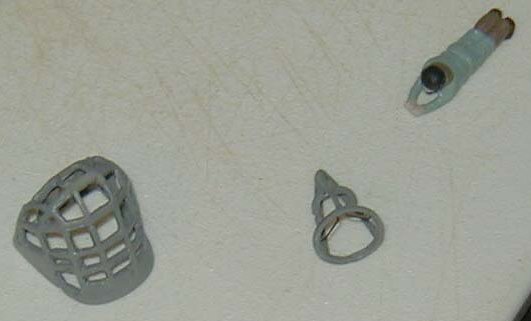
to tackle that After making a box for the gear wells I needed to create gear mounts on the forward wall, and door hinge mounts. During this time I was also working on the cockpit. I found a diagram for the rudder pedals of the real aircraft and, in a burst of insanity, scratch-built a pair of my own (hydraulic tubes and all). Now I started wondering how I was ever going to see these under the thick blob of a canopy. The answer: I wasn't. This leads to more insanity further down the road. I decided the only way to see the details I put in was to NOT have any clear parts. Anywhere. The more you could see, the more I had to detail. I put in scratch built ammo boxes, radio boxes made from paper, a few wires, a couple of basic seats and I modified the heck out of the rear gunner.
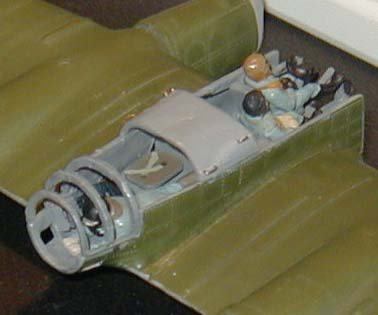
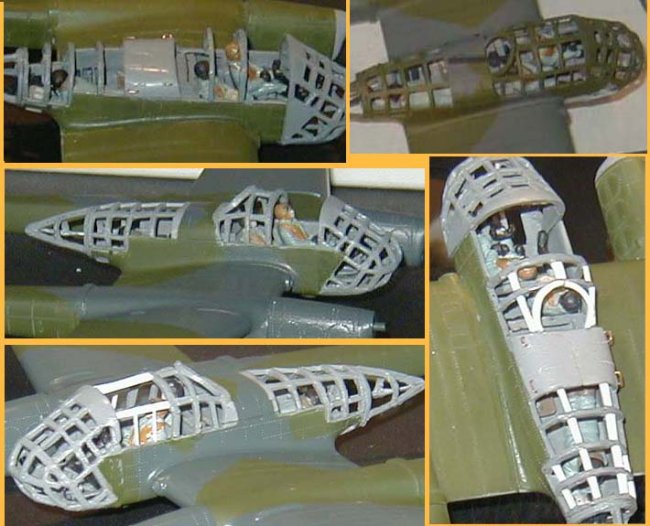
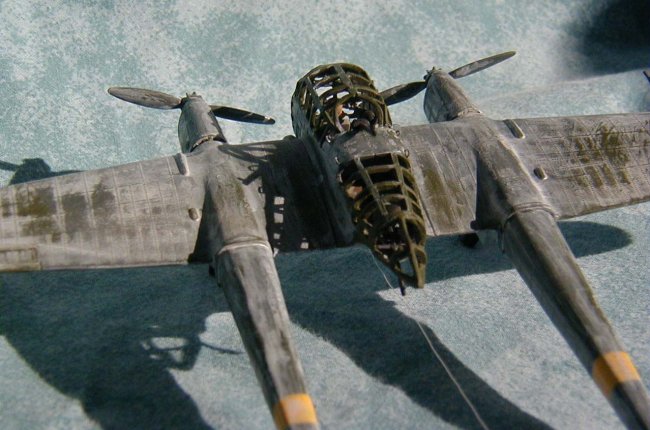
I had to set about building a greenhouse canopy without glass panels. I used the existing plastic parts and carved them up as best I could to build lateral frames. I started with exacto blades and a small drill bit (which cracked the plastic badly. At first I was trying to cut out the windows and keep a single piece to put on the plane when I was done. This, as you can imagine, didn't happen. Then I cut the front to back braces off and kept the arches. I used plastic card to make the straight frames. The carving of the clear parts got easier once I got a dremel tool halfway through the project. I actually started on the nose and rebuilt it 3 times, to get it the proper size and symmetry. Once all was said and done I was rather pleased with the results. For me this is a leap beyond what I've done before. It's got some rough areas, I admit, but I look past them, and into the cockpit (which was my intention in the first place).
I used bent wire to replicate
hand-holdes and wires inside and outside the crew compartment. The hardest
parts, and the most vital, were the front canopy and the rear tail cone. If they
didn't turn out well the entire model would suffer. The dremel tool was used to
carve out the glass on the tail cone, so that it was a single piece. The nose
was
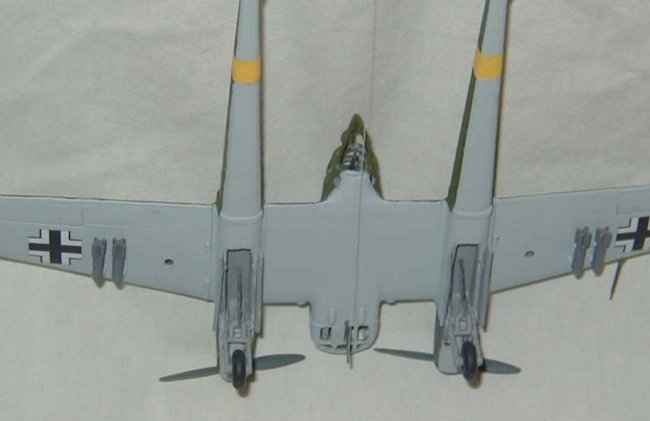
The bombracks were rather
simplistic. I took the racks from the Airfix Bv141, which looked much better.
The kit was very old when I got it. The decals were useless. I used spares and
paint where I could. The retraction struts on the gear had to be extended with
the use of sandwiched plastic card to replicate some detail ... which is
invisible
|
|
|||||||||||||||||||||||
Photos and text © by Mark M